Supersaw: How to Make this Iconic Sound
The supersaw is one of modern’s music most simple but effective synthesized sounds. Want to know how to make it?
Even the most casual of electronic music listeners will have heard a supersaw in the past. In fact, you don’t have to be an electronic music fan to have heard one – there are plenty of examples of this sound across the spectrum of contemporary music. Take this example of rhythmically modulated supersaw chords, which open up and swell throughout the composition.
But what is a supersaw? How can you make one in your DAW? And how can you incorporate them into your own productions? In this article, we’ll answer all of the above, giving you the knowledge you need to add this rich and versatile sound to your sound design toolbox.
What is a Supersaw?
The supersaw sound is based around taking a conventional sawtooth wave, and layering or stacking it with a number of other sawtooth waves. The key is that each wave is slightly detuned against one another, thus creating the density and thickness that supersaws are able to deliver. Supersaws can either be played as monophonic melodies, or as chords. Playing supersaws polyphonically adds a further dimension to the sound that can help to add even more thickness and depth.
Evolution from Roland JP-8000
The legendary Roland JP-8000, released in the late 1990s, revolutionized the electronic music scene with its cutting-edge features and distinctive sound.
One of the most iconic elements of the JP-8000 is its supersaw waveform, which is known for its rich, full-bodied sound that can fill up an entire mix with warmth and energy.
Over the years, the supersaw waveform has continued to evolve, thanks to advancements in technology and synthesizer design. Modern synthesizers now offer enhanced control over the supersaw waveform and software synthesizers have made it easier than ever for musicians to access high-quality supersaw sounds without the need for expensive hardware.
How to Make a Supersaw … for free
There are many ways to create this timeless synthesized sound, and it’ll partly depend on the tools you have available to you. Most DAWs will come bundled with a native synthesizer that is up to the task of creating huge, sparkly supersaws. In this article, we’re going to use Vital Audio’s Vital synth.
Not only does Vital have all the functionality we need, it’s also completely free, so you can follow along with this tutorial no matter your DAW or budget.
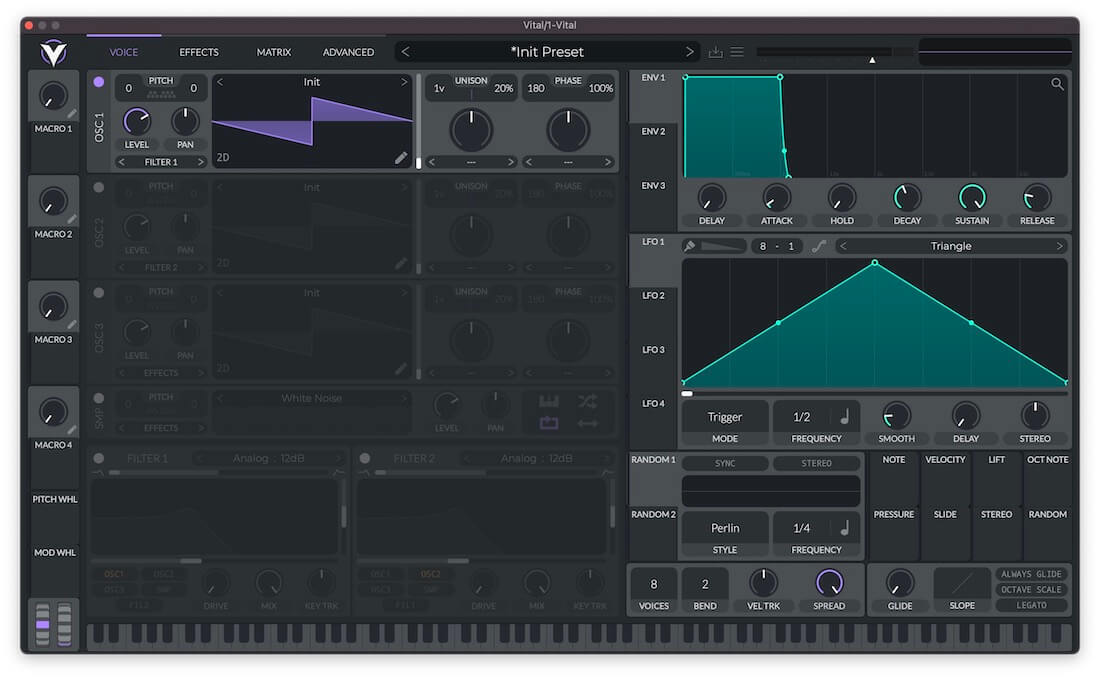
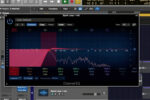
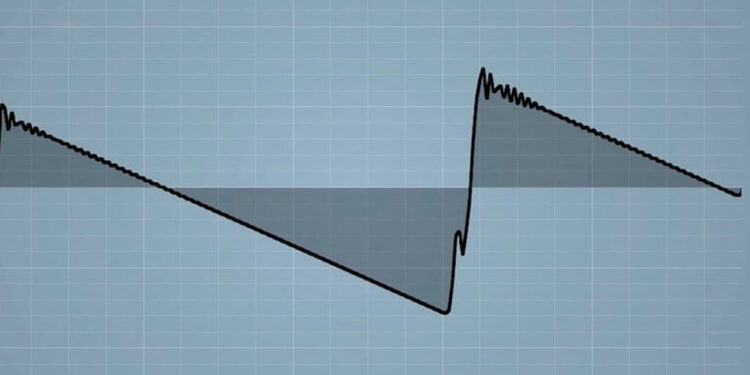
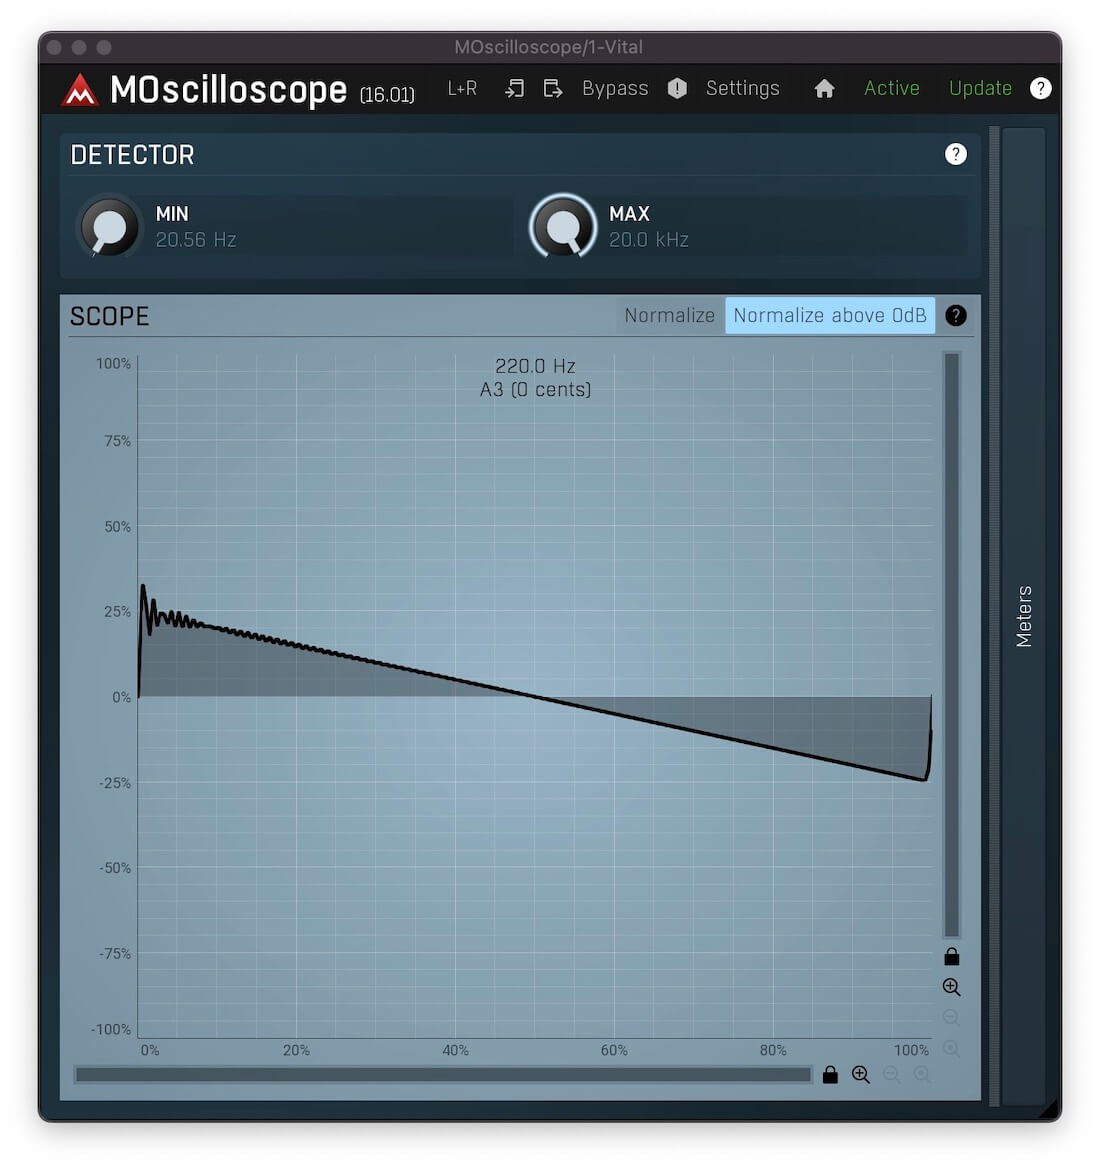
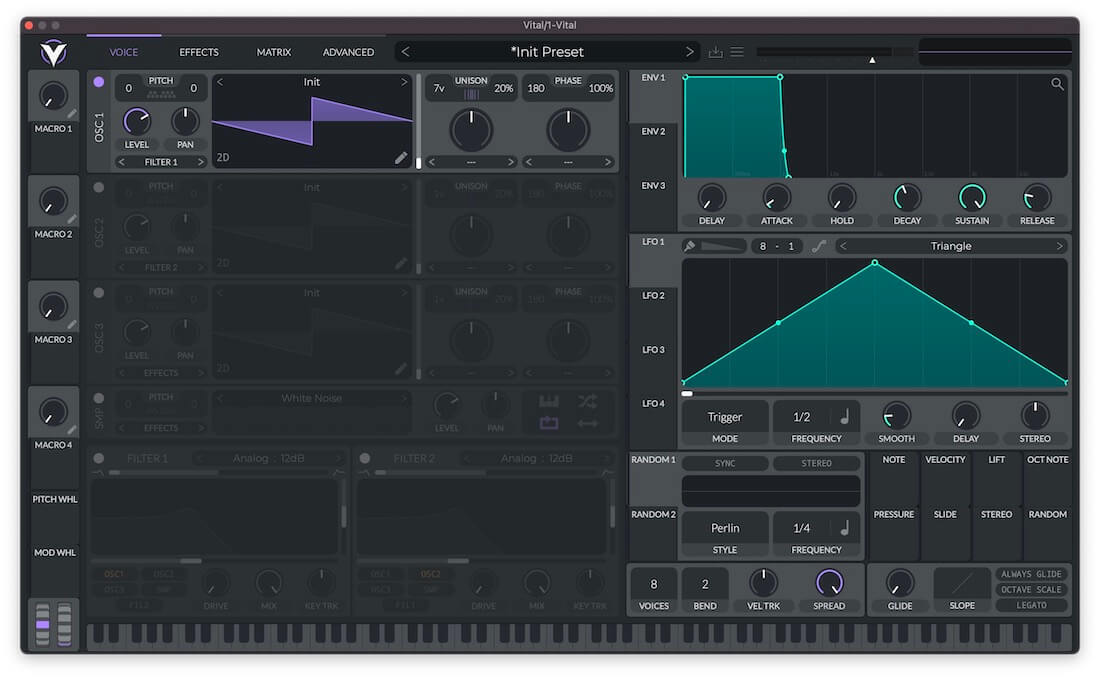
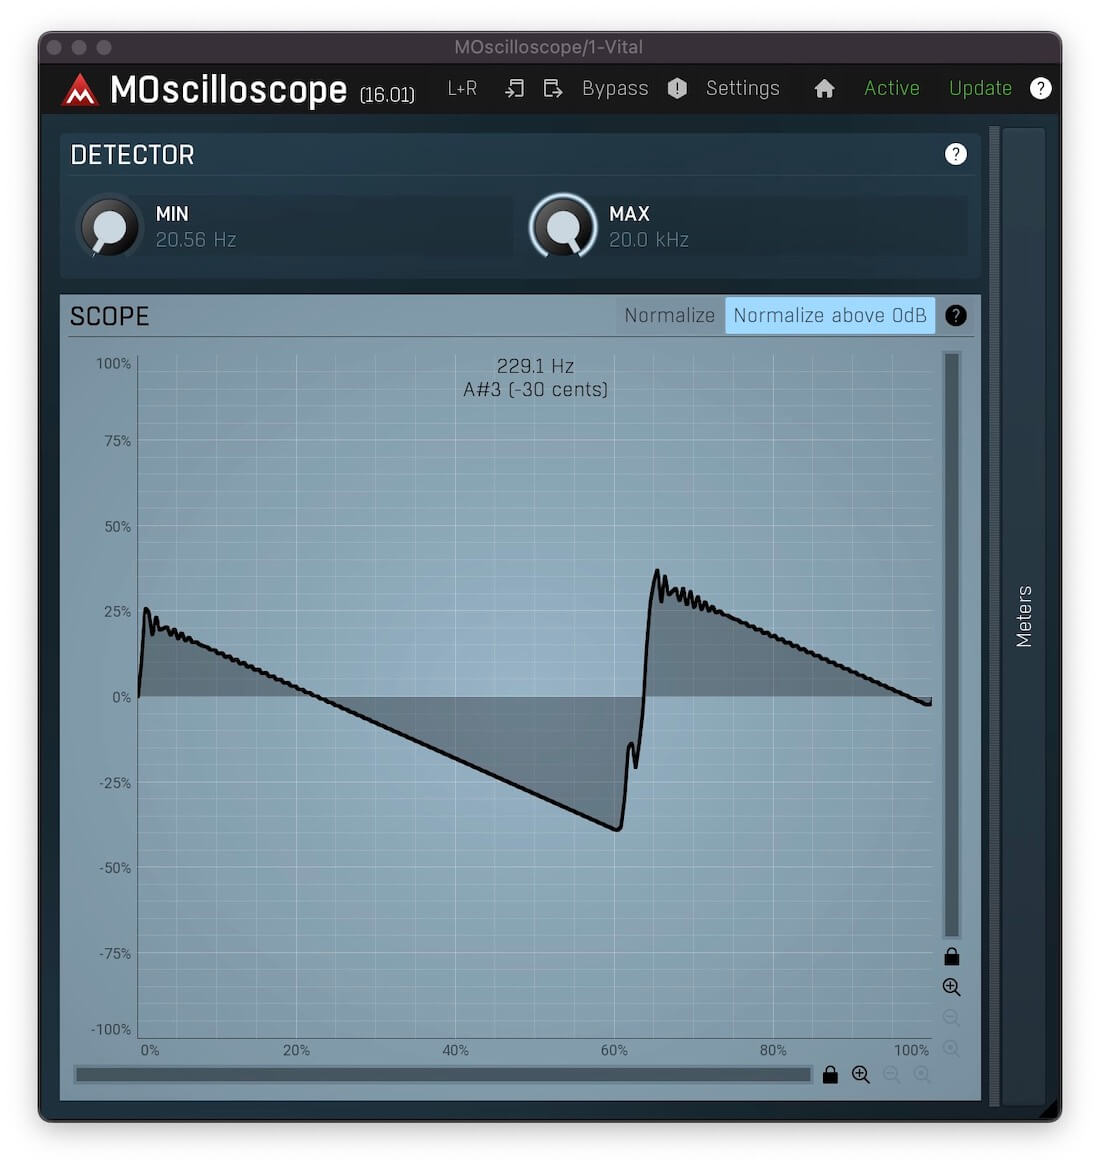
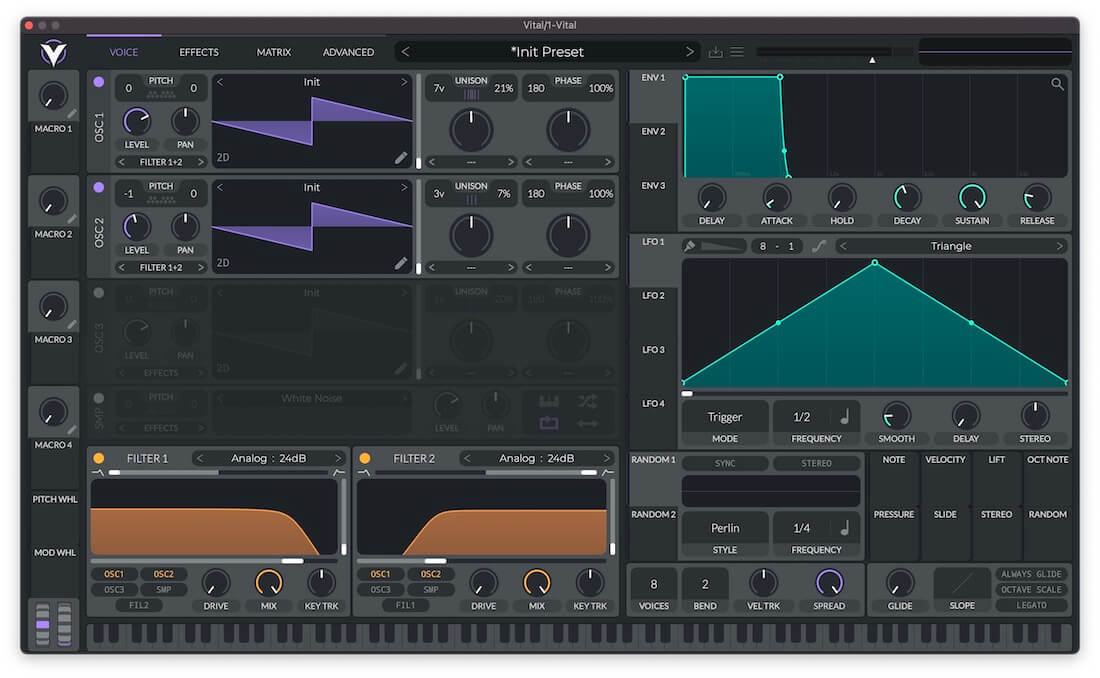
Start by placing Vital on a new MIDI channel within your DAW. By default, Vital’s Osc 1 is loaded with a sawtooth wave, so we can get going straight away. Play a single note with a sawtooth wave, and you’ll hear a steady, raspy sound which is full of harmonics. This is reflected when you put the sound through an oscilloscope. If you haven’t got a dedicated oscilloscope plugin, there’s a handy visualizer at the top right of Vital.
As you’ll probably agree, this single saw wave isn’t particularly inspiring, so let’s jazz things up a bit. Some synthesizers have a unison function, which allows us to duplicate our original oscillator a set number of times, automatically detuning each duplicate against the original. To increase the unison amount in Vital, click and drag the voices button upwards. Let’s go for seven voices.
Upon checking the oscilloscope, we can see that the detuned saw waves added by the unison voices are causing the various instances of the sawtooth wave to phase.
If we reduce the Unison Detune amount from its default position of 20%, the speed of phase is decreased too, thus making the sound more reminiscent of the single sawtooth example. Increasing the Unison Detune amount above approximately 50% causes the sound to become dissonant, which might be desirable in some instances. In this case, though, we’re going to keep the Detune amount close to the default value.
In order to make the sound even thicker, we can add a second sawtooth wave using Osc 2. This time, let’s bring the oscillator down an octave to help fill out the sound in the lower frequency range.
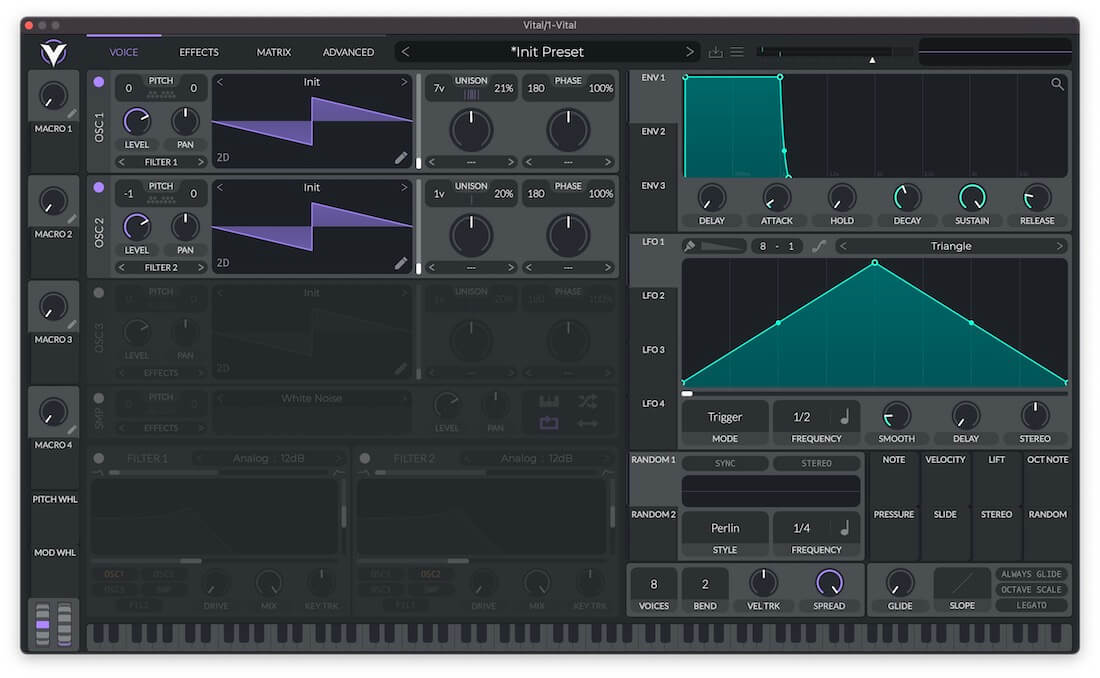
Currently, Osc 2 is a touch too loud and is sticking out a bit. We can use the Level control to reduce its volume, mixing it in more appropriately with our first oscillator.

To take this a step further, let’s introduce some subtle unison to Osc 2, too. This time, three voices and around 7% Detune works nicely.

Working with Supersaws
While this sound might sound great in isolation, due to the width and harmonics of supersaws, they can be slightly problematic to incorporate into your mix in a cohesive and musical way. This is particularly true if you have other high-frequency elements, which can cause a build up in the higher frequencies that may throw off the overall balance of the mix, or cause unwanted harshness.
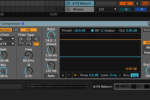
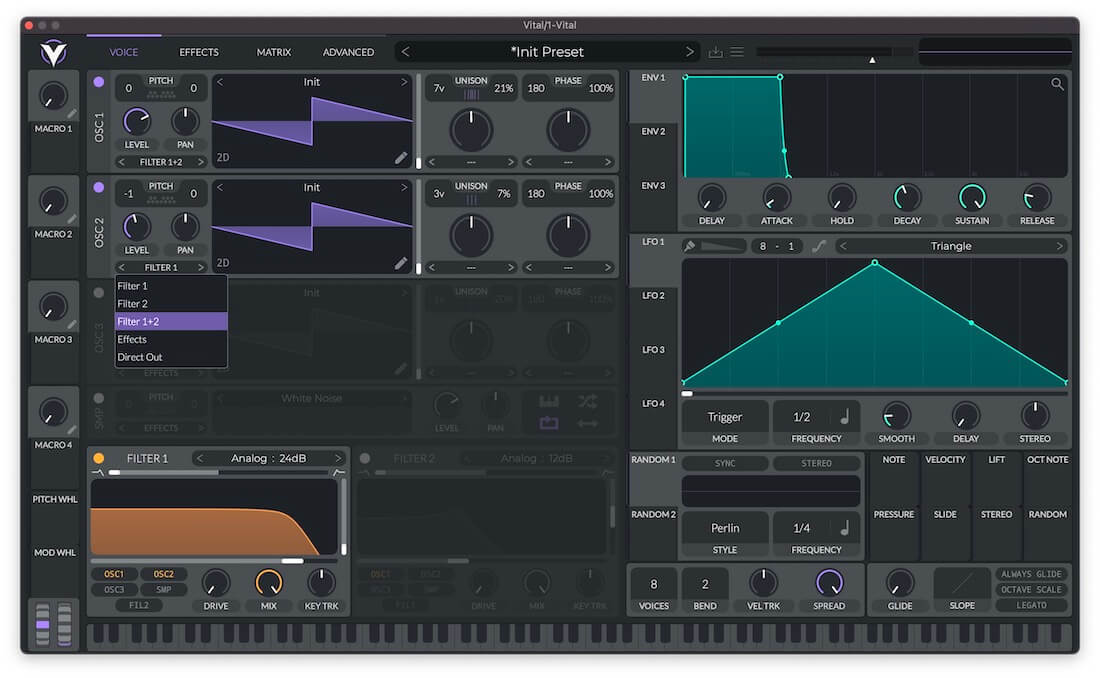
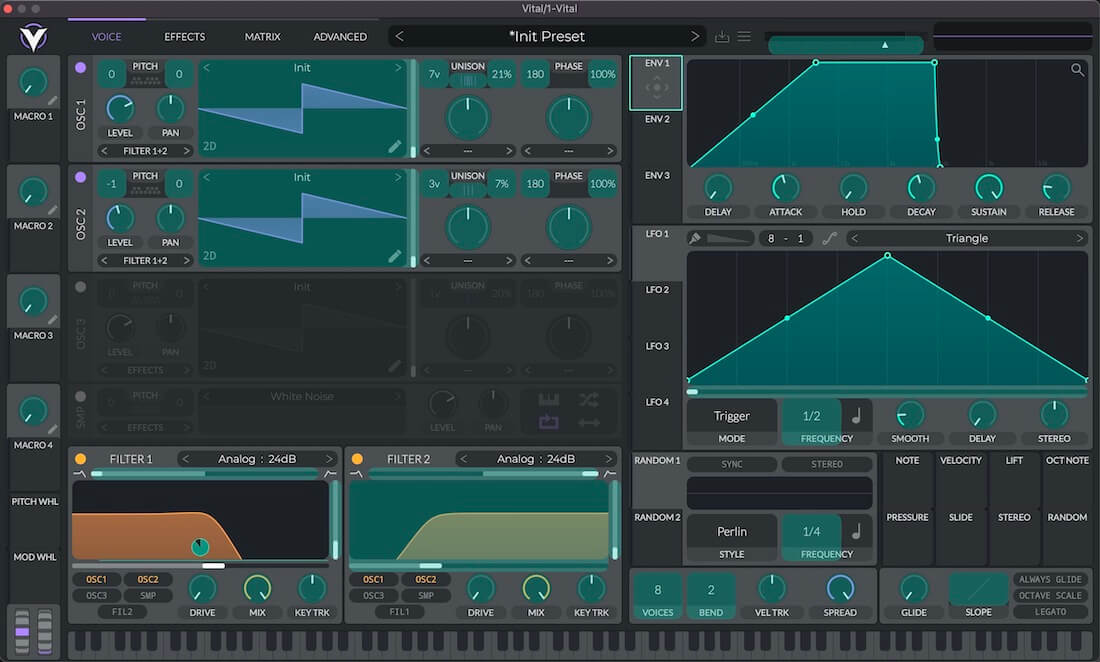
To tackle this, let’s use Vital’s inbuilt filters to tame the supersaw to some extent. In order to maintain some level of cohesion between our two oscillators, we need to assign both of them to the same filter. Assign Osc 2 to Filter 1 using the drop down menu underneath the level controls.

Now engage Filter 1 by toggling its on button. Just by cutting the very top end of the frequency range, we can really eliminate some of the fizzy harshness, thus making it easier to mix the sound in with the rest of your production. By the same token, we can use filter two to cut the unwanted frequencies at the bottom of the signal. Start by assigning Oscs 1 and 2 to both filters.
You can now engage Filter 2, and morph it into a high pass using the slider at the top of the filter visualizer.
Supersaws that Stand Out
Now that you’ve got the foundation of your supersaw, there are a whole host of ways to develop the sound into your own unique synth patch.
Modulation
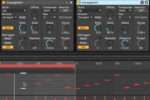
Vital’s three envelopes and four LFOs make it quick and simple to create some movement in your sound. Let’s set the low pass filter to gradually open up as a note is held. First, increase the Attack time of Env 1, then click and drag it onto Filter 1’s cutoff control. You can then adjust the modulation amount using the green mod amount adjustment dial on the filter visualizer.
Time-based Effects
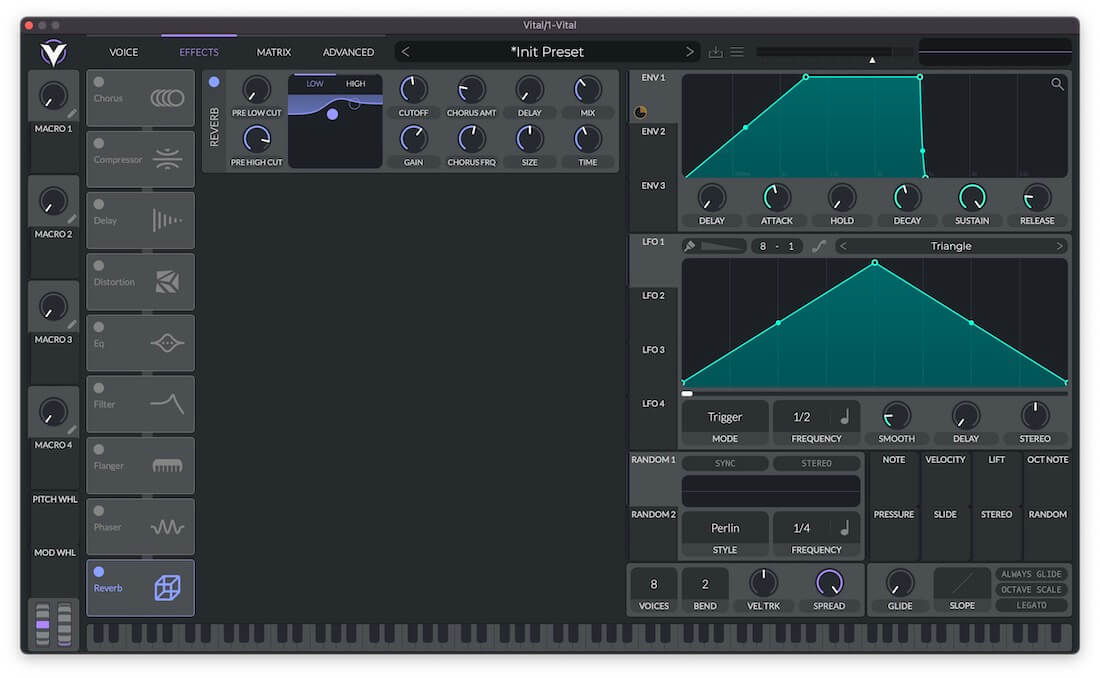
Some subtle time based effects can help to place your supersaw in a synthetic space. Open the Effects tab at the top of the plugin, and switch the reverb module on. We just want a relatively short reverb to help make the sound a bit thicker, so we’ve reduced the Time to around 500ms. We’ve also used the reverb module’s inbuilt EQ to attenuate the low and high frequencies slightly, to focus the reverb more in the mid range. We’ve also increased the mix to 30%-40%. The result is a smoother and spacier supersaw sound that is more easy to mix into the rest of your composition.
There’s no way we can cover time based effects in their entirety within this article, but if you want to take a deep dive on this type of processing, you can check out Jono Buchanan’s Science of Sound course on the subject.