Vocal Alignment: 5 Quick and Easy Tips

Whether you’re using a capella tracks, vocal samples, or recording vocals yourself, there’s not much worse than bad vocal alignment. Of course, vocals are a crucial element in many genres of music. So, if they’re out of sync it can really throw off the rhythm and groove of the entire track.
1. Singing Along Can Help You Align Vocals
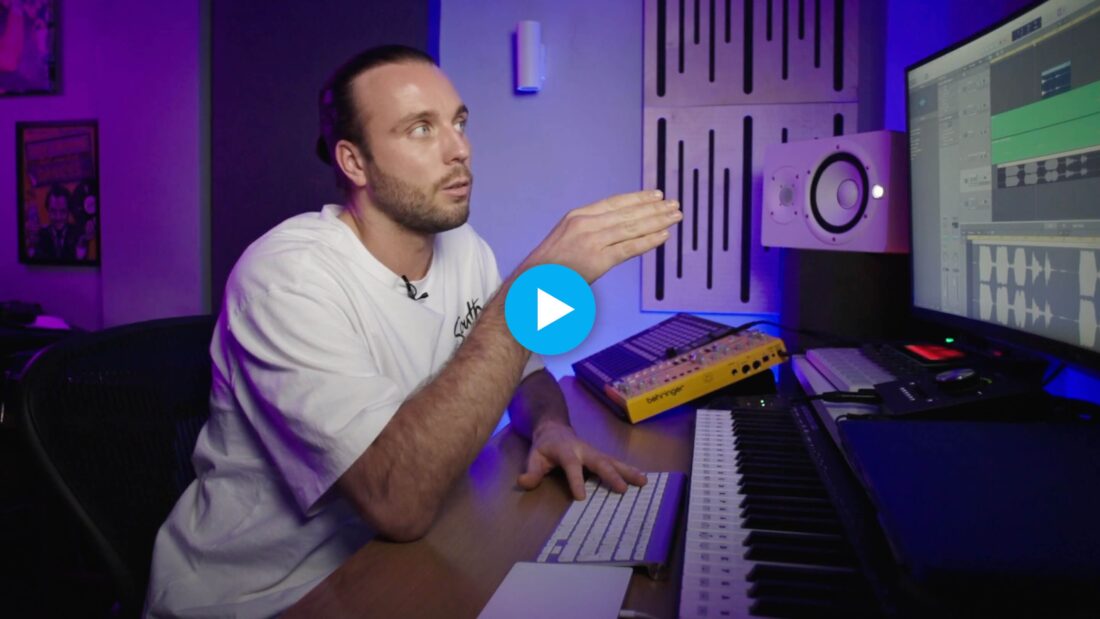
In this free chapter, taken from his FaderPro Track from Scratch course, George Smeddles gives us a handy pointer on how to align vocals. He explains that muting the vocal and singing it along with the rest of the track is a great way of identifying how you want the vocal to sit within your project. Check out the video below.
In the video, Smeddles explains that once you’ve established where the vocal starts, you can trim down any silence at the end of the audio clip. Then when it comes to adjusting the rest of the vocal, the position of the first section of the vocal will remain unchanged. In this article, we’ll take a look at some more tips and tricks for getting your vocal working with your groove, rather than against it.
2. Set Start and End Markers for Vocal Alignment
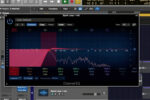
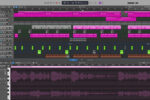
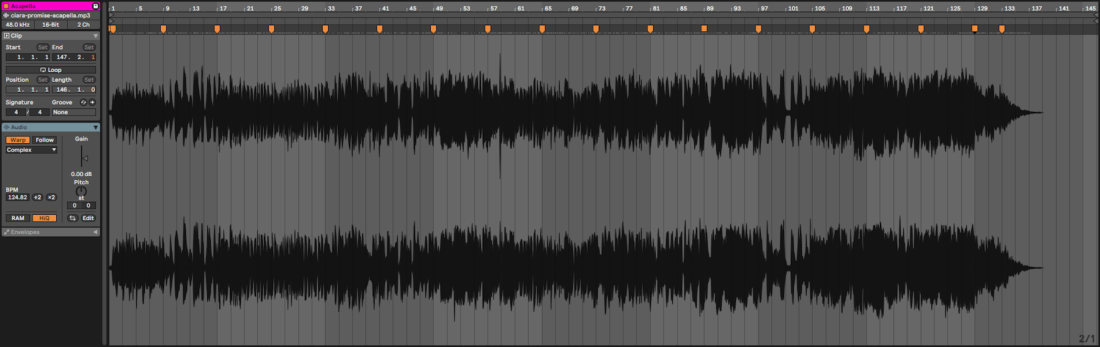
As George touches on in the above video, if you’re working with an a capella, you can quickly sync up the entire vocal by setting the start point of the vocal. Then, you can stretch the end point to the relevant position. In Logic Pro, this uses the Flex feature. But, most other DAWs have an equivalent capability. Let’s take a look at how to achieve this in Ableton Live.
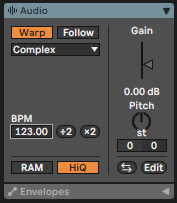
First, we need to know the original speed of our a capella. In this case is 123bpm. We can then switch on Ableton Live’s Warp Mode and type that number into the audio clip’s Segment BPM window. This will tell Ableton to stretch the audio file from its original BPM to the project’s BPM.
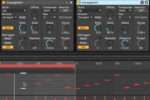
Now, set the start point of the a capella by double clicking on the dark gray area above the initial transient to create a new Warp Marker. Next, drag it into position.
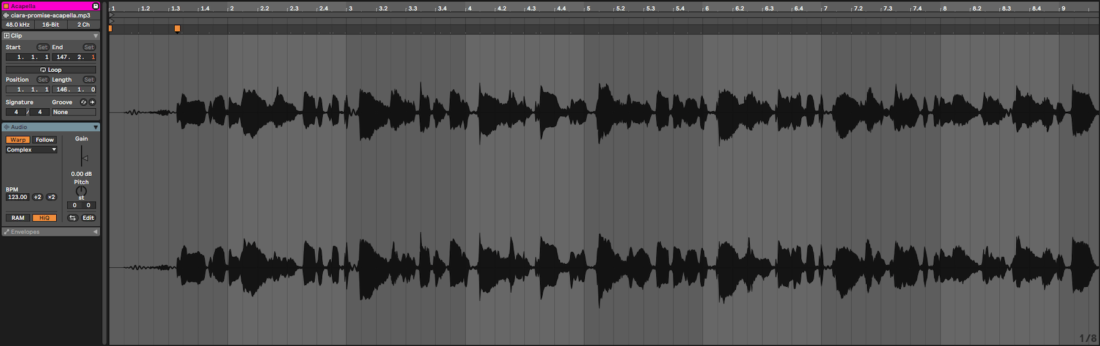
Create a Warp Marker on the first transient of the last section of the a capella and drag that into position too. Provided the a capella is a constant tempo, all of the audio in between the warp markers will be in time.
3. Warp at Intervals
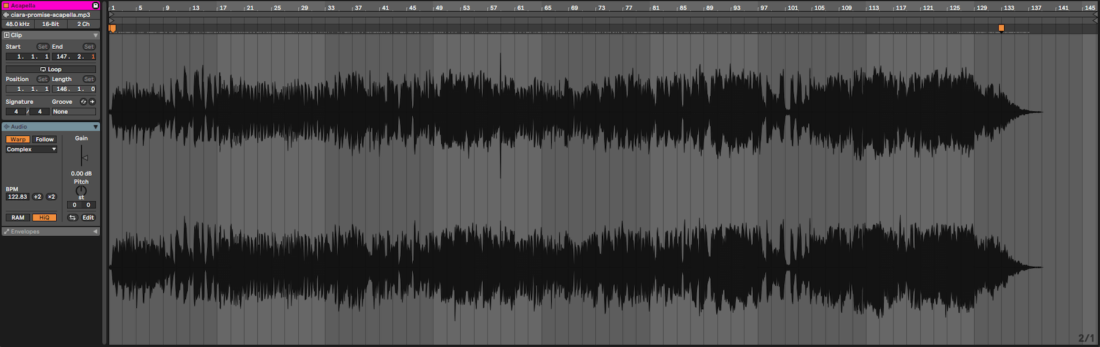
If your acapella was originally recorded without a click track, and isn’t a constant tempo, you may need to dive in a little bit deeper to match the vocal’s timing up with your project. As with the previous tip, you just need to create new warp markers at regular intervals and drag the start of sections into place.
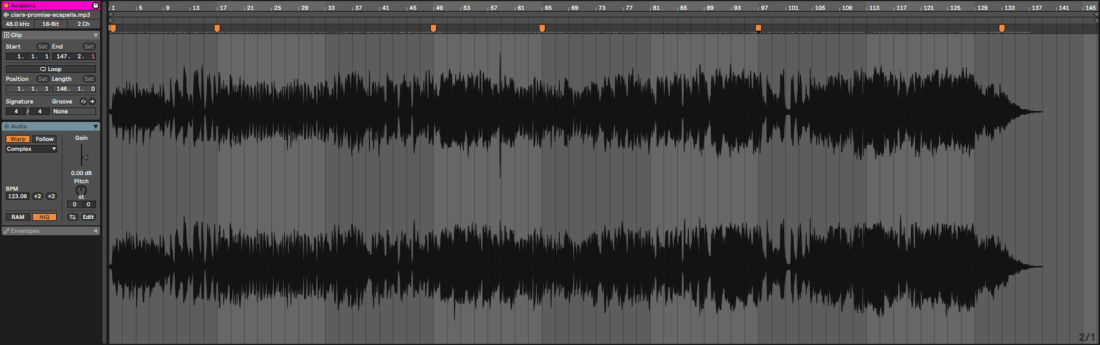
If your vocal is only slightly out of time, you may only need to do a small amount of adjustment. For more loosely timed vocals, you might need to create warp markers every 16, eight or even four bars in order to keep them in check. While this might seem time consuming, it’s quicker than adjusting an a capella at the start of every phrase, and has the added benefit of sounding more natural.
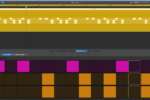
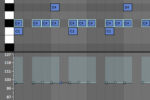
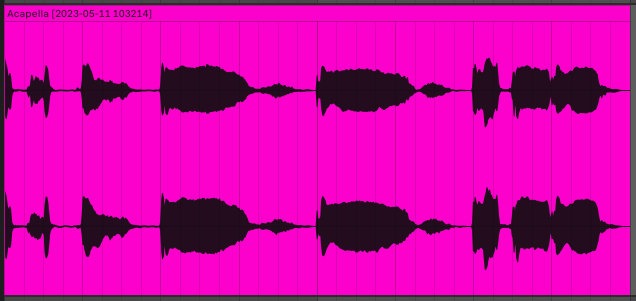
4. Cut then Quantize
For shorter vocal segments or chopped up samples, you may need to go in on a granular level in order to really get your vocals timed to your liking. Rather than warping or flexing whole sections as is covered in the above techniques, try slicing your audio at the start of words or phrases, then manually dragging them into place along your DAW’s timeline.
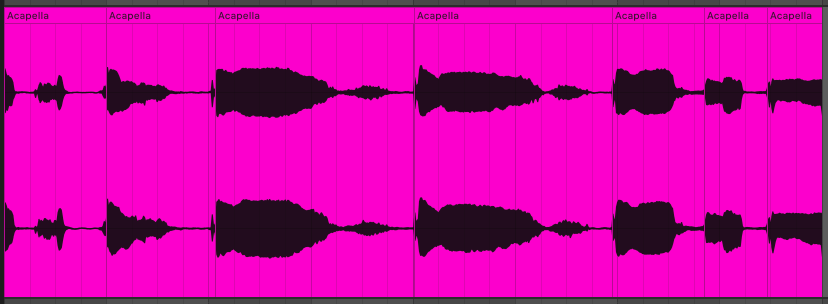
Again, this might seem time consuming, but it shouldn’t take too long if you’re working with shorter recordings. This technique also gives you the most control over your vocal alignment, and offers you the ability to place words or entire phrases anywhere along your timeline, reordering the vocal completely if you wish. At this point you can also independently adjust the clip level of certain words or sections if necessary.

Once happy with your vocal timing and levels, you can consolidate the vocal back into one audio clip to keep things neat and tidy.
5. Don’t Get Carried Away
If you hard quantize, flex, warp or sync your vocals, you’ll end up removing all the feel and soul contained in the performance, resulting in a lifeless and regimented vocal track. As with live instrument recordings, vocals have some level of imperfection that conveys a sense of humanity that is pleasing to the listener. For the same reason, extreme vocal Auto-Tuning is a widely-debated technique despite having become a stylistic choice in some genres of music.
Of course, you don’t want your vocal track to sound completely out-of-sorts with the rest of your composition, but some to-ing and fro-ing in the flow and cadence of the vocal is what makes it sound human, and can really help to add character and interest to the overall production. Of course there are some instances where the delivery of the vocals needs to be perfectly lined up on your project’s grid, but generally it’s best to give the vocal some space to move slightly in and out of time, if that was the way it was performed. As always, there’s no right or wrong way to align vocals, as long as it sounds good.
Want to learn how to get great vocal takes on your own? Check out this article.