Best Pro Tips for Mixing Reverb
Learn how to use reverb to create controlled space in your mixes with these useful pro techniques
Mixing reverb is very much a case of horses for courses, so getting the best reverb settings for vocals will be different to working with a lush pad, for instance, and personal taste always comes into play. However, everyone could use a helping hand, so we’ve compiled a reverb cheat sheet containing some key mixing techniques to take your productions to the next level.
In our new course The Science of Sound: Reverb, experienced mixing engineer and music production instructor Jono Buchanan puts a variety of algorithmic and convolution reverb plugins to work in a track, giving you an excellent guide to designing reverbs in your own projects.
In this article, we’ll cover:
- How to make a reverb effect
- How to add reverb
- Using a reverb plugin
- Mixing: How to use reverb like a pro
- Using reverb to create depth
- How many reverbs in a mix?
- Reverb settings for vocals
- How to use reverb on vocals
- Sidechaining reverb
How to make a reverb effect
Reverb is created by sound waves reflecting off surfaces in a space, gradually decreasing in intensity until the reflections fade away. Unless you acoustically treat a room by adding absorbent, soft furnishings or sound panels to ‘deaden’ the space, it’s very probable that you’re going to pick up some amount of reverb when you record audio.
To create a natural reverb effect without using any software or hardware tools, all you need to do is record audio with a microphone in a ‘live’ room. Big rooms or spaces with hard, reflective surfaces are considered to be live rooms, and any audio recorded there will be captured along with a natural reverb.

Generally speaking though, to have greater control over reverb in your mixes it’s best to capture sound in ‘dead’ environments, where there is less chance of reflections bouncing off surfaces and creating natural reverb. With a flat, dry recording you then have the option of adding in a reverb plugin in your DAW afterwards, which will simulate a space for the sound to inhabit.
How to add reverb
Most DAWs come with stock reverb plugins that you can use to immediately add reverb to your tracks. The method for doing this is different for each application, but it’s essentially as simple as adding a reverb to an individual track or sending the track to a reverb bus.
There are tons of different styles of reverbs, including hall, room, plate, spring, gated and convolution reverbs. To get more information on each type, take The Science of Sound: Reverb, in which Jono takes a tour of both algorithmic and convolution reverbs.
Using a reverb plugin
Whatever the type of reverb you’re using, the parameters on the plugin will probably include a dry/wet knob (otherwise known as a mix knob) that you can use to dial in the balance between the original, or ‘dry’ signal, and the effected, or ‘wet’ signal. You can then control the character of the reverb by tweaking parameters like size, width, pre-delay and high and low cut filters.
Check out this free clip from The Science of Sound: Reverb, in which course instructor Jono Buchanan demonstrates how to blend in a reverb using the mix knob and a low cut filter on a drum loop:
Mixing: How to use reverb like a pro
Mixing is a skill that takes time to develop, and like any skill, trial and error is the best way of improving. However, if you’re wondering how to use reverb like a pro you can do yourself a huge favour by using an automation track on the dry/wet knob of your reverb plugin.
We’ve outlined how to dial in a global reverb setting using the dry/wet knob, but a good mixing engineer will also need to pay attention to the track’s transitions and moments that call for one-off adjustments. By manually drawing in an automation line to raise or lower the amount of reverb being applied to the sound at specific points you can wield tight control of the finer detail in the track.
Let’s say you have a spaced-out main reverb set up on a bus track, with multiple instruments sending their signal out to it. Everything is sounding great, right up until the moment where you want to introduce a hard stop just before the final chorus. The reflections of the reverb are spilling out into the space created by the stop, and nullifying the impact of the final kick in.
The solution here is to automate the reverb’s dry/wet knob so that it tails off to zero on the beat of the stop. The reverb tail will cut off cleanly, and you can automate the reverb to return to its previous level when everything comes back in.
Using reverb to create depth
When you’re mixing music it’s generally a good idea to try and order the elements of the track like they would be played on stage, giving each their own space. Where you decide to locate a sound should determine how you treat it. You can find out more about sound staging in chapter two of The Science of Sound: Reverb, which is only available if you sign up to the full course.
Getting a good sense of stereo width in a track is important, but so is creating depth and dimensionality in your sound. Reverb can be used to create an impression of depth in a mix, either by cranking it up or turning it down. Dry sounds will sound closer, whereas wet sounds will sound far away, and the key thing is to have a contrast of both in your mix. If there are too many tracks being drenched in reverb in your session, everything will feel like it’s lost in space, whereas too many dry elements will sound one-dimensional.

If you have a busy mix with lots of instruments panned across the stereo field, you should consider using a mono reverb to help maintain isolation and clarity. Using a mono reverb such as a plate or a spring reverb will give you lots of depth while also not gobbling up too much space in the mix. You can pan the reverb return to the opposite side from the dry signal, or slot it neatly behind it.
How many reverbs in a mix?
The amount of reverbs you use in a mix will depend on a number of factors, including the variety of instruments and elements in your session, personal preference and your computer’s processing power.
As we mentioned previously, you can choose to use reverb either as an insert effect or through auxiliary sends and buses. Inserts are a good choice if you’re applying reverb treatment to a single track, especially if it’s the only track in your session that uses that particular reverb. However, as Jono explains in the free clip we’ve made available below, when you’re working with a lot of tracks it’s impractical to set up an individual reverb treatment for each one.
Setting up a reverb bus is a great way of conserving CPU usage and creating a consistent sonic space across multiple instruments. A bus is an extra track in your DAW that receives an input from another track, and you can send as many signals as you want this way.
By placing a reverb plugin on a bus and then sending other instruments into it, you can streamline your workflow and save on time. More often than not you’ll have a main reverb that you use on lots of elements in your mix, and this should be controlled from a master reverb bus
Reverb settings for vocals
Perhaps the most important element of a track, vocals can really come to life when given the correct reverb treatment. When you find a great sounding reverb it can be tempting to go all out and smother your vocal tracks in it. One of the issues with doing this, especially if it’s a large reverb, is that it can make it difficult to hear the detail in the original unprocessed signal. If you’re wondering how to use reverb like a pro, a parameter that you should pay close attention to on your reverb plugin when mixing vocals is pre-delay.
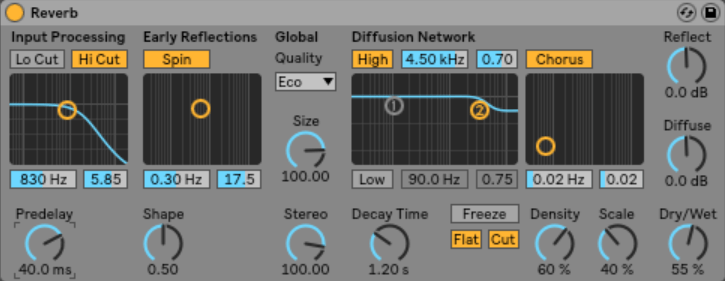
Pre-delay is a time-based setting that lets the plugin know how long to wait to start applying reverb. If you set the pre-delay to 40ms, the plugin will wait for 40 milliseconds before it engages. Let’s say you’ve applied a reverb to a vocal, but it’s sounding a little bit muddy and the words of the phrases are getting swamped. You can add clarity by setting the pre-delay just past the longest attack of the singer’s words to keep the signal dry while they’re singing, but also include a nice reverb tail in between.
How to use reverb on vocals
Because they’re such a fundamental part of a track, vocals are probably the most difficult thing to mix. The human ear is conditioned to pick out the smallest inflections and subtleties in the voice, so as a result when we listen to vocals in a track we’re hyper aware of anything that doesn’t sound right.
The lead vocal should be upfront and centre in a mix, which means treating it with the right amount of reverb. Reverb makes vocals sound better by rounding them out and giving them more sustain, but it also removes detail. A good method of keeping the right balance is sending your vocal to an auxiliary bus with a 100% wet reverb on it. Reduce the time of the reverb until it sounds natural with the rest of your mix, then adjust how much of the vocal channel you’re sending to the bus.
Sidechaining your reverb
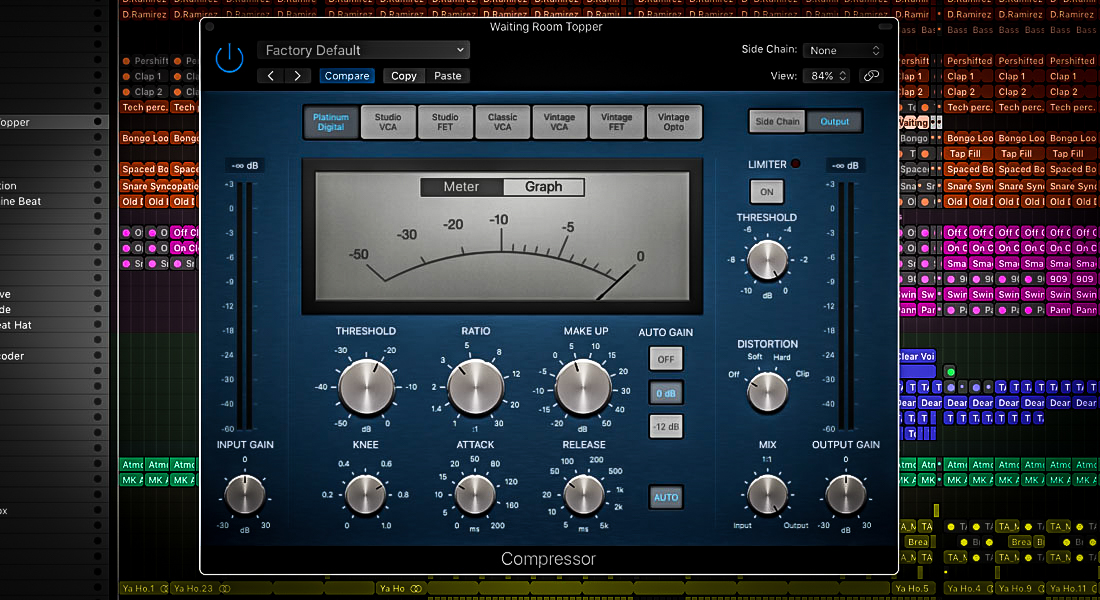
If the reverb on your vocal channel sounds great solo’d, but seems muddy in the context of the full mix, try sidechaining it. A tool favored by dance music producers, sidechain compression is a form of audio ducking which works when the level of a sound triggers a compressor. This technique can be used to make synths pump to the beat of a song, but when used subtly sidechain compression can be a great way of applying reverb to vocals without overpowering them.

All you have to do is set up a compressor on your reverb bus that’s sidechained to the vocal track. If you’ve done this correctly, you’ll hear the compressor clamp down on the reverb when your vocals are playing and release it when they aren’t. Alternatively, you could compress your vocals but send the pre-compressed signal to the reverb bus. This way the reverb will pump in time with the rising and falling volume levels of the original take, adding an extra layer of dynamics and realism.
Next steps
To step up your music production game and start mixing reverb like a professional sound engineer, take The Science of Sound: Reverb with Jono Buchanan now. In ten easy-to-follow chapters totalling nearly two hours you’ll learn the basic principles of how reverb is created, and discover the variety of ways it can be used in a mix.
If you’re not quite ready to start your learning journey, sign up to our producer community emails and be the first to hear about our gear giveaways, exclusive offers, discounts, remix contests and free content.