Bass Sound Design: Tips and Techniques for Synth Bass Creation
Get those woofers worried and subs shaking in their boots with our tips for crafting professional low-end
Bass sound design is one of the most difficult elements to nail when it comes to producing electronic music despite being one of the most important, if not the most important component of a good dance track. From the initial sound design, to mixing your bass for maximum impact, it can be the sticking point where many productions fall short.
In this free chapter taken from his Fader Pro Track from Scratch course, Robert Babicz talks us through his favorite (and deceptively simple!) technique for designing compelling low or sub basses.
Babicz explains how a simple sine wave is inaudible on some speaker systems, and doesn’t hold up in a mix. Using a filter’s drive parameter, though, Robert brings the sine wave to life, creating a much more usable bass.
In this article, we’ll take a look at how to accomplish this technique in Ableton Live, and explore some other bass sound design tricks for you to incorporate into your productions.
1. Driving a Sine Wave
In the video above, Robert is using Logic Pro’s EXS-24 sampler along with the sine wave and filter that come with its default patch. The same technique can be achieved using Ableton’s Operator synthesizer. First, load Operator onto a new MIDI Track. By default, Operator just has a single sine wave loaded in Oscillator Output A, which is all we need for this technique.
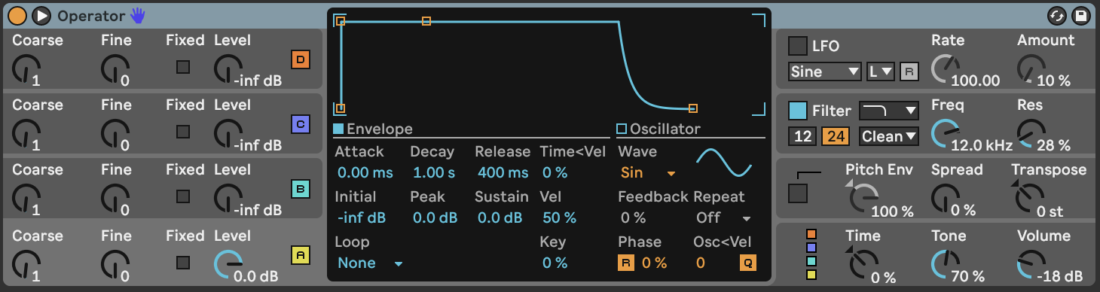
The filter
Next, let’s move over to the Filter. You can view all Filter settings by clicking on the Filter tab to the right of Operator’s GUI. By default, the Filter Circuit Type is set to Clean, which doesn’t have any drive control.
Select a new Circuit Type from the drop down menu, and the Flt. Drive setting will appear. You can now apply drive to the filter, introducing harmonic distortion that will give your unassuming sine wave a bit of grit and edge.
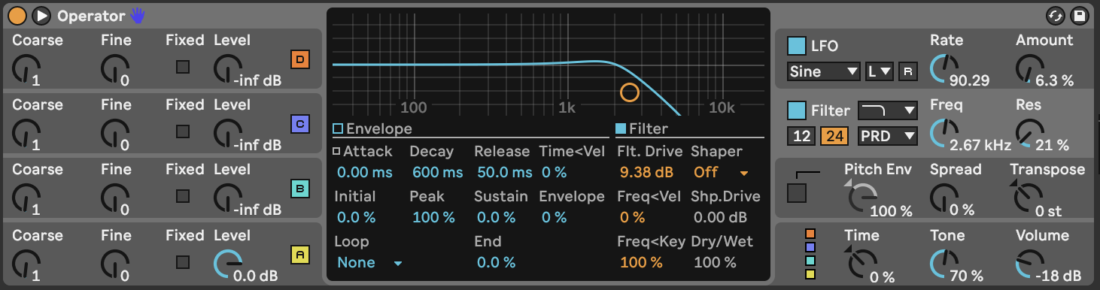
Experiment with different Circuit Types and Drive amounts to discover new bass tones and timbres. You can even try placing other filter plugins after Operator, and driving them for even more sound design potential.
2. Dynamically Driving a Sine Wave
While the first technique in this article is great for sustained legato bass notes, it’s not so great if you want a more plucky bass sound, so let’s take it a step further.
Contouring the bass sound design
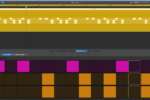
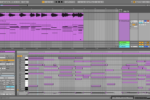
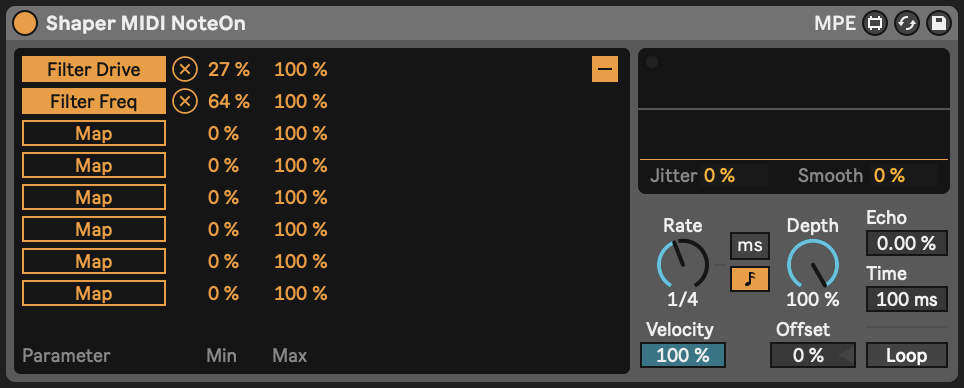
By introducing some filter drive and cutoff modulation, we can take control of the contour of the bass sound. In this case, we’re using a Max for Live patch called Shaper MIDI that lets you assign a MIDI-triggered envelope to any parameter in Ableton, but any sampler or synthesizer with assignable modulation options will do the trick.
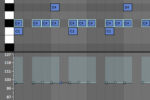
We essentially want to assign a downward ramped envelope shape to the filter drive and cutoff amount, so that the initial portion of the note contains more harmonic frequencies, while the sustained portion is more subby.

Adjusting the modulation ranges lets us fine tune the filter drive and cutoff values’ default position, as well as how much they open up when a MIDI note is triggered.
3. Destroy then Filter
As highlighted by Robert Babicz in his video on bass sound design, a plain old sine wave is often insufficient to work as a full bassline across a range of sound systems.
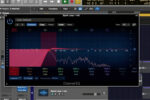
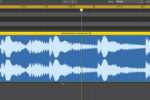
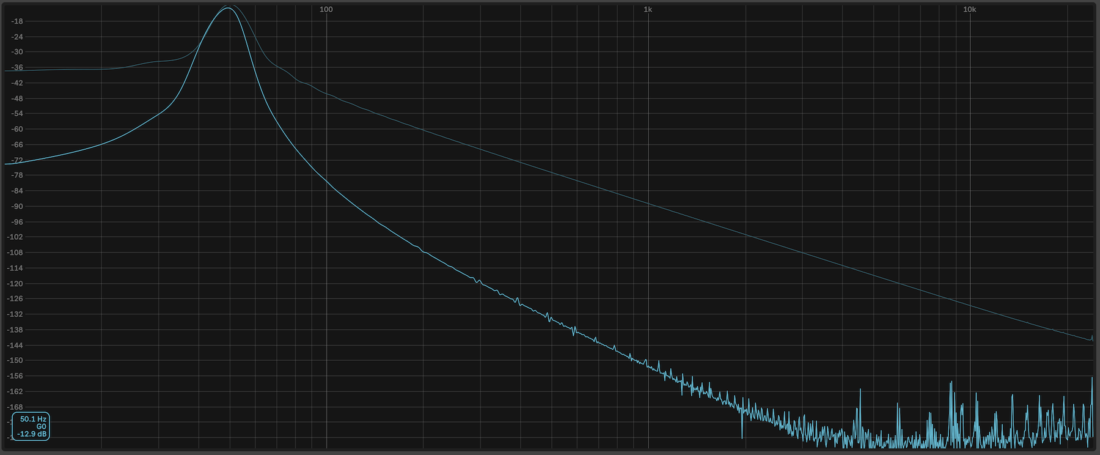
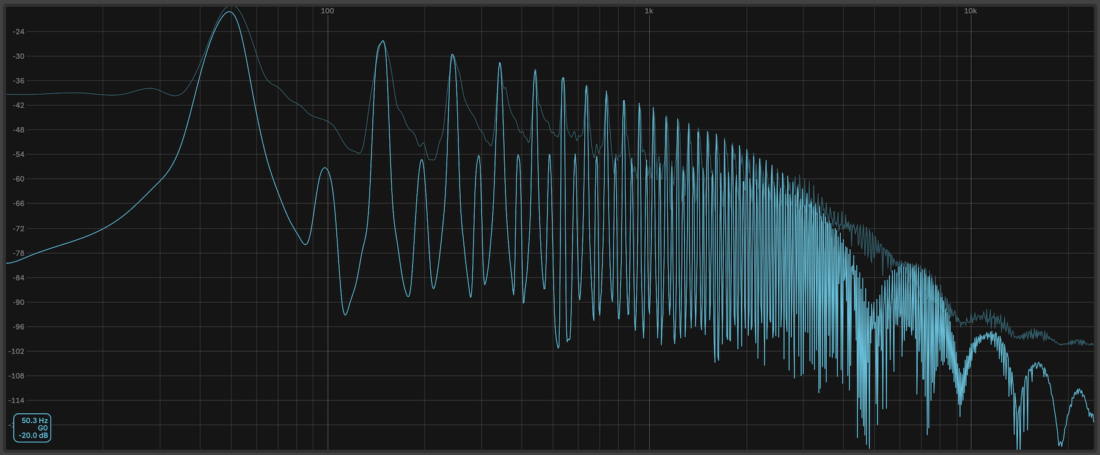
While a sine wave might work in a club or if you’ve got a decent sub set up, to the casual listener on headphones or laptop speakers, it just might not cut it. Take a look at the frequency spectrum of a single unfiltered sine wave played at G0, around 50Hz.
Adding harmonics with Overdrive
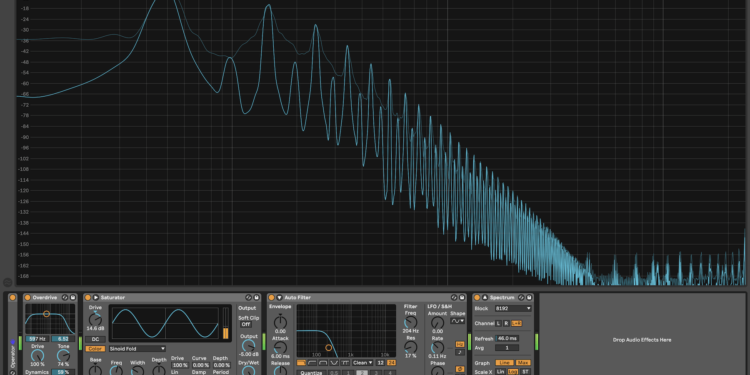
To circumnavigate this issue, we can add a tonne of interesting harmonics to the signal, then filter out those we don’t want.
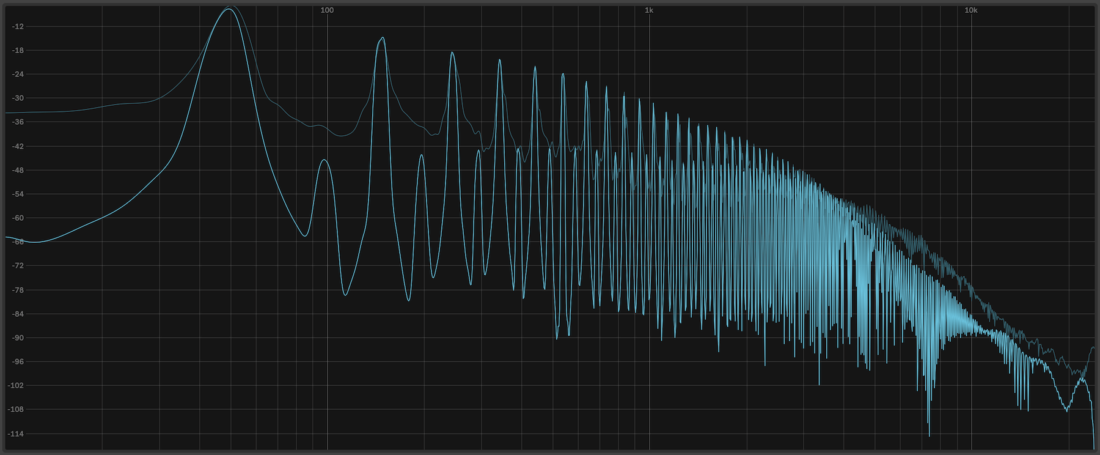
Let’s start by adding some overdrive to the signal. You can see all the additional harmonics that have been added to the signal.
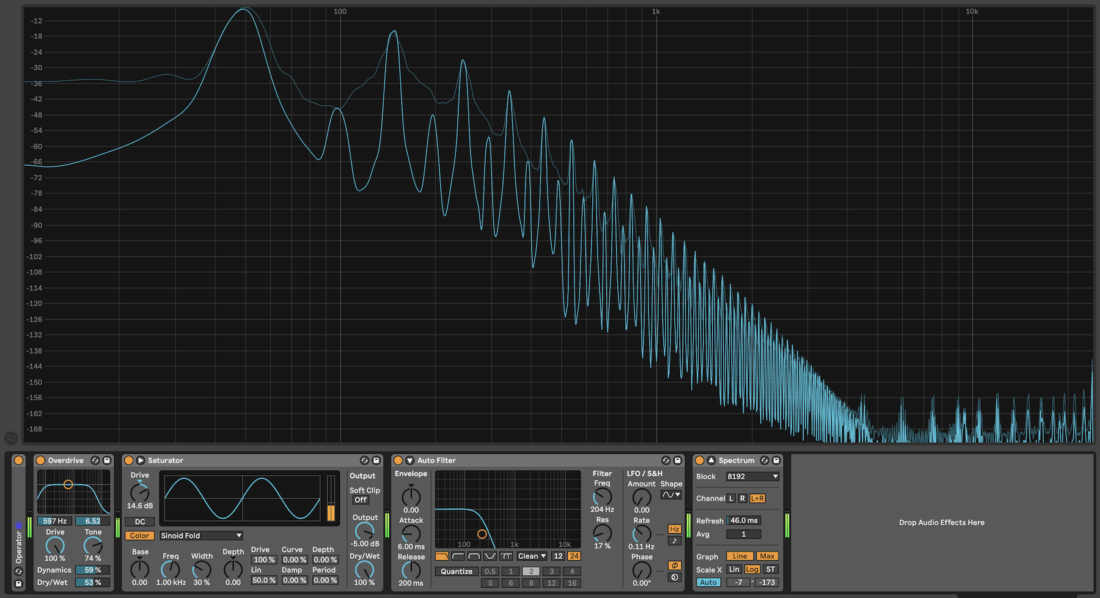
Let’s take it further using saturation, which brings the overall level up and introduces even more harmonic information.
We’ve now got quite a buzzy sound, which might be what you’re after. If not, we can use an EQ or filter to cut those high frequency harmonics. The resulting sound is a full and warm bass sound that will cut through the mix much better than a clean sine wave.
4. Mono-compatible Stereo Bass
There’s an age-old debate about whether bass should always be completely mono, or whether there can be exceptions to the rule in some scenarios. Ultimately, sub bass sounds (generally considered to be anything under 80Hz) ought to be in mono in order to avoid any mono compatibility issues. But what’s the harm in having your mid or upper mid bass frequencies dip into the stereo field from time to time?
Some basses really lend themselves to having several voices that are slightly panned and detuned from one another, creating a big thick morphing bass sound. The downside of this technique is that it can cause phase cancellation in your sub frequencies, causing them to sound thin or even go completely quiet. There are ways around this issue, though. Let’s create a wide but mono-compatible Reese bass in Ableton’s Wavetable.
Reese bass
Let’s start with applying three-voice Classic Unison to a saw wave in one instance of Wavetable. Bring the sustain up and the release down for a more consistent bass sound. With a bit of low-pass filtering, we’ve got our Reese bass.

But currently, Unison is being applied across the entire frequency spectrum. Duplicate the first instance of Wavetable, switch off Unison and bring the low-pass filter down to around 100Hz.

Now we have our completely mono sub bass. Go back to the first instance of Wavetable and introduce the high pass filter. The sub frequencies are being taken care of by our second instance of Wavetable, so we want to filter out those frequencies.

The result is a full sounding reese bass, where the higher frequencies give a sense of width while the sub bass frequencies remain safely in the center of the stereo field for guaranteed mono-compatibility. Another advantage of this technique is that you can apply independent processing to the two bass layers, such as using reverb or delay on the upper layer, or using any of the other techniques in this article on the sub layer.
Mixing bass sounds
Now that we’ve been through bass sound design, it’s important to understand how to ensure it fits well within the mix. So if you want to level up your bass mixing skills, check out Jason Herd’s Mixing Kick and Bass course.