How to balance your mix

Understand the best practices for getting your ‘console’ and its faders into line – with a little help from house producer Siege
To a non-producer, balancing faders is one of the mythical parts of being a sound engineer. Leaning over a huge mixing console and bringing the levels into clarity might look tasty to outsiders, but insiders know that it’s only a small piece of the mixing pie.
We can balance faders – including the virtual faders in a DAW – at the end or the start of a mix. There are different approaches taken to lead to the same final outcome, and with practices like gain staging, balancing faders can be left until late in the process. But starting on this task early has its advantages too…
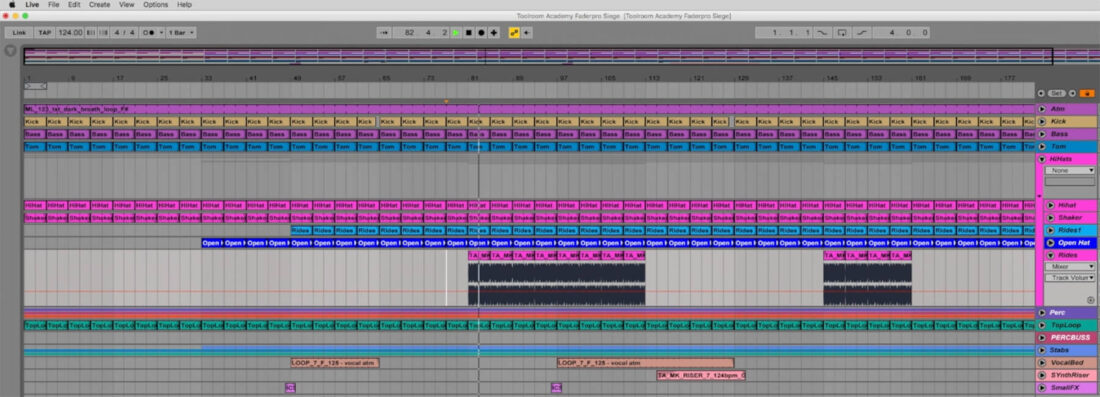
In the free chapter below from his In The Studio course, Belgian house producer Siege takes us deep into the process he uses when he’s constructed a main loop that really gets him going. Check out the video below to see the process in depth – the track levelling starts at 3:05.
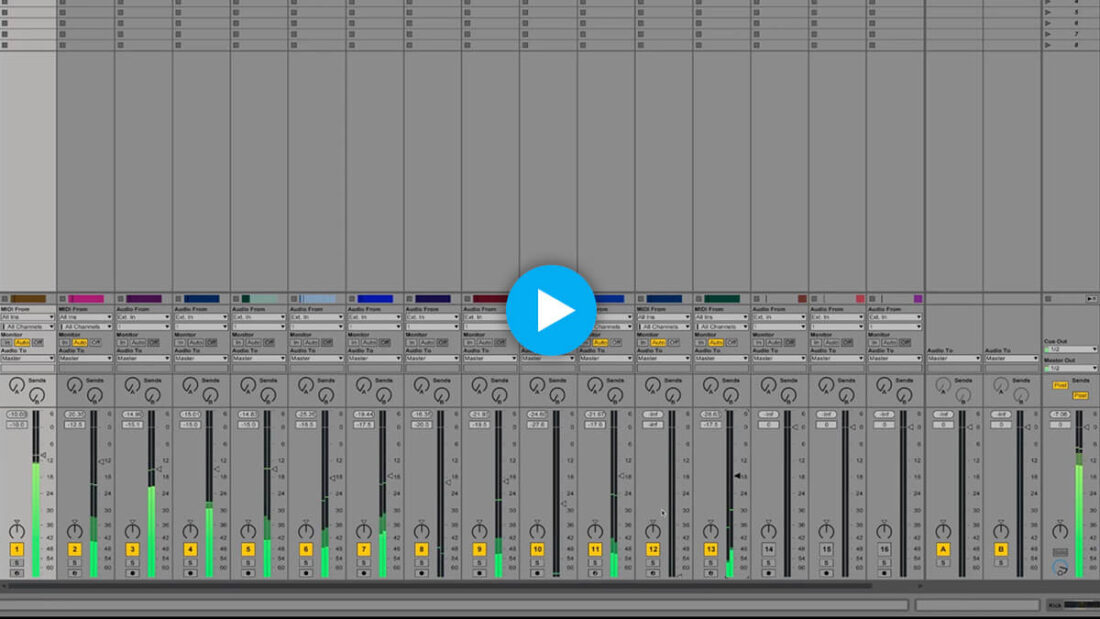
Balancing the channels
In the video above, Siege starts by ensuring all of Ableton’s mixer channel faders are set to -inf, then increases his kick fader until it peaks at -10dB. This element and its level are taken as a foundation that the rest of the track will revolve around.
The next elements Siege brings in are the bassline and then the hi-hats. With the kick providing a valuable anchor, these can be levelled against this reference point. Siege does this simply by listening to their relative levels and likely settling for what feels right. A seasoned producer will be used to balancing elements like this, both before and during mix processing.
Siege’s balancing gets more subtle as his TopLoop, Ride and Open Hat channels come into play. These blend together somewhat, and should be balanced as a unit against the rest of the channels.
Why it’s useful to balance before starting to mix
By the end of the balancing process (about 6:10 in the video above), Siege has decided on relative levels for all elements. These are not set in stone, though, and will be subject to change as elements are EQed, compressed and so on.
The mixing process can be complicated by levels and loudness. You might have heard that “louder sounds better”, or that “even loudness depends on frequency” – and this wisdom is all true.
STOP PRESS: We’ve got a course coming soon on loudness so make sure you’re on our email list to get updates about it.
One potential result of mixing is that as we process our mix channels, we end up ‘making it better’ by making it louder, which knocks out other elements, and our mix will soon spin out of control. By adjusting levels from the start and finding a balance between elements that works, we can process without thinking too much about turning things up or down – it’s just about making them fit.
The crucial trap behind mixing music
Mixing is all about getting elements to exist together in a tune. By the end of the process, you should be able to hear each element clearly, without any parts being drowned out by any others.
It’s tempting for the would-be mixing engineer to start working on an element – a snare, for example – and decide to make it clearer by making it louder. But making the snare louder may then drown out a guitar elsewhere, which would in turn need to be turned up. Turning up the guitar may swamp and piano, which when turned up makes the vocals harder to hear. At the end of this cyclical process, you end up back where you started – just with everything turned up.
For this reason, mixing is often more like sculpting. Instead of increasing the level of a mix element to hear it better, we remove some power in a different element to hear the first better. In the example above, perhaps we could have removed some frequencies from the guitar channel with EQ, carving out a space for the snare.
By balancing his mixer channels before he starts processing, Siege leaves room only for sculpting the mix when he starts processing later in the video.
Gain Staging: the other side of the coin
Using a practice known as gain staging, we can get a different type of control over our mix from the start. You can read more fully about the ideas behind gain staging here, but here’s a shorter version…
Gain staging means making sure that a signal is adjusted to its optimum level before any processing steps are taken to change it. As signals can also change level during processing, gain staging also includes adjustments after processing – such as changing the output gain on an EQ that has altered an entire signal’s level.
The reason behind gain staging may be simply about good practice, and achieving healthy signal levels from which to start mixing. But in the days of analogue studio hardware, it was also about making sure audio processing equipment behaved optimally and as expected.
Technically, what Siege does in his In The Studio chapter isn’t exactly gain staging. In Ableton Live, and in general, the mixing console’s faders are placed at the end of the signal chain, and so any processing done by Siege as he makes changes to EQ, compressors and so on, would be done to the original signal before gain was changed by the faders. Both approaches are valid ways to work in the digital domain.
What’s next?
If you’re stuck on the whole mixing process we can show you how one of our pro mixing engineers would mix your own track. Mentor Mixdown is our mixing education service where you’ll see every move that our engineer makes in the DAW as they’re working on your track. And not only that, they’ll explain why they’re doing what they’re doing, plus you get to chat live with them and get answers to your mixing questions. Full details are on our Mentor Mixdown page.