Resampling audio from your own project to create fuller tunes
Resampling audio from your own music can bring new, creative ways to add depth and interest to your tracks. We’re sitting alongside Thomas Gold to see how he approaches it.
Modern technology allows us to apply almost endless processing to our sound, transforming a drab and bleary sound into a completely new texture or timbre. What better thing to transform than an element of our own track, resampling audio of a project for use in an introduction, breakdown or riser?
In this free chapter from his The Making of FaderPro course, Thomas Gold explains how he found a new use for a piano chord when producing his track “Take it Back”. In it, he uses a carefully thought-out processing chain to create a rhythmic texture that brings more cohesion and energy to his production.
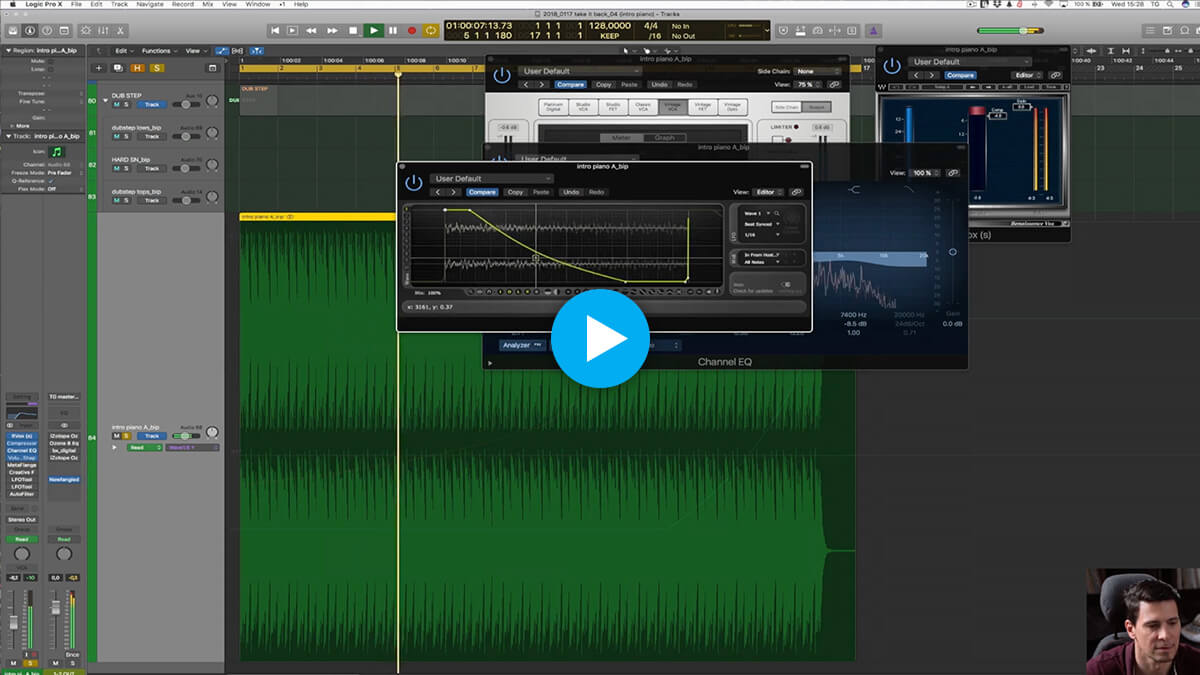
Thomas highlights the fundamental concept of this technique, which is to use one of the main components of the track as the genesis for something new. It’s a great technique that you can use to take your productions up a notch.
Gating for recreating
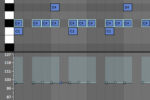
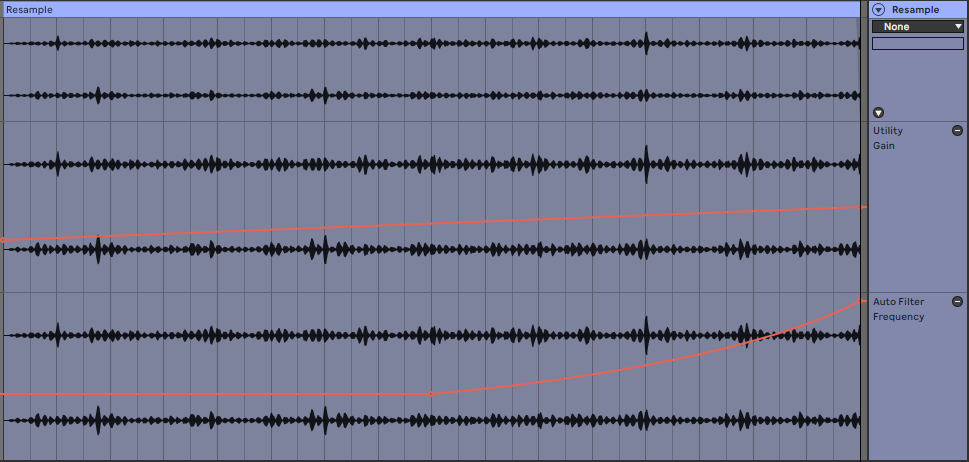
The example above shows Thomas using a volume shaper to achieve a gating effect, which creates a sense of rhythm and movement. There are a number of ways to accomplish this effect, though.
In this example, we’ve routed the audio from an arpeggiated pluck to a new audio channel, applied fast compression to tame the transients, a reverb at 100% wet, a chorus, then an autopan which is acting as an eighth-note volume gate.

The result is a new rhythmic texture, which follows the same melody as the original arpeggio but is a completely different timbre. Then it’s just a case of resampling audio from the resulting sound and teasing it into the introduction or breakdown of the composition with volume and filter automation.
Using reverse reverb
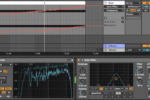
Another common way to reuse parts of your track is using the reverse reverb technique.
The idea is to reverse an important note, chord or hit of your track, create a long reverb tail after it, then resample it and reverse it back to its original playback direction. The outcome is a growing, swelling sound that ties into the original element of your track.
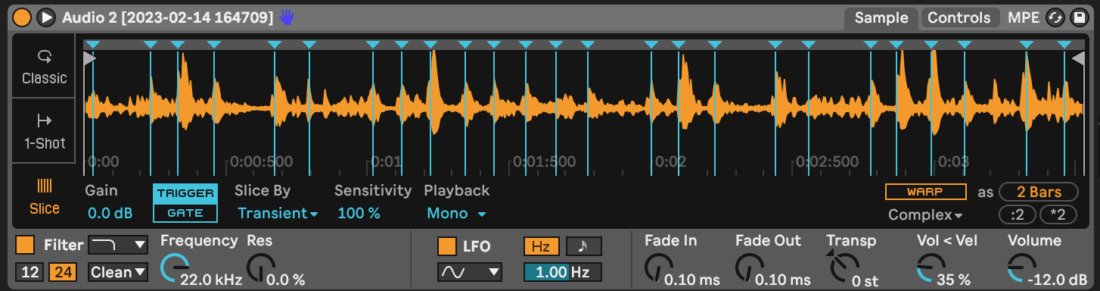
For this example, we’re using a single vocal chop that is repeated periodically throughout the track. Start by reversing the audio sample, then adding your chosen reverb plugin. Ideally, you should be able to set decay times of over 10 seconds, or even be able to freeze the reverb tail.
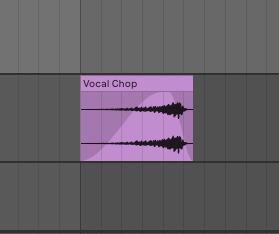
Set your reverb to 100% wet, and adjust the other parameters to taste. Now is a good time to apply any additional processing you might want to use, such as EQ or saturation.

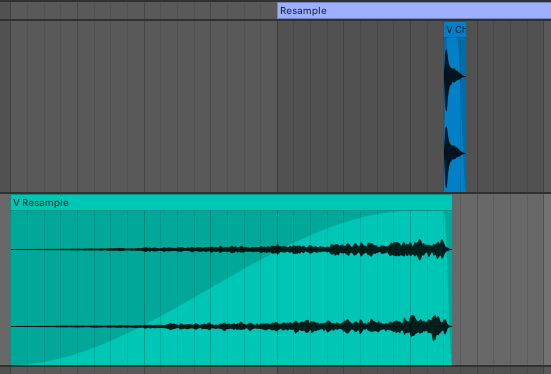
Then resample the audio onto a new track for as long as you need, in this case, four bars is enough. Now all that’s left to do is to reverse the resampled sound, and line it up so that it leads into the original dry sound.
Extreme timestretching with PaulXStretch [free plugin]
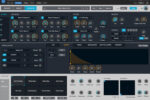
This next tip uses a free plugin called PaulXStretch, which is an extreme timestretching plugin, currently on its second iteration.
PaulXStretch differs from other timestretching software and algorithms in that it produces next to no unwanted artefacts, and packs a whole host of features not seen in any other software.
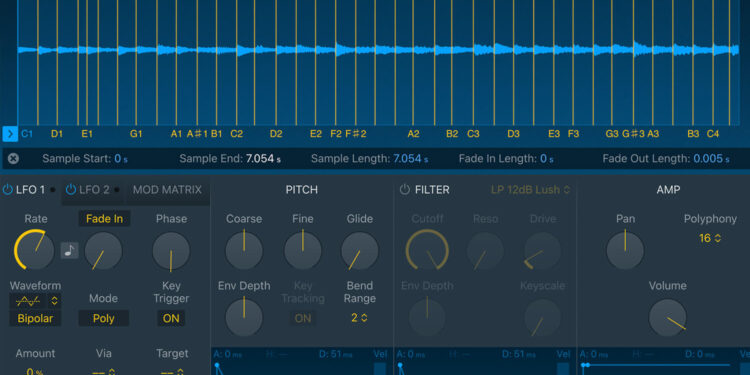
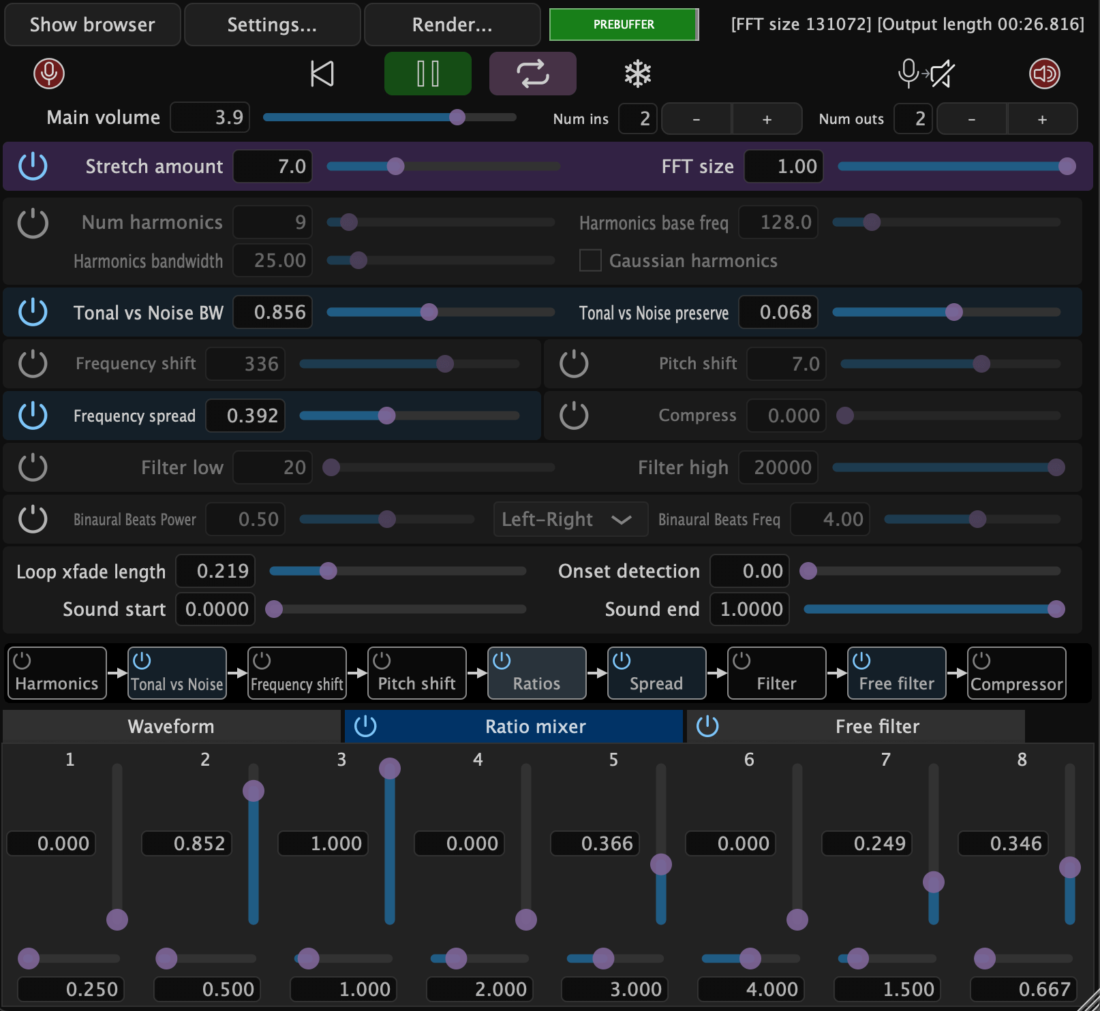
First, decide what you’re going to stretch out, and resample it into a single audio clip. Single notes or hits work well for creating tonal elements, whereas percussive sounds and textures are great for creating noisier, more unpredictable sounds. Load PaulXStretch onto a new audio channel, and drag your audio clip into the Waveform window at the bottom of the plugin GUI.
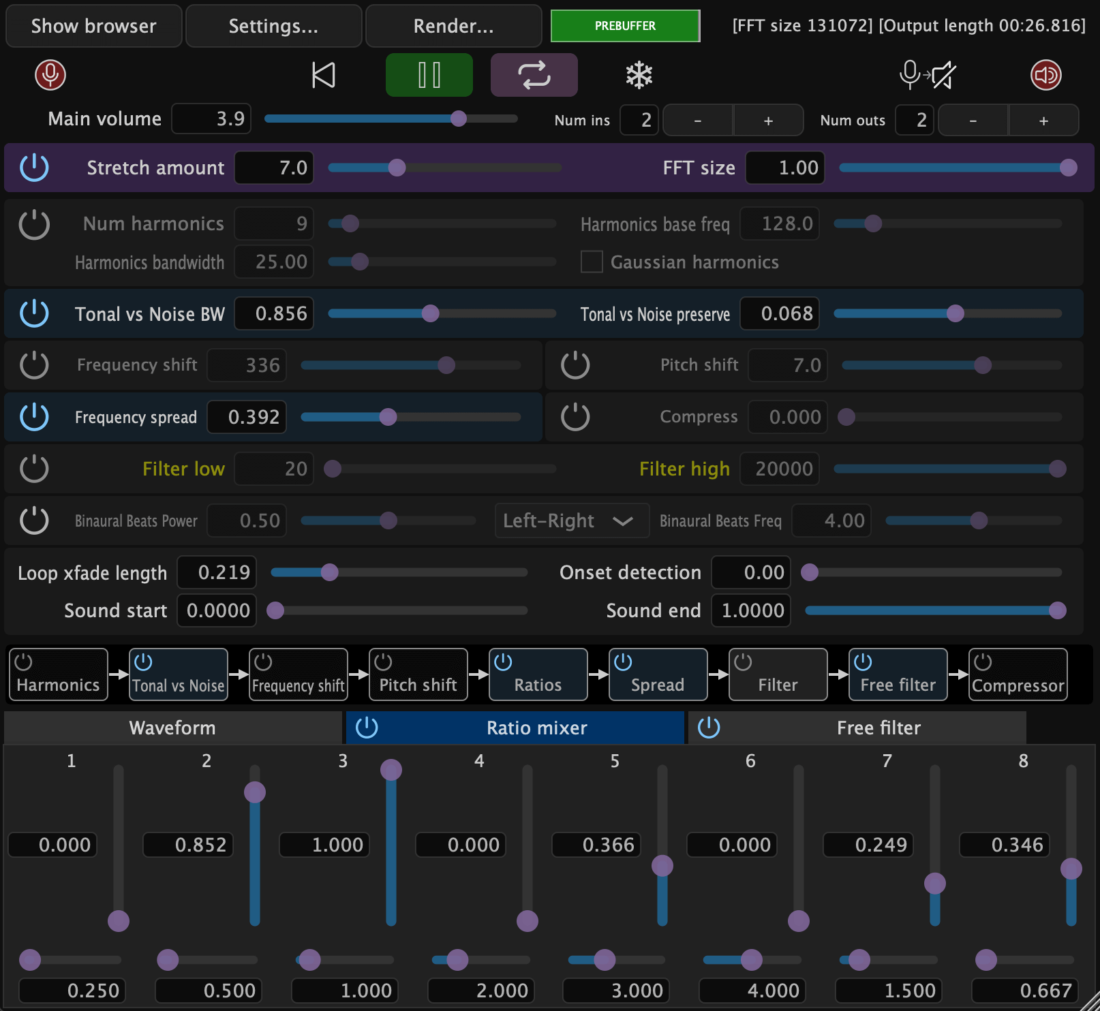
Now hit play to hear your original sound being stretched by its default amount of two. There is no winning formula here, the best approach is to record PaulXStretch’s output as you experiment with the parameters until you find some sweet spots.
Understanding some of the key features may help to point you in the right direction, though.
FFT Size, or Fast Fourier Transform Size, is a little like ‘resolution’, relating to the size of the ‘granular’ windows being stretched. In this case a lower FFT Size results in more artifacts, while a larger sizer creates a smoother sound. Each of PaulXStretch’s modules can be switched on or off using the corresponding On/Off button, and you can also reorder the modules within the signal flow at the bottom of the plugin.
The Ratios section allows you to introduce additional stretched voices at varying ratios of the original sound, for exciting, morphing harmonies. The Ratios’ default positions are set to remain in harmony with the original sound, but don’t be afraid to adjust the ratio values to come up with new, otherworldly sounds.
Getting experimental with resampling audio
The final resampling audio tip we’re going to cover follows on from the previous technique, and is more of a general concept than a specific workflow. As a process, resampling audio allows us to get truly creative with the tools at our disposal, generating new and unique sounds that you couldn’t have made if you’d tried. As with many aspects of electronic music production, a valuable part of the process is randomness and experimentation.
Try loading a handful of plugins you rarely use onto an existing track, bus or group, and resampling the output onto a new track as you randomly adjust the parameters.

The result will be a length of audio hopefully full of happy accidents that you can reverse, loop, repitch or slice into a sampled instrument.
To take this a step further, try assigning random LFOs to some of the parameters, or mute your speakers while you adjust the parameters for truly random processing.