How to sample a kick from a drum loop
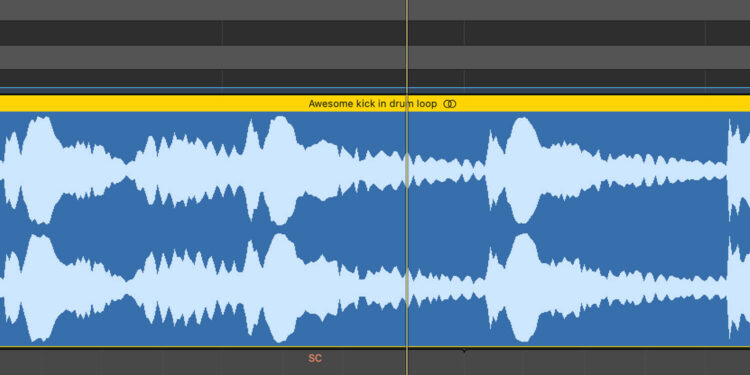
Sampling a drum loop can be a great way of getting the perfect kick for your own track. But there are some subtle techniques you need to know to get it just right. In this article, we’ll explain how.
With the time that can be spent auditioning, layering and processing them, it can sometimes feel like creating good electronic music is all about finding the perfect kick. Of course, there’s much, much more to it than that, but the kick is so vital to a track’s makeup that many producers start off their track-building process by getting this fundamental element right.
But what if the perfect kick – the one you just have to have for your track – is one that you’ve found as part of drum loop in another tune?
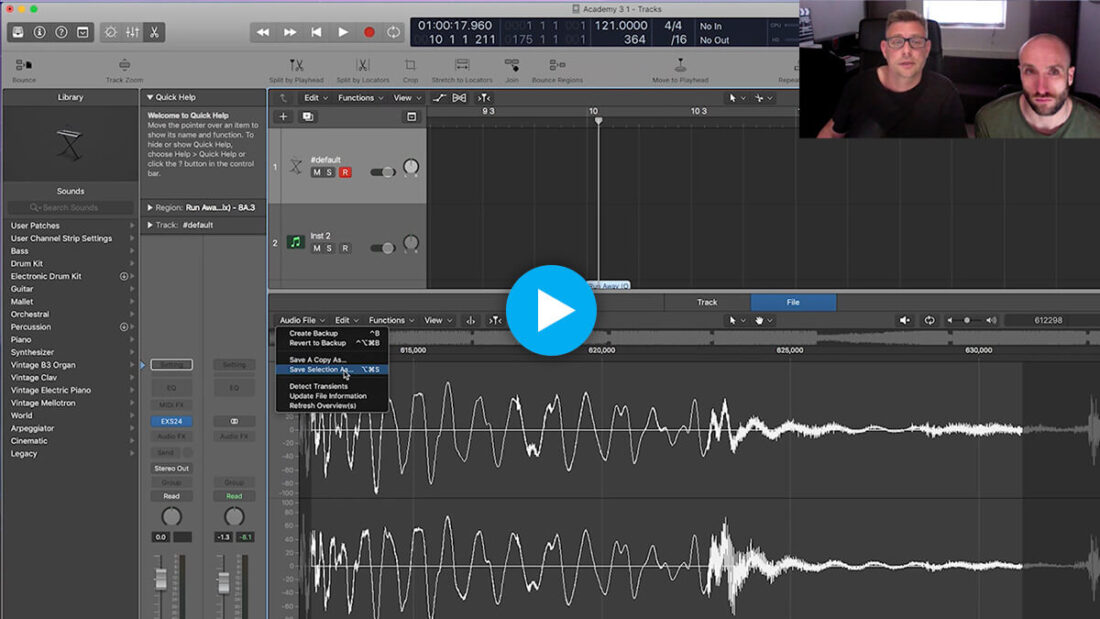
In their Uncut course on FaderPro, production duo Tuff London show us how to isolate a kick from an existing tune, with the intention of using it themselves. Along the way, the two producers give us some keen insights into sampling, as you can see in their free course chapter below.
Below, we’ll give you some insights into the duo’s kick sampling process, why it works, and how to do it in any old sampler, rather than Logic’s EXS-24, as seen above.
Why sample another tune’s kick?
Kicks are vital in electronic music, and if that’s the sound you simply have to have, this may only be one simple way to get it. There’s another great thing about this exercise, too: it brings you to a better understanding about how kicks work and how processing tools – in this case a sampler – work too.
Let’s get into it and take a look at how to sample a kick from a loop…
Find the right moment
To make this process as easy as possible for yourself, it’s important to start with suitable source material.
When you’re looking to isolate something from a track, it’s going to be much easier to sample a kick when there’s less playing alongside it. Faced with a choice between taking a chunk of a drop, where kick, bass, hihat, clap, percussion, synths, pianos, vocals and anything else are firing on full cylinders; or a part of the intro, where only a sparse drum beat is playing; opt for the beat.
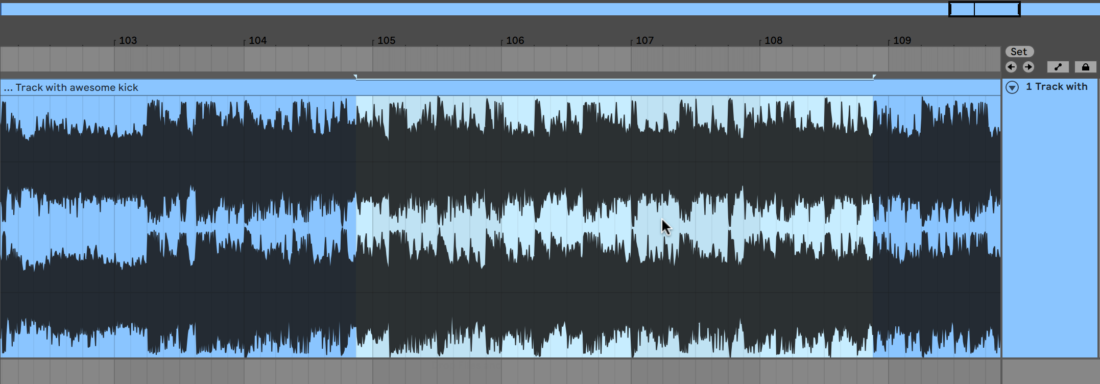
Make sure you’ve heard the track throughout before choosing your slice points.
It’s possible there’s a build-up or an outro that is a better candidate to get an unscathed kick. And if you can find a more DJ-friendly version of your track, it may have a longer intro to get things going – even better.
To make the perfect selection, you might need the knowledge from the rest of this article first, so check out some of our techniques below to determine your perfect tactic.
Working in your Sampler
The Tuff London method of removing a kick from a tune involves first slicing the cleanest kick you can find from the source track, and dropping the audio into a sampler. The idea here is to get the sampler playing the kick (and everything else that plays along with it), and then use its onboard controls to try and remove any other elements.
Loading audio and taking out Pitch influence
In the video above from their FaderPro Uncut course, Tuff London drop their audio into their chosen sampler. They then remove the sampler’s influence on pitch, so it’s playing the exact same audio, non-timestretched, regardless of what note is triggering it.
You can also set the sampler’s Root Note to whatever note you’ll be triggering it with, for the same result.

Reducing the filter cutoff to 0
This likely works the same way in your sampler. As we’ll be modulating the low-pass filter cutoff using an envelope, we should set it to its lowest possible amount by default.
The envelope will ‘add’ to the Cutoff value, rather than ‘multiplying’ it between 0 and 1, in which case you would set your default Cutoff to its maximum.
Activate the filter envelope
Your sampler likely has an in-built filter envelope, but you may have to assign a generic ‘mod envelope’ to the filter’s cutoff. It’s with this that we’ll perform the meat of our kick isolation and fine tuning.
Tuning the filter envelope
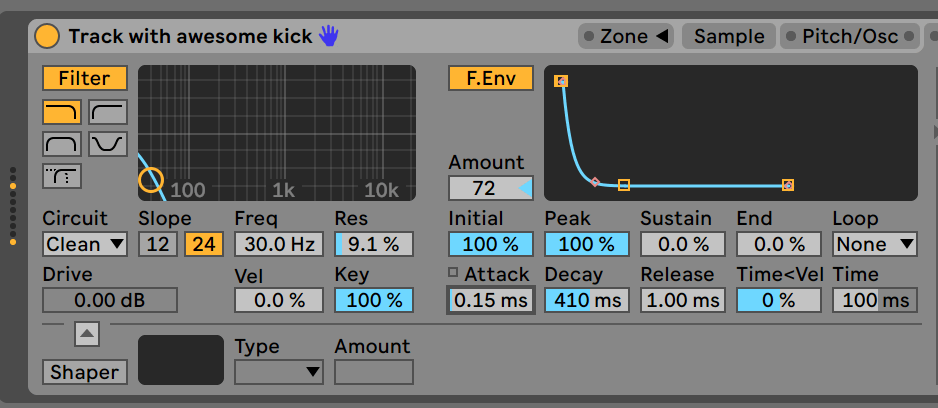
Now, using the filter envelope controls, tune the movement so that the filter closes over the kick. You’ll need to strike a balance between ensuring that the kick is coming through and that nothing else is doing so at the same time.
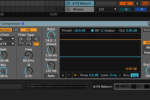
The more sophisticated your sampler’s control set, the more likely you’ll be to accomplish this well. Below, in Ableton’s Sampler instrument, the comprehensive filter envelope controls let us start with a raised cutoff, then drop it down using the Attack, Peak and Decay controls.
Why does this work?
Understanding the makeup of a kick sound itself is very useful for this exercise.
Acoustic kicks are slightly different, but an electronic kick usually consists of a sine wave descending in pitch from high to low. It’s the sweep of the pitch that creates that drum-like sound.
By modulating the filter cutoff at the exact same time as the kick is sweeping down (and matching its movement as closely as possible), the kick can do its thing, while the higher-frequency elements of the track don’t quite get started.
Of course, it depends on the exact track being sampled, as well as the exact kick the original artist used.
Is it stealing?
In a word, yes. If you’re planning to commercially release a track using a kick from another published track, then you’re violating someone else’s copyright. So, you should always get permission for any sample taken from any other tune from its copyright owners before you launch a creation using it onto the world.
What’s next?
If you’re want to find out more about using samplers, check out the Logic Pro Intermediate: Samplers course where Jono Buchanan explains all.
