3 Tips for Better Drops

Keep the dancefloor hopping with these top tips for deploying drops in your productions
Whether you like the term or not, drops are arguably some of the most important and memorable parts of contemporary electronic music. The ‘drop’ often brings with it sudden changes in rhythm, instrumentation and volume, and is a crucial tool for getting your listeners amped up.
So how do you make an effective drop?
It’s important to note that like many production techniques, implementing a big drop into a bad track will not make it a hit. Instead, tastefully making an effective build up into the start of a new section might help to add interest and maintain energy in your composition.
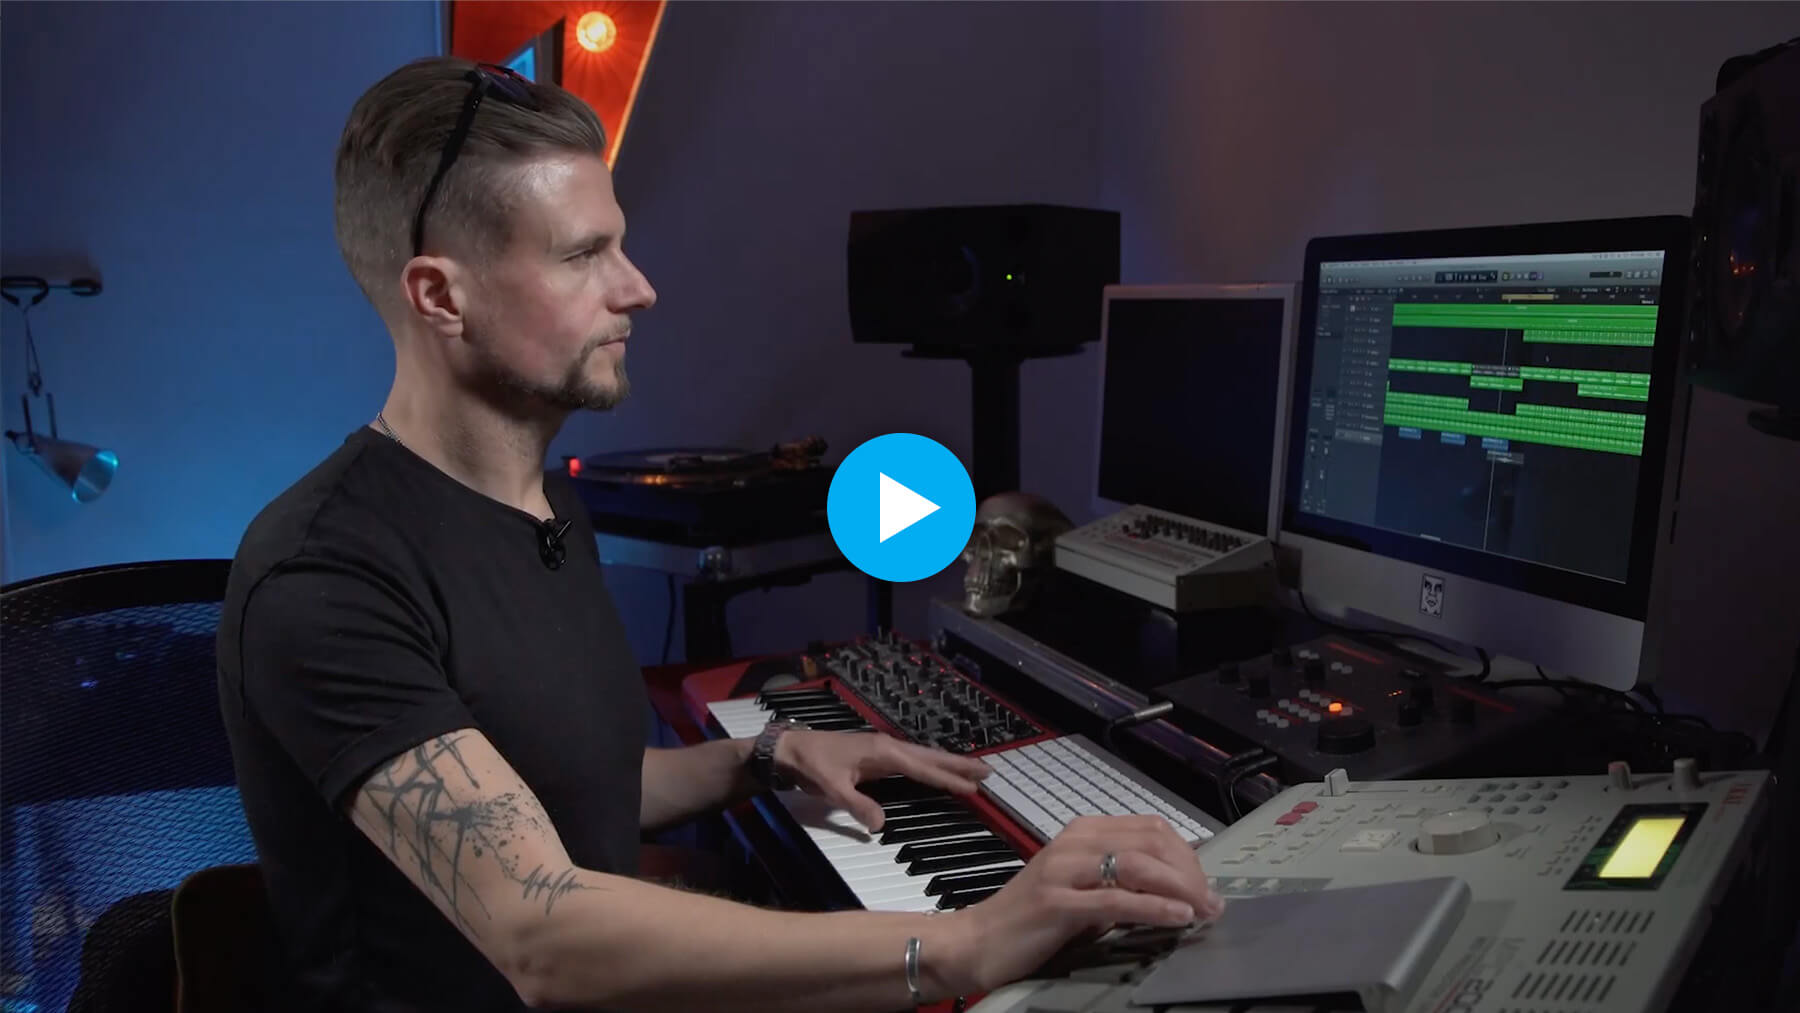
In this clip taken from his FaderPro In The Studio w/ course, Martin Badder demonstrates how he uses a reversed crash and a filtered white noise to effortlessly glide between two sections of a track. Read on for a closer look at the processes Martin employs here, as well as some other techniques that can be used to create even more energy.
1. Filtered white noise
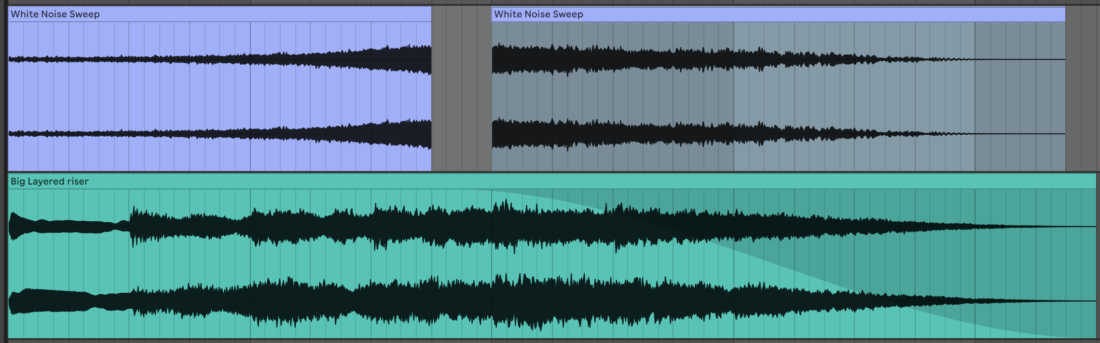
In the above video, Martin uses two key pieces of audio to build energy. We won’t go into how to reverse a cymbal sample here, but let’s see how he might have made the white noise sweep.
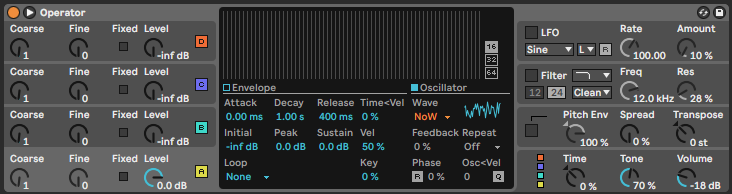
First, we’ll need a white noise generator and one sustained MIDI note to trigger the noise. In this case, we’re using Ableton Live’s Operator device with the white noise oscillator. Make sure Operator’s inbuilt filter is turned off, as we’re going to use a separate filter device for this technique.
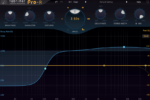
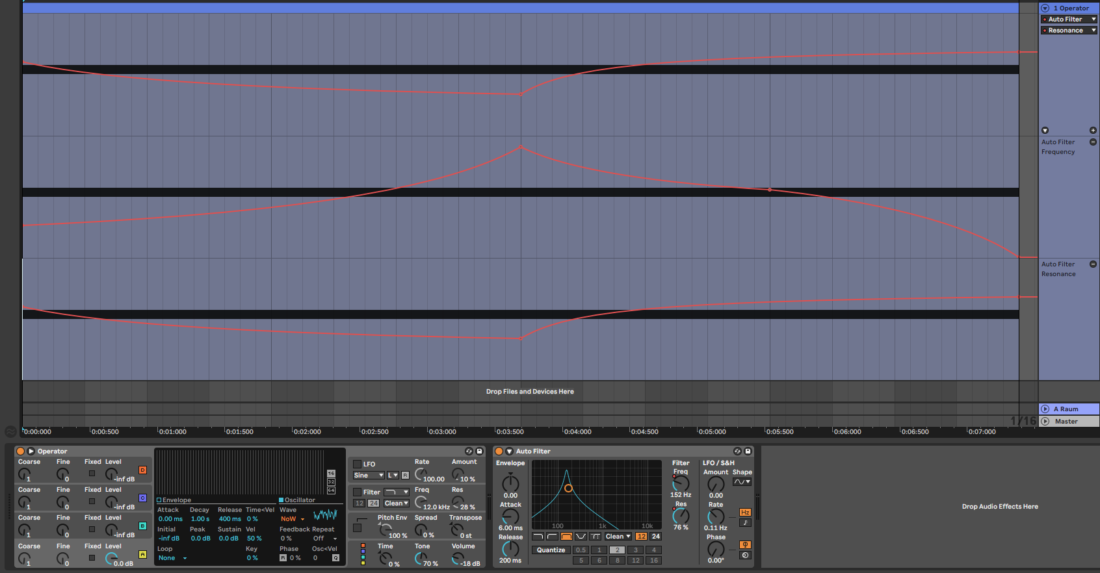
Then, place a filter after Operator and put it in Bandpass mode. From here, we’ll need to automate the cutoff frequency and resonance amounts to create the rising and falling effect that can be heard in the clip from Martin Badder’s course.
Once you’re happy with how your white noise filter sweep sounds, you can bounce it to audio and save it in your sample folder to use for building energy in future projects.

2. LFO synth risers
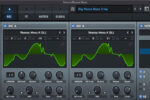
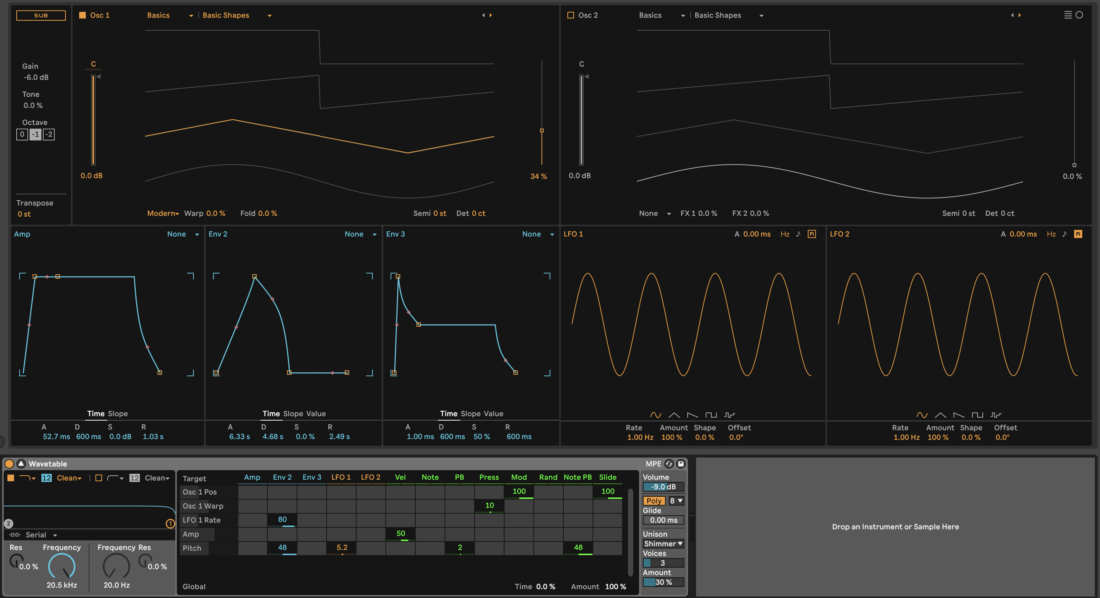
As well as using noise, tonal elements can be used to build up to your track’s drop, and you can even combine the processes for extra impact. For this technique, Ableton Live’s Wavetable synth has all of the functionality we need, but any synth with a few modulation routing options should do the trick.
There are any number of ways to achieve thrilling build ups using synth modulation, but in this tip we’ll focus on modulating pitch.
Once again, place your chosen synth on a new track and create a single sustained MIDI note. Let’s increase the attack time to around 50 milliseconds to prevent any clicking at the start of the note, turn the sustain up to full and the release to around 1000ms. We’re using a triangle wave, but this technique works with just about any oscillator shape.

Assign envelope two to your oscillator’s pitch with a positive value, bring the envelope’s attack time up to the length you want your build up and adjust the decay and release to taste. This will gradually increase the pitch of the riser as the note continues, but we can also modulate the pitch up and down by assigning an LFO to the pitch too.
In order to create the building effect, we can also assign envelope two to the LFO’s rate, so that the modulation gets faster.
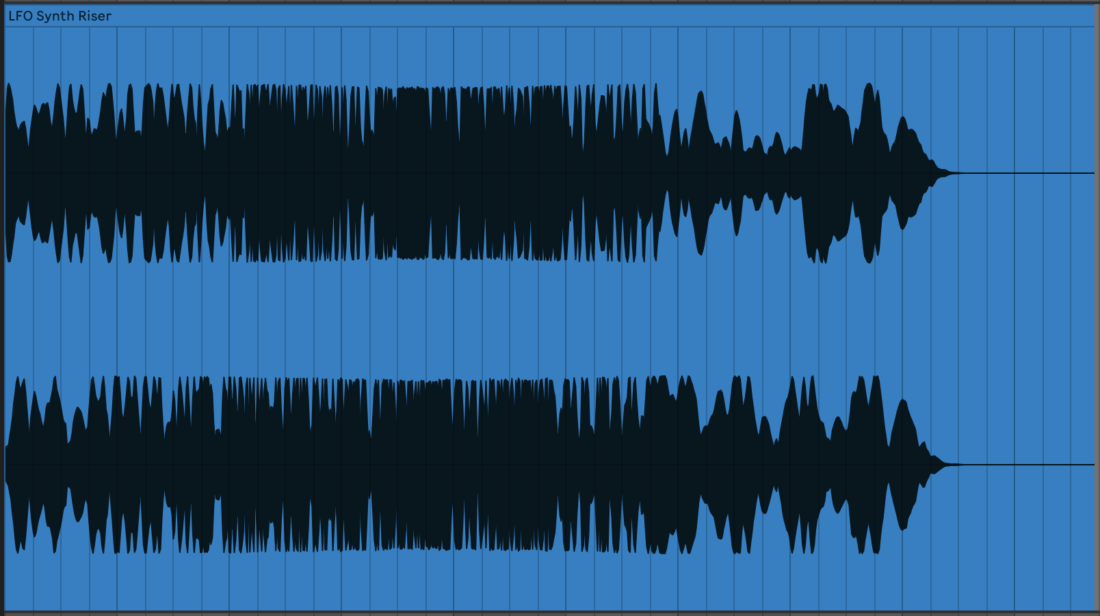
As before, you can now resample the finished product into audio and save for future use. You can also save the synth patch, so that you can adjust the parameters to suit the timings and feel of any track that you are creating a drop in.
You can also experiment with assigning the envelope and LFO to other parameters to emphasise the effect. Level, pan, filter cutoff and oscillator shape are all controls worth experimenting with to come up with unique and engaging risers.
New to LFOs? Check out this short Intro to LFOs lesson.
3. Arrangement
Now we know how to design some builds, it’s time to understand how to apply them within your composition. It’s not as simple as just slapping a riser sample before a drop and hoping for the best, the section has to be cohesive with the rest of your track or it’s going to stick out like a sore thumb.
Group processing
If you are using more than one riser during your build ups, processing them in a group can be a great way to not only glue them together, but to introduce another element that builds up to a drop too.
For example, you could group your white noise and LFO risers together and automate the stereo width so that they get narrower and narrower as they build. Then, when the drop hits, the contrast between the mono build up and the stereo high-energy section will help to add to the impact.
You can also try this technique with time based effects such as delays, reverbs and choruses, modulating the timing, feedback or dry/wet amount, or a combination of the above.

Timing
In the clip we shared from his In The Studio w/ course, Martin Badder underlines the importance of timing risers correctly when arranging your drops. What looks right, might not sound right, so it’s crucial to trust your ears over your DAW’s grid. Experiment with moving your risers back and forth until they’re in a position that works with the flow of your track.
Silence
Following on from the previous tip, you may not want your riser to build right up until the first beat of the drop. Instead, you can place a section of silence between the riser and the drop to really signify a change of section in the composition.
You could even slice the riser in half, bring the build up forwards by a bar or two then have the remainder of the riser come back in at the drop. This works particularly well with white noise risers, as you can add energy to your drops by filling out the full frequency range.
There’s a whole lot more to read about creative ways to use silence in music production in one of our earlier articles so make sure you check it out.