Using Randomization in Drum Programming for More Character
Leaving things to chance can be an excellent way of injecting life into your drum layers
When early electronic instrument manufacturers introduced synthesizers such as the Roland TB-303 and TR-808, they were all the rage. The ability to program patterns and rhythms that would remain in perfect time was a huge breakthrough for many artists, and music as a whole. Over the years though, it became obvious that something was missing in the drum programming process. Producers came to miss the character and groove (imperfections) that are inherent in performed music.
Fast forward 40 years, and technology has gone full circle. Many DAWs, samplers and hardware instruments now have functionality that is designed to add some randomisation to patterns in order to make them feel more human. Introducing randomisation to your drum programming can add vibe and character that would otherwise be missing, and in this article we’ll explain some creative ways of doing it.
Before you start reading, check out this free snippet taken from Eelke Kleijn’s Track from Scratch course. In this course, the DJ and producer shows how he uses Cubase’s randomize quantize feature to create unique interactions between his drum layers.
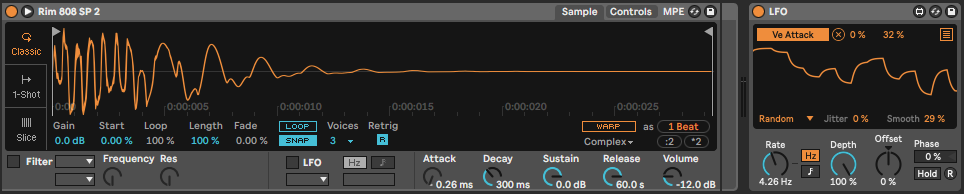
Velocity
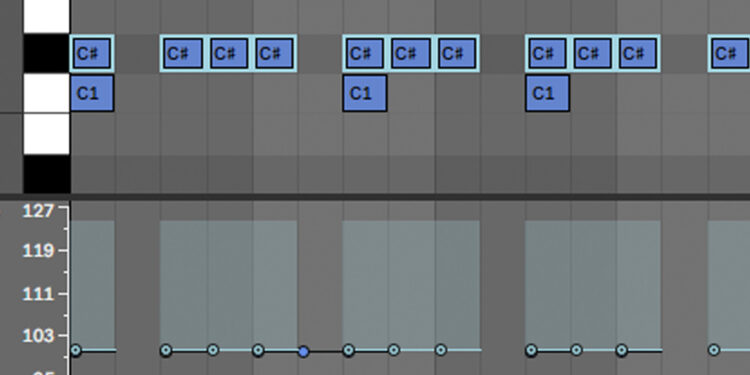
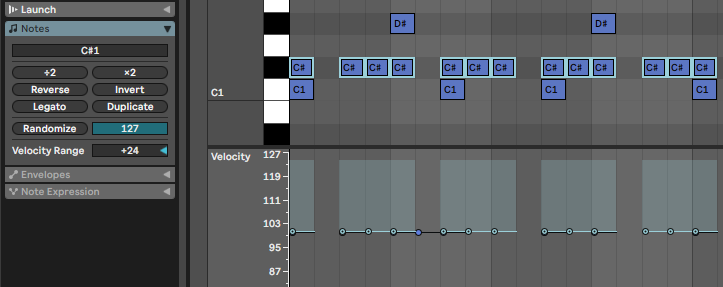
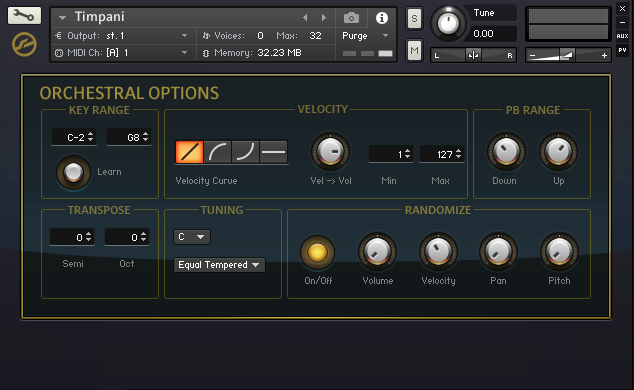
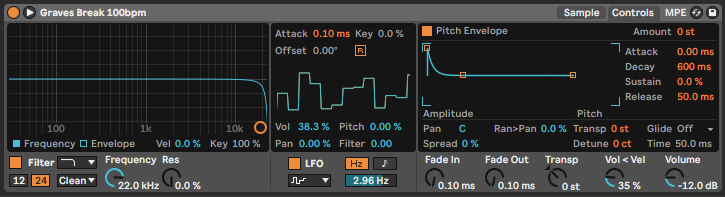
One simple way to add movement to your drums is with velocity randomisation. While you can manually adjust each hit’s velocity on an arbitrary basis, this can be time consuming and won’t be truly random. Thankfully, features such as Ableton’s velocity range adjusters allow you to set a minimum and maximum velocity for your drums. The software takes care of the rest.
Alternatively, most modern software samplers feature random modulation that can be assigned to a variety of parameters. These include pan, filter cutoff and, of course, velocity.
Failing that, assigning a sample and hold LFO to velocity or volume will have the same effect.
Timing
Adjusting your drum hits’ timing is another great way of adding movement and character to your track. Take the Akai MPC60 and MPC3000 as examples. Grooves from these synthesizers are famed within the worlds of hip hop and house music. As with velocity randomisation, manual adjustment is likely to be a tedious approach. However, there are other methods to achieve this sound.
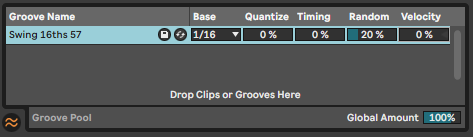
Ableton Groove Pool
While Ableton’s Groove Pool allows you to add grooves from a range of sources (including the MPC60 and MPC3000), there is a little known use for this feature that allows you to randomize your drum’s timing without applying a specific groove. First, apply a spare groove in the groove pool to your drum track, then reduce the timing to 0% and increase the random amount to taste.
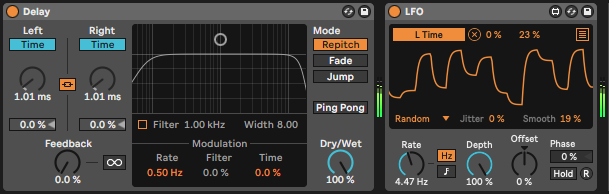
If this method isn’t an option because you’re not using MIDI or you’re in a different DAW, you can also use a delay and an LFO. First, add a 100% wet delay to your drum track, turn the feedback down to 0% and put it in “time” mode. Then, use either an inbuilt or external LFO to modulate the delay time between 1ms and 10-20ms. This will subtly move your drums’ timings back and forth.
Probability
Random probability can also help to add character and feel to programmed drums. This is especially true for layered drums when some of the layers are only triggered occasionally.
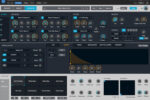
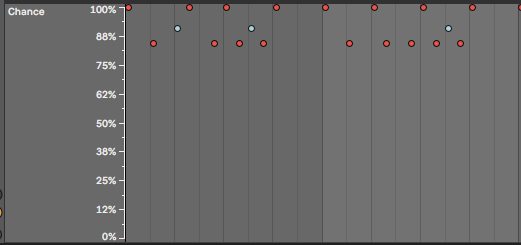
Ableton Chance for programming drums
It’s now extremely simple to add trigger probability to your drums using Ableton’s Chance feature. The probability editor is tucked neatly below the velocity editor, and works exactly the same way. Select the notes or triggers you want to edit, then click and drag the nodes in the probability editor.
For those not using Ableton, there are options in Logic Pro X using Scripter. There are also many hardware drum sequencers now ship with probability options, including the Korg Volca Drum, Roland TR8-S and many of Elektron’s machines.
Other Parameters and Effects
As well as randomizing the velocity, timing, and probability of your drums, there are a near-endless number of other parameters and effects that can be adjusted to keep your drum programming interesting and varied.
ADSR envelope
Assign a randomizing modulator to the attack, decay, sustain or release of your drum sound to vary each hit’s volume shape. For example, subtly modulating a hi hat’s attack time can cause some of the hits to contain all of their transient information, while others will ease into their volume and sound more like a shaker.
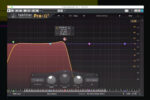
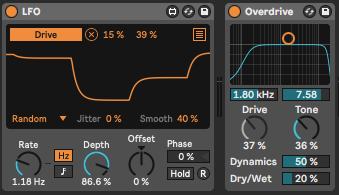
Drive or Saturation
Modulating the drive or dry/wet amount on one of your drum layers will introduce some interesting and ever-changing characteristics to your sounds. This helps to add variety and slightly differentiate your drum layers from one another.
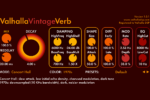
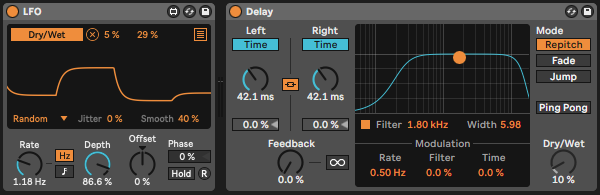
Reverb or Delay
Setting up a delay so that each of your drum hits has a different dry/wet amount will not only add space to your drums, but will add movement and diversity too..
Sample
As well as randomizing a drum sound’s characteristics, you can also randomize the sample itself for truly unique and unpredictable drum patterns.
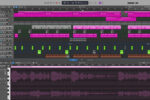
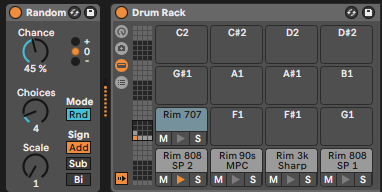
MIDI randomization while programming drums
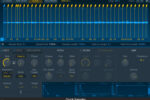
A quick way to randomize the drum that’s being triggered is to use MIDI randomization devices. Using a drum programming sampler such as Ableton’s Drum Rack, create a pattern with your main sample. Then, add as many sample variations as you’d like into the sampler.
In the example below, we’ve used an 808 rim shot as the main sample. Then, we’ve added four more rim samples in the following slots in the sampler. Finally, we added the randomization device and configured it to add anywhere between one and four notes to its input 45% of the time. This means that nearly half of the drum sounds will be randomized.
Once again, there are Ableton-free methods of doing this. These include assigning LFOs to sample selectors, using an arpeggiator, or using a third party sequencer or sampler that has randomization functionality built into its architecture.