Creating Atmospheric FX with D.Ramirez
D Ramirez shows us how to build dimension and depth in a tune with a host of atmospheric FX tricks.
Ambience and texture are crucial and often understated parts of production in many musical styles and genres. While these elements are often very subtly hiding in the shadows of a mix, they are hugely important for setting the tone and creating a vibe. Having a nuanced bed of audio can help to bring a mix together, and without it, some tracks can sound thin and sparse.
In this free chapter from his comprehensive 18 part Tech House masterclass, D Ramirez demonstrates how he uses existing audio within his project to conjure up a unique pad to tie all of his tracks’ elements in together.

So, let’s look at how you can add your own atmospheric FX to your tracks.
Start with your source sound
First, you’ll need to decide which of the existing sounds in your project you want to turn into a texture.
You might want to choose a melodic part if you want a tonal pad, or perhaps a hi hat if you want to create more of a noisy washed out sound. Copy your chosen sound down to a new track so that you can apply processing to it independently. In this case, I’m using a hit from my percussion loop to construct a new sound.
Add a reverb
Now, add your favorite reverb to the isolated sound, the goal is to create an interesting reverb tail to loop a small portion of.
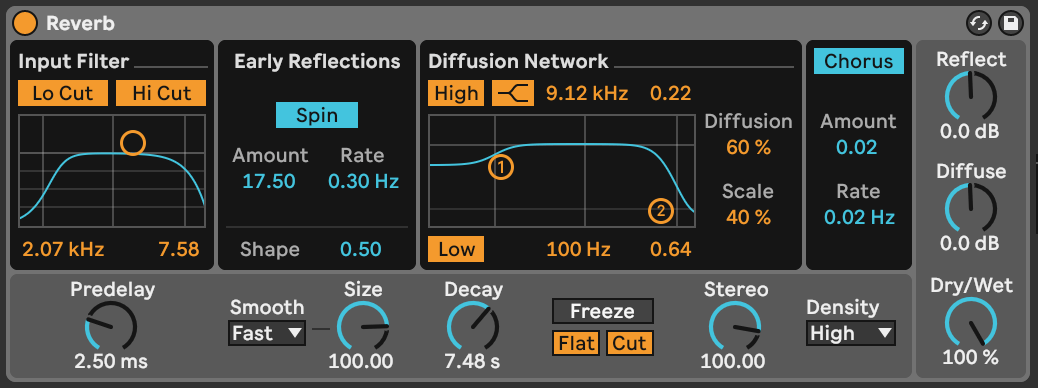
In this case, we’re using Ableton Live’s inbuilt reverb device. Although we’ll only be creating a short loop of our reverb, using a reverb with a longer reverb will give us more choice when it comes to choosing where to loop our sound.

Now we can use the reverb’s other parameters to slightly shape our sound.
Firstly, we’re going to want a completely wet sound so let’s put the Dry/Wet amount to 100%. I’m also going to use the inbuilt filter and diffusion network control to slightly shape the balance of the reverb.
Now, you should have a medium to long sized reverb tail without any dry sound.
Resample
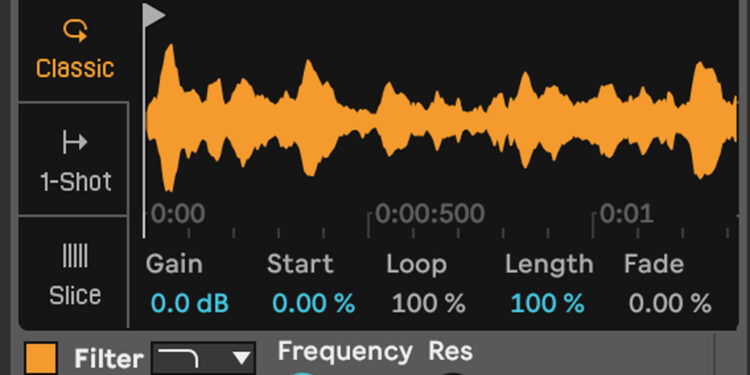
Now you have your reverb, it’s time to resample it to audio so that you can select a section of it to loop. I’m going to use Ableton Live’s Freeze and Flatten functionality to do this.

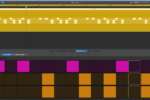
Then you can scan through and find a section that works as a background bed to loop and place behind the rest of your mix. In this case, I’m going to use a section that has some rhythmic qualities.
Depending on your source sound, the reverb used and the section you’ve chosen to loop, you may need to increase the level of the audio to bring it closer to the other elements in your mix.
You may also need to fade the edges of your clips to combat any clicking that might have resulted from looping your audio somewhere other than at its zero crossings.

Sidechain
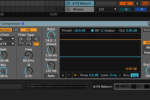
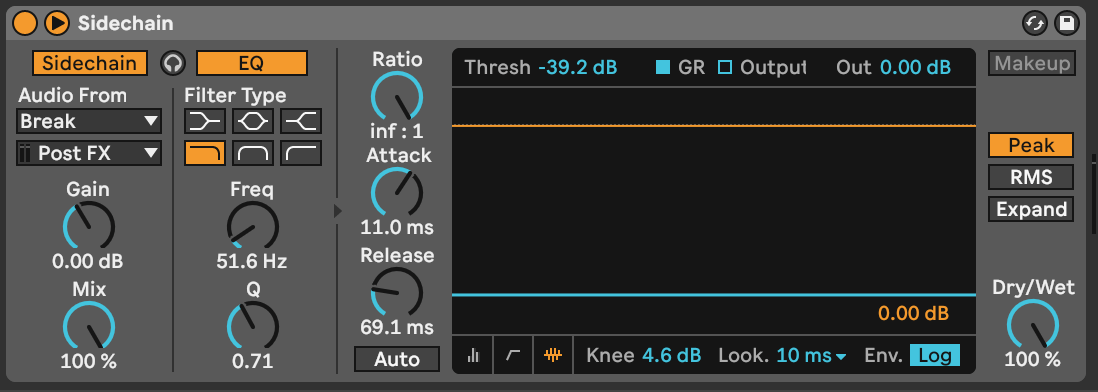
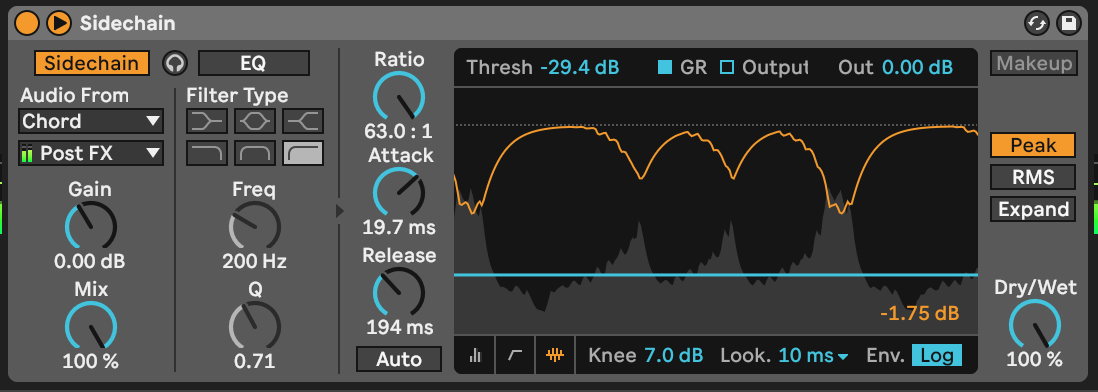
In order to tie our new texture in with the rest of our track and prevent it from clouding the overall mix, we can employ our trusty old friend, sidechain compression. Add a compressor to the texture channel, and select a sidechain input.
Depending on the style of track and its rhythmic components, a kick might be the best option, but feel free to experiment with any combination of sidechain inputs to see what works best for your track.
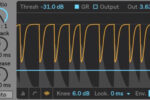
The goal isn’t necessarily to completely turn down the texture using your sidechain source, as you might with sidechaining a bass from a kick. Instead, try to just create some rhythmic pumping with the compressor. To do this, you’ll need to adjust your compressor’s attack, release, ratio and knee values to find a configuration that sounds good to you.
Other techniques for atmospheric FX
There are countless ways to create your own bespoke textures within your compositions, and the above is just one example. In this section, we’ll explore some other ways in which you can bring your tracks to life with your own background pad.
Create a tonal pad from anything
Start by dragging an environmental recording into a new track in your DAW. It doesn’t have to be a perfectly professional recording, for example I’m using a recording of some rain that I took on my phone.
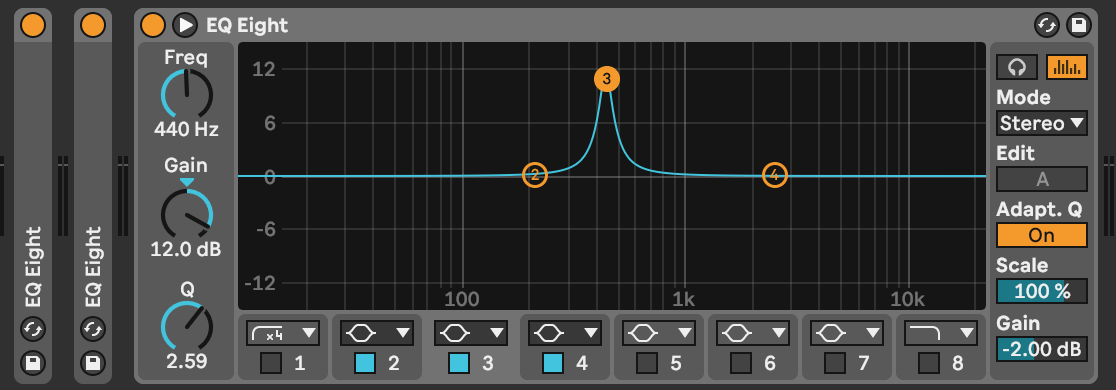
Then add an EQ and create a sharp boost at 440hz, or middle A in the standard pitch. Duplicate the EQ as many times as needed to cause your original sound to become tonal due to the resonance of the frequency boost.
In this case, three instances of Ableton’s EQ eight with identical settings was the right amount.
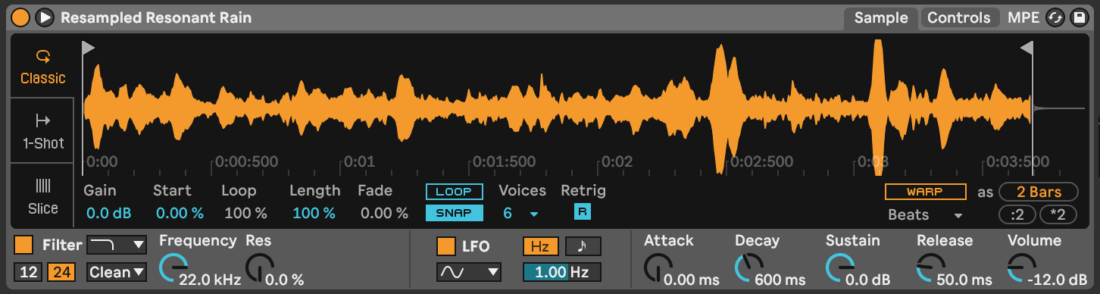
Now freeze and flatten the audio as we did in the first technique, and load the resulting audio into a sampler for a playable tuned texture with which you can play pads, chords, arps and melodies.
Remember to set the root note of the sample to A in your sampler so that it corresponds to the correct keys.
Create a lush soundscape
If you want to create ethereal shimmering atmospheric FX that will work with your current melody, grain delay helps you transform any pitched sound into a glistening soundscape.
Start by duplicating a tonal element of your existing arrangement, in this case I’ve just used the main chords of my track.
Then add your chosen grain delay to the channel. The aim is to exponentially increase the pitch of your source sound by turning the pitch up by an octave and increasing the feedback amount. As we already have a dry version of the source sound, we can increase the grain delay’s Dry/Wet amount to 100%.
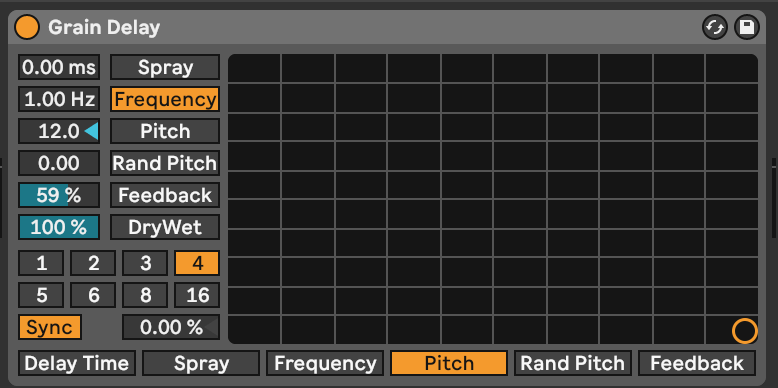
Depending on the source sound, the grain delay may be introducing some harsh transients that aren’t suited to being a background pad. In which case, try adding a mostly-wet reverb after the grain delay to soften the sound and add some more space and character.

Now mix this channel back in with the rest of your track, and experiment with sidechain compressing the grain delay pad from the original sound in order to make the elements interact with one another, glueing the mix together.
Hopefully these examples will give you some inspiration. It’s time to have fun and get creative with your own atmospheric FX. Over to you!