Transition FX Made Quicker with Groups!
In the world of electronic music, transition FX are a hugely beneficial tool for creating tension, building energy, or simply for signifying the start or end of a section of a song’s arrangement.
While you’re in production or arrangement mode though, it can take the wind out of your sails if your track requires some sort of transition effect and you need to suddenly put on your sound design hat. To streamline this process, it can be helpful to have a stash of your own signature effects, ready to quickly lift into your project when you need them most.
In this free chapter taken from his FaderPro Learn Ableton Live course, iLL Factor advocates for this approach and shares some tactics for creating and cataloging your favorite effects.

Types of transition FX
There are a whole host of transition FX types, each of which are more suited to certain situations or particular styles of music. Let’s take a look at a few of these effects below, and how to create them from scratch.
Risers
You’ll undoubtedly have heard of the classic riser, whether that’s a white noise sweep or a synthesized tremolo note that swirls up to a huge crescendo. Let’s take a look at how to create the former in Ableton Live.
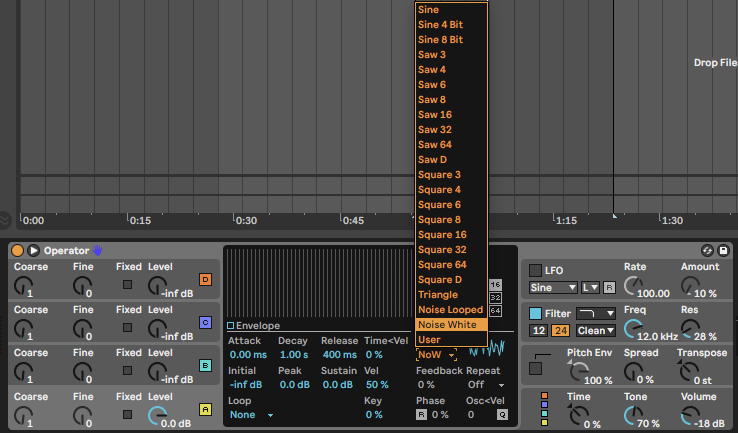
First, we need our noise source. You can either use an audio sample of some white noise, or the noise oscillator in Ableton’s Operator. You can then draw a single MIDI note for where and when you want to place your riser.
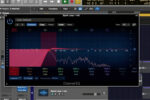
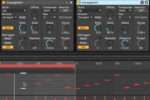
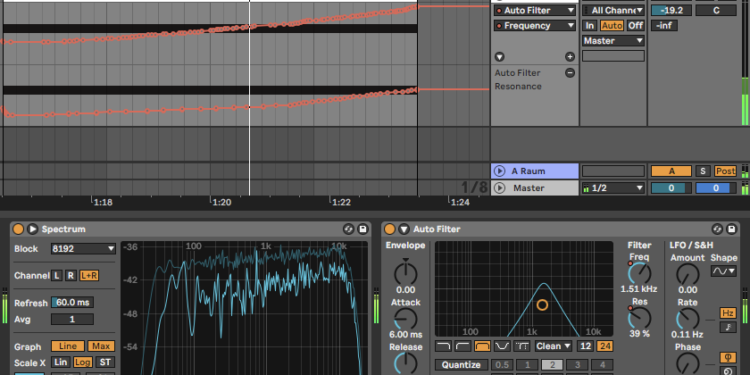
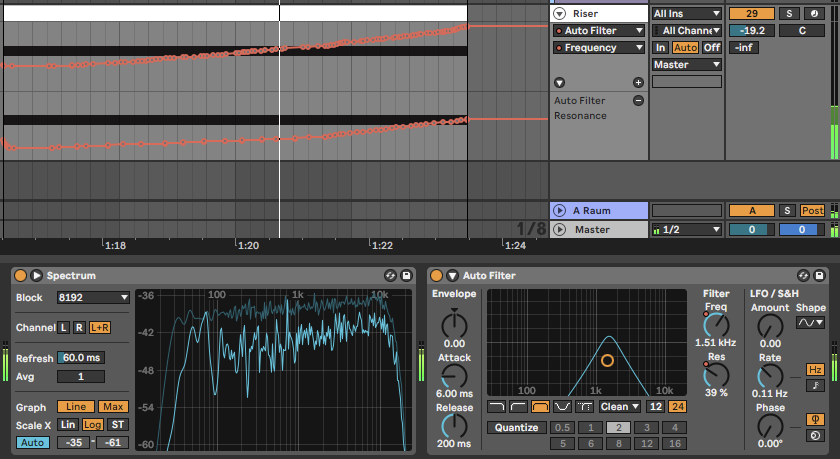
Then, load an Auto Filter onto the channel and put it in band pass mode. The idea here is to use automation to create some movement in the audible frequencies as you build up to the drop or transition. We can either draw automation using our mouse, or record it in live.
Impacts
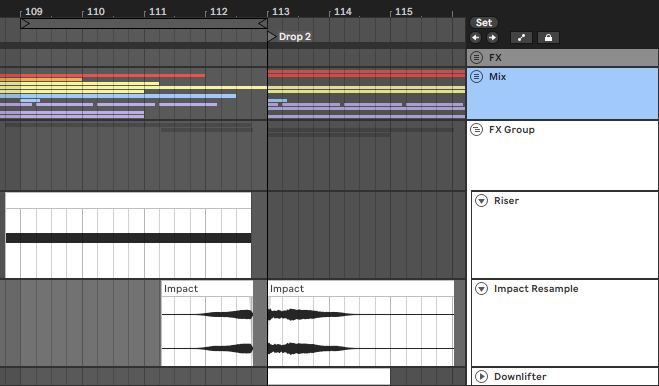
A great way to punctuate your track’s arrangement is with the use of impacts. This type of transition FX is typically single hits just before or at the start of a new section of a composition, and provide an opportunity to get really creative with your sound design.
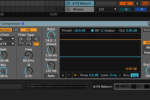
Try layering a few one-shot samples together within an audio group, considering the frequency content and panning of each element. You can then apply group processing to gel the parts together. Saturation, compression, distortion, reverb and delay are all popular choices when it comes to group processing.
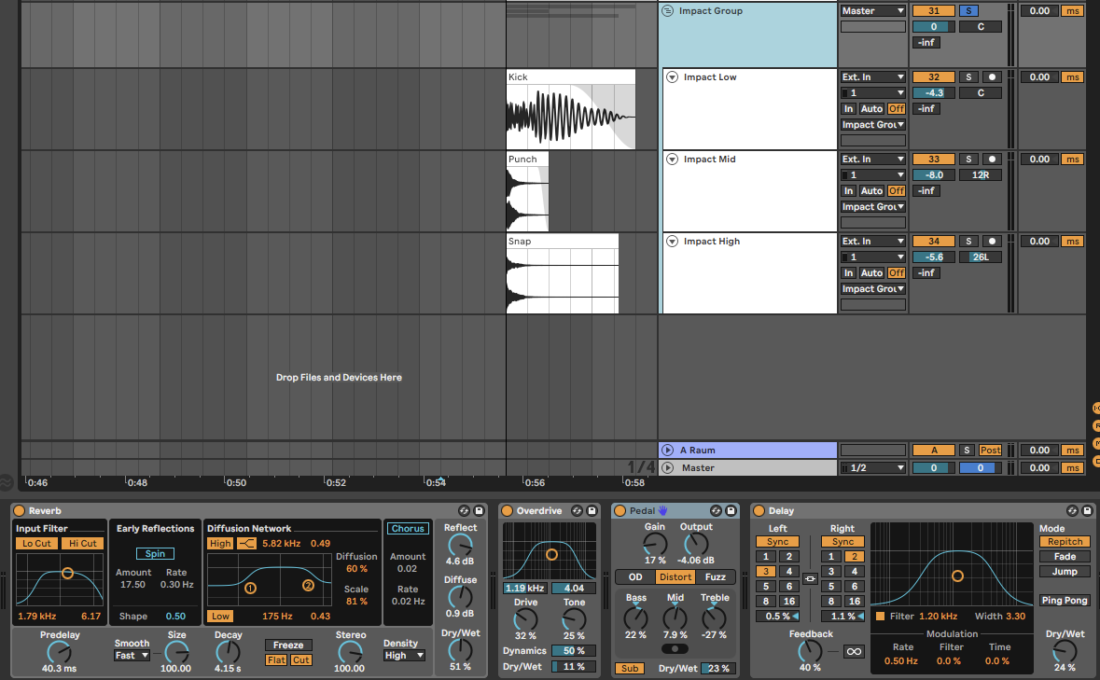
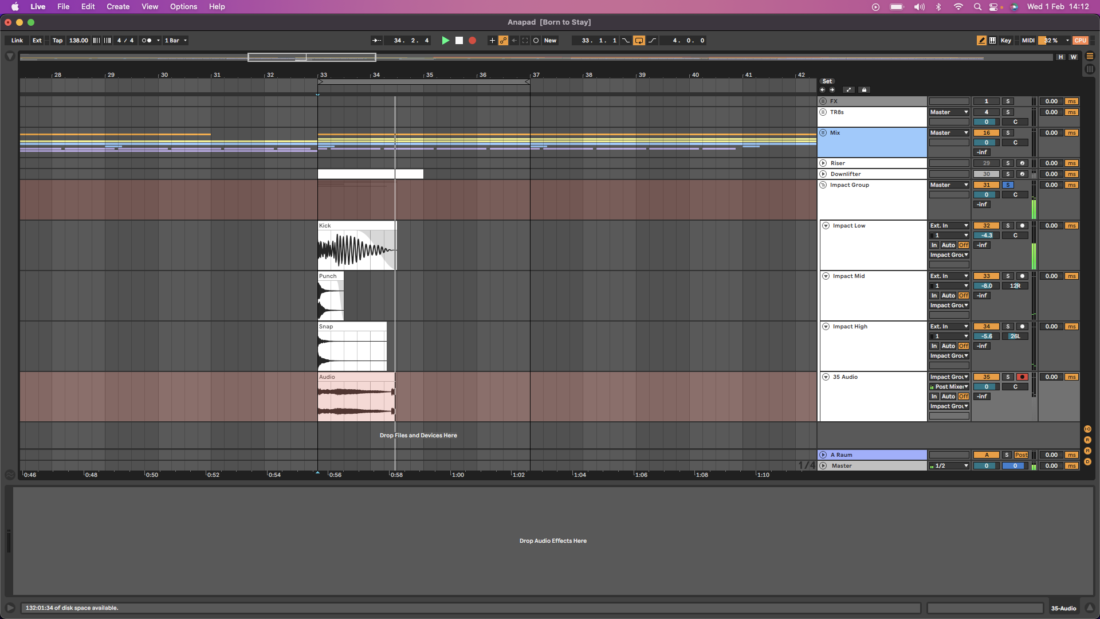
Once you’re happy with your impact, you can resample the group’s output to create one single audio file for use anywhere within your track, or even within another project.
Downlifters
Now let’s try creating a downlifter in Wavetable. You can use any synth with a built in assignable LFO. Load your synth onto a new track and create a MIDI note that will last the length of the transition effect.
The general aim here is to modulate one or more key parameters of a synthesized sound, to create a bouncing, swirling effect. Here, I’ve assigned a square LFO to the oscillator pitch and low pass filter cutoff dials.
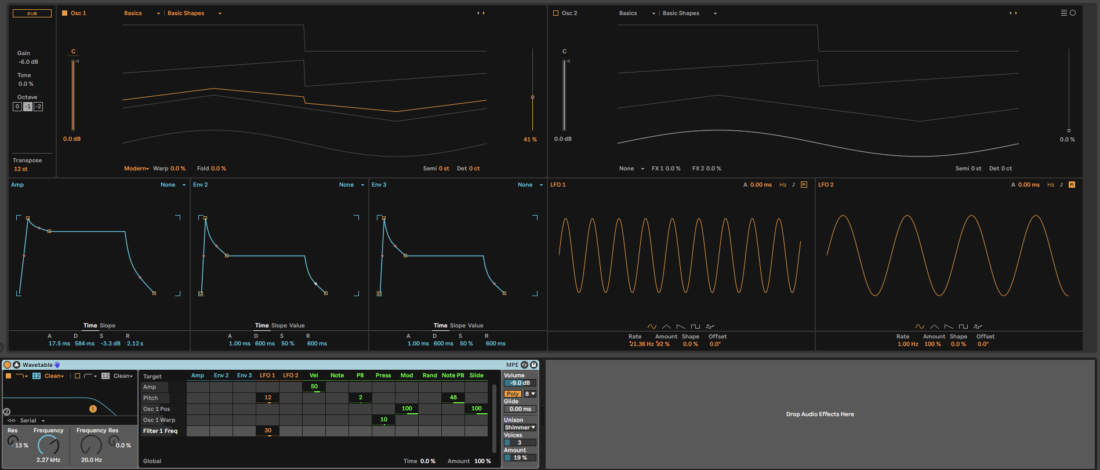
I’ve then used automation to change the speed and depth of the LFO as the effect plays on.

Try experimenting with different oscillator shapes, LFO shapes and speeds, and assigning different LFOs to different parameters. If you want to use a similar effect throughout your track but want to keep things interesting, try assigning random LFOs to different parameters for more unpredictable results.
For any of the techniques explained above, you can apply processing to add even more character to your effects. In this case, I’ve assigned a delay’s Dry/Wet amount and a reverb’s Decay time to a macro, so I can adjust both parameters with a single dial.

How to use transition FX group templates
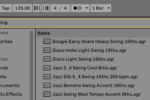
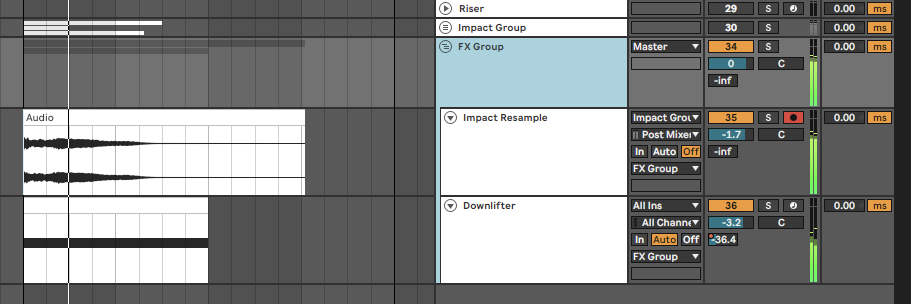
With your effect now created and appropriate processing applied, you can save the entire channel with its enclosed automation and MIDI by dragging it into a folder within Ableton’s browser.
Alternatively, if you don’t need the automation or MIDI you can click the save icon within the Instrument Rack and give the device a name. The device can then be quickly loaded into any other project.
As with many other elements of electronic music, layering transition FX is a great way to achieve unique and dynamic results, and can help you to get more mileage out of your sound design. Grouping the layers not only allows you to process the elements together, but also enables you to save the entire group as a template, ready for use again and again.
Arranging transition FX
As you can see, there are countless ways to create exciting and effective transitions within your DAW. Similarly, you can place your shiny new risers and impacts wherever you like, however there are some good rules of thumb to get you started on where to put them.
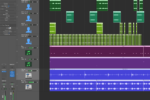
It can help to organize your project in a way that lets you quickly see an overview of the arrangement, so you can navigate around your composition at the click of a button. Most DAWs have the ability to insert and label track markers for this very reason.
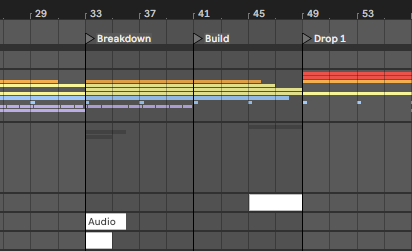
Typically, leading up to the start of a breakdown or a drop are great places to place transition effects. They help to indicate to the listener that something’s about to happen, which builds tension and energy. You can also experiment with having a riser stop just before a drop, leaving some silence between it and the first beat of the new section.
As always, there is no hard and fast rule to creating, processing, layering or positioning transition effects. Hopefully the concepts and techniques outlined above provide some direction as to how to add more energy and cohesion to your productions.