How to Set up a Microphone for Vocal Recording
Recording vocals that sound truly professional can be a tricky business, but not with this handy guide
Nowadays, you can call up pretty much any instrument under the sun from the comfort of your own laptop, whether you’re downloading sounds from sample libraries or cooking them up yourself using virtual instruments.
One instrument that you won’t find out there so easily though is your own – the human voice. Sure, there are plenty of acapellas and vocal samples out there, but If you want personally record vocals for a project, there’s no virtual instrument or sample library that can help; you’ll need to do it the old fashioned way.
Getting high quality vocals is more difficult than it looks, which is why we’ve decided to give you our best microphone tips for recording vocals.
Vocal recording with Jason Herd
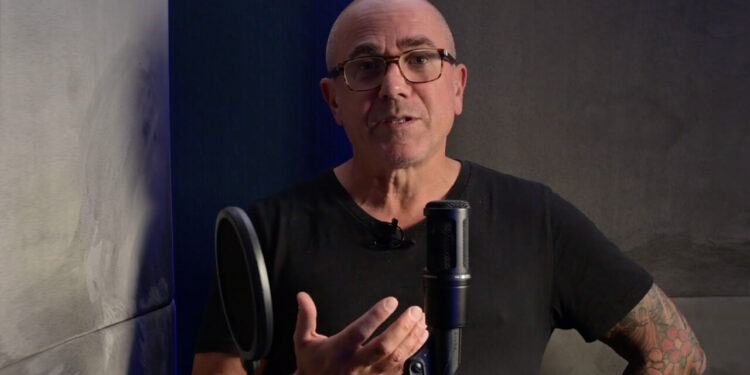
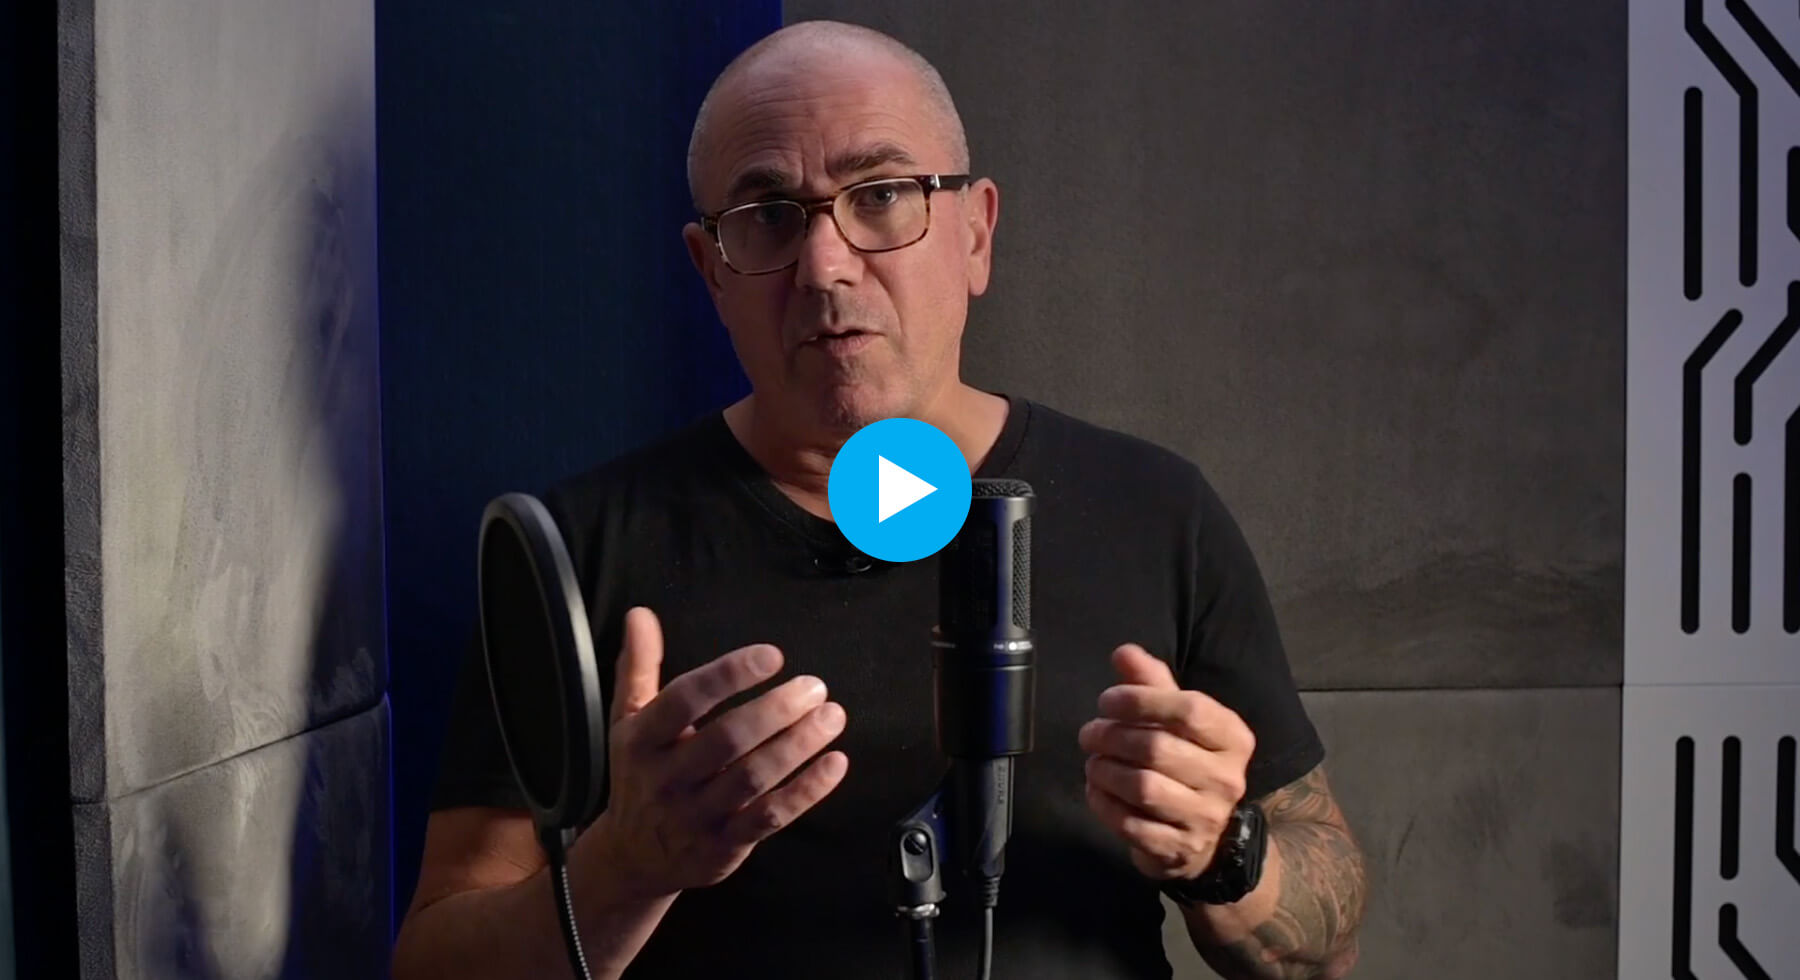
First, check out this clip from producer and DJ Jason Herd’s Music Production Masterclass, in which he explains how to properly set up a microphone to record vocals.
Choose a good vocal recording space
When it comes to recording, preparation is everything, which is why the first thing you need to take care of is the space in which you’re going to record.
Vocals are best recorded in acoustically dead spaces, or rooms that have a lot of absorbent material to catch rogue sound waves reflecting off surfaces. Too many reflections will mean your vocal is captured along with the room reverb, which may make it harder to mix down the line.
Not everyone has access to acoustically treated vocal booths like Jason, but there are some things you can do to improve your space. The obvious first consideration is to make sure you’re somewhere quiet – there’s no point preparing to record vocals only to have someone walk in during a take!
Make the room as dead as possible
Next, take a look at the walls and ceiling around you. If they’re bare, this will need sorting.
There are a range of acoustic panelling options you can buy, which are essentially absorbent fixings made of foam that you can attach to the wall. Try to cover as much bare space on the walls and ceiling as possible, and if you want to save money, hang up curtains or similar soft furnishing.
If wall alterations aren’t an option for you, or you want to go even further, consider purchasing a microphone isolation shield to attach to your mic stand. This is a semi-circular ring of absorbent material that will provide a backdrop to the microphone and cancel out the room reverb.

Put your mic in the right place
With your room nicely prepared, it’s time to set up your microphone.
Where you point it matters – most vocal condenser mics have a front and a back as Jason explained in his vocal recording course. So you’ll want to make sure that the front is pointing out towards you and the back is pointing towards the most acoustically treated part of the room (the bit with all the absorbent stuff on it). You may want to do a few test recordings to find where your voice sounds best in the room, but more on that later.
Set up your equipment
Once you’ve sorted your bearings out, attach your microphone to the stand and make the necessary adjustments so that it’s at a comfortable height. Some prefer sitting, others prefer standing, but in general it’s better to stand so that you have full access to your diaphragm. It’s advisable to attach a pop shield, which protects the mic from hard plosives, to your stand so that it’s about six inches away from the microphone.
Now that the mic is upright and ready to rock, simply plug in an XLR cable (or whichever cable your mic takes) to both the mic and your audio interface or mixer. If your mic needs Phantom Power, turn on a switch on the interface or mixer that says +48V or P48.

Check your levels
It doesn’t matter if you’re Adele or Paolo Nutini, bad microphone etiquette will lead to poor quality vocal recordings.
The best thing you can do to avoid distorted or weak recordings is to do a test run to check your levels. Unless you’ve got a sound engineer or a friend handy, you’ll need to hit record on your DAW yourself and then head over to the microphone to do a dry run. Sing as loud or as quiet as you’re going to do in the actual recording, to give yourself a sense of what needs to be changed.
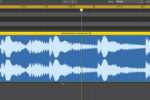
Once you’ve laid something down, check the audio waveform – if the peaks are being cut off at the top and bottom, the audio is clipping and is too loud. If it’s barely visible, you need to turn up the gain on your audio interface or mixer. This is your chance to test out how far you need to be from the microphone, as standing a bit further away will pick up more of the room and give a different tonal characteristic than you’ll get if you record up close.

Prepare your lyrics
One last thing to consider is where you’re going to put your lyrics. Printing them out is a good idea, but not if you’re going to hold them in your hand – sensitive condenser microphones will pick up the rustling. As well as this, it’s not a good idea to lay a lyric sheet down on the table, or anywhere where you’ll have to look away from the mic. Stick them on a wall or nearby flat surface at eye level, directly behind the microphone. Similarly, if you’re going to read lyrics off your phone, hold it up high in one hand.
Vocal editing, tuning and compression
Hopefully the above tips will get you off to a good start with recording vocals. Then, of course, there come the tasks of editing, tuning and vocal compression, all of which you can find out more about in Jason Herd’s Recording Vocals course.