How To Use Xfer Records LFO Tool
Xfer Records’ LFO Tool plugin is one of the most enduringly popular ‘shaping tools’. But it is somewhat confusingly titled, as it is capable of more than creating an LFO shape to assign to your sounds and substantially more than the task most people seem to know it for; creating side-chain-style, pumping volume ramps.
So, following on from our recent post about LFOs and Modulation sources, let’s dive into the detail of LFO Tool.
The basics of LFO Tool
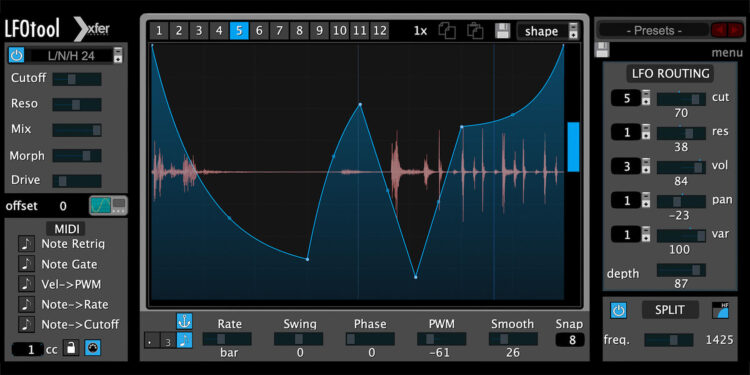
LFO Tool can be used as an effect on Software Instrument or Audio tracks or as a MIDI-controlled plug-in, to give you performance control of Audio tracks.
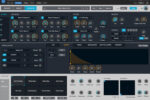
In the top left-hand corner is the native Filter section, similar to the one in Serum. Press its Power button, then browse through the Filter options in the drop-down menus. There’s lots of choice, from simple, gentle 6dB/octave low-pass shapes, to complex multi-Filter combinations, for more radical sound shaping.
Additional Filter controls include Resonance, Drive and Mix (for parallel treatments between processed and unprocessed signals) alongside a fourth slider whose function varies, depending on your chosen Filter. For example, on the Multi-Filters, it often modulates Cutoff and Resonance behaviour as Filters overlap.
Configuring LFO Tool
The central section of the interface is where you can configure the LFO shape, though things go way beyond traditional LFO modulation.
In truth, the LFO Tool plugin is as much like an Envelope Shaper as it is an LFO. It’s only the cyclical capabilities here which represent LFO behaviour; whilst that’s enough to justify the plug-in’s title, don’t judge it by that name alone!
Graphs
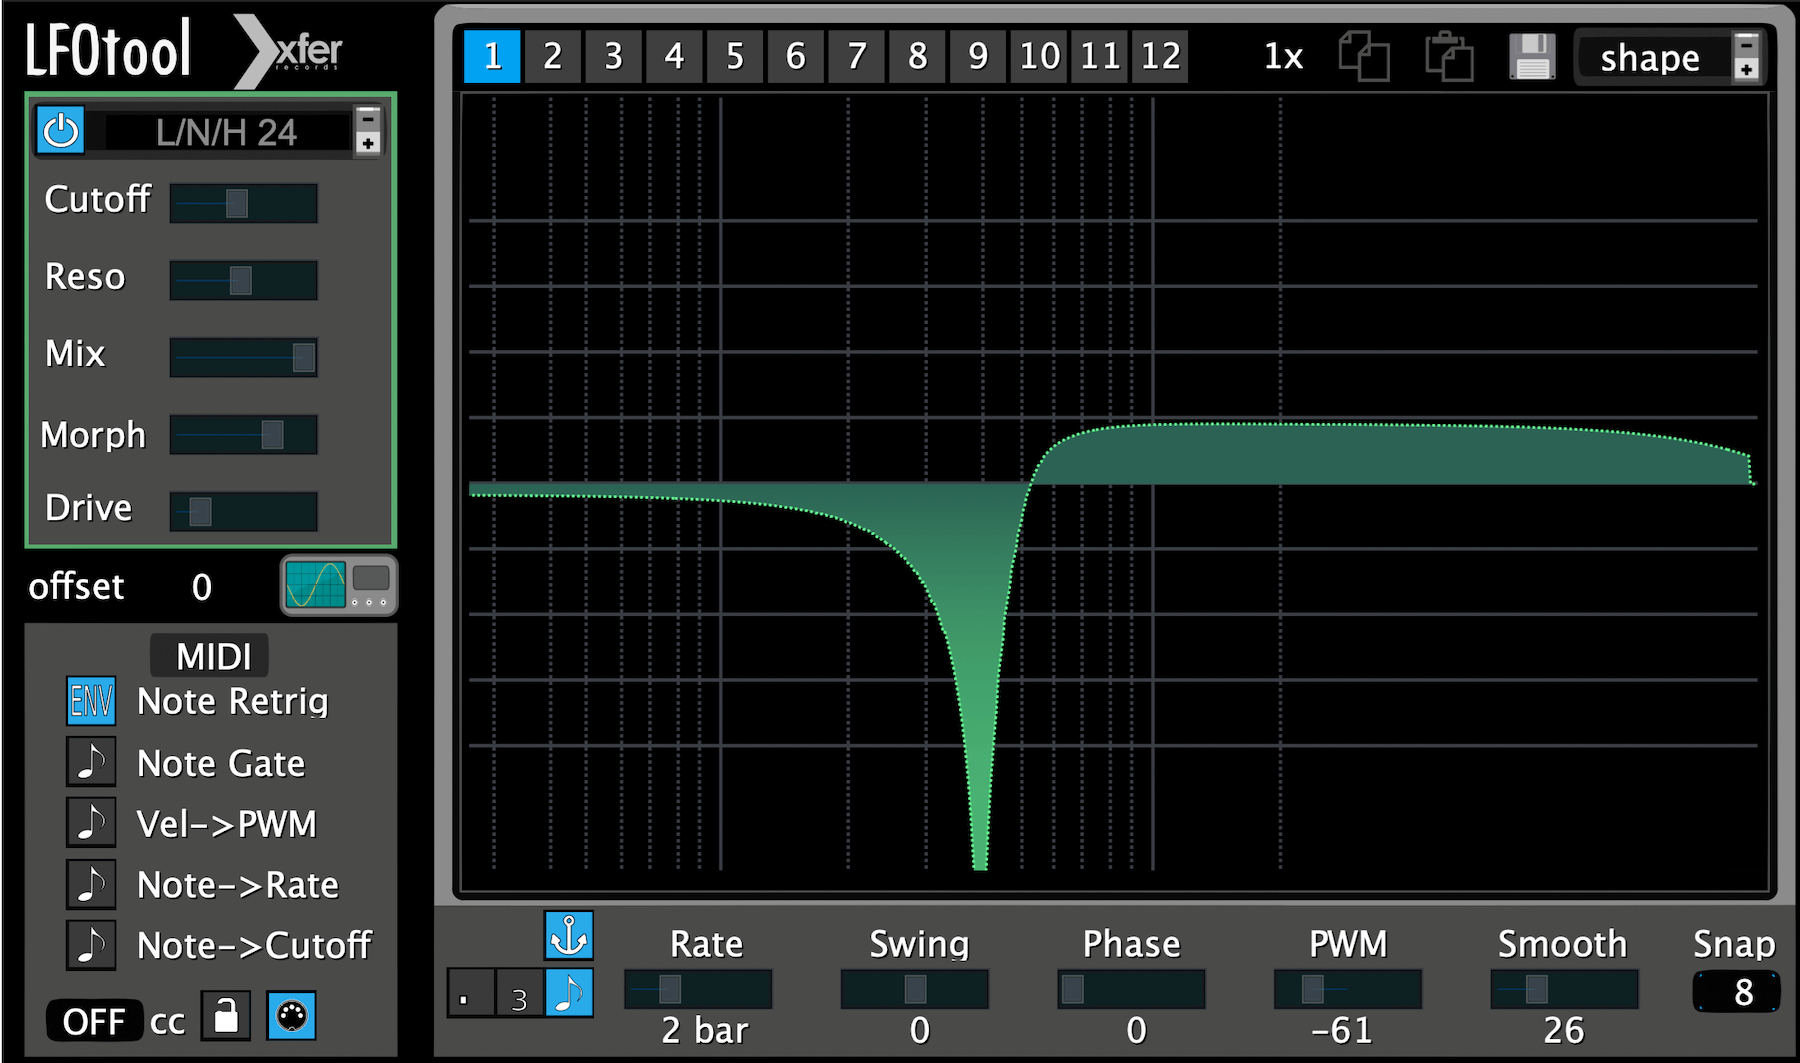
12 graphs are configurable within a single instance of LFO Tool – simply click the number at the top to select them. Each graph’s shape is displayed in Blue below. Click on a point and drag it up/down/left/right, double-click to create or remove points and click on nodes between points to create curves.
The entire graph from left to right constitutes a single ‘LFO cycle’, and underneath this area, you can choose the Rate (either clocked to tempo or freely cycling in Hertz), introduce Swing, set the graph so it’s deliberately a little out of Phase (either early or late), adjust Pulse Width Modulation (similar to Phase, but warping shape as well as timing) and introduce a Smooth control. This softens the behaviour at the end of an LFO shape to prevent audio clicks, which can occur as the end of a cycle snaps back to the start. Increase Smoothing to prevent this.
Snap
The Snap value produces a grid to allow you to place graph points ‘in time’, working in combination with the Rate dial. For instance, if Rate is 1 Bar, a Snap value of 8 would allow you to see graph nodes in 1/8th notes. With a Rate of a 1/2 note, that same Snap value would now be showing you 1/16th note steps.
Creating nodes
With the Grid engaged, there are a couple of useful hacks for creating nodes. Control-clicking a node will place it only on a Grid line, to ensure break-points are perfectly in sync. Shift-clicking will create two nodes at either end of a Grid line, meaning that you can draw stepped or gated Nodes instantly.
To the left of the Rate slider, you can decide whether to include or omit Dotted and Triplet value options – turn these off to select only from ‘straighter’ Rate values.
Assigning the shape
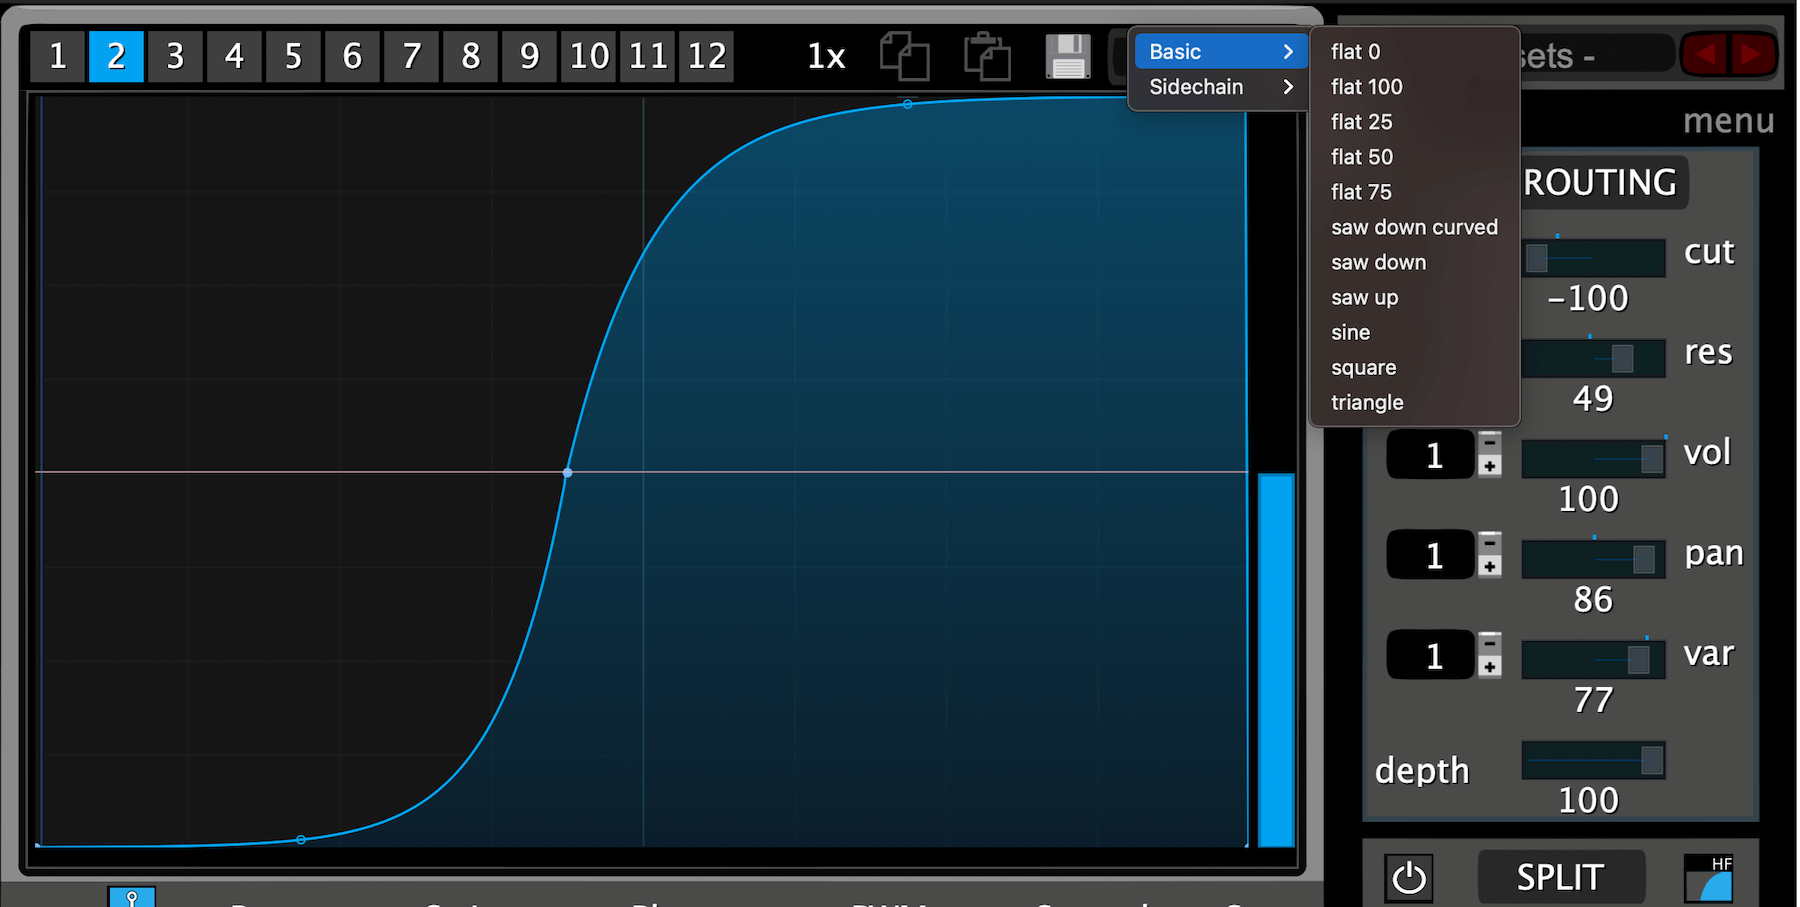
What the shape you’ve designed affects is assigned on the right-hand side, in the LFO Routing section.
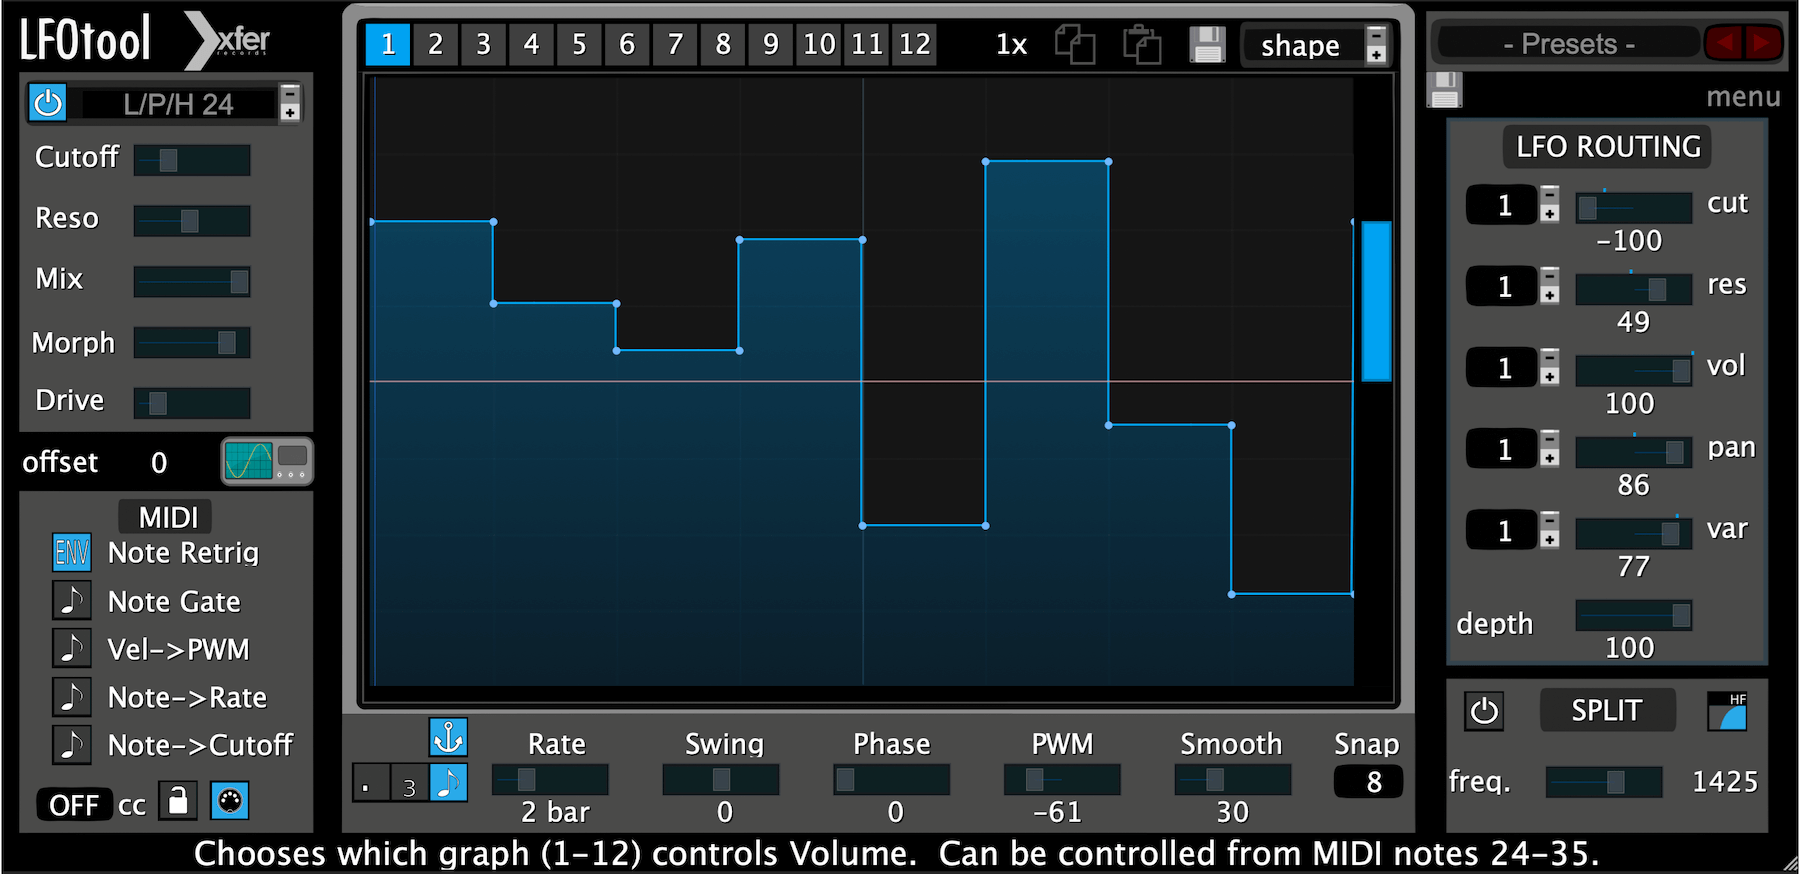
Here, sliders let you move between 0 (off) to +/-0 100 (maximum) and assign the shape to the Filter Cutoff, Resonance, Volume, Pan, and to Variations in the Filter via the ‘Var’ slider. You’ll need to have chosen a Filter with a variable parameter to benefit from this, so browse until you find one which has assigned the fourth slider in the Filter section. The numbers to the left of each assignment let you decide which of the 12 graphs will vary the corresponding parameter.
Suppose you wanted Graph 1 to control Filter Cutoff but Graph 4 to control Volume. No problem, select those numbers next to each parameter and toggle between the graph shapes to tweak them. Do note that the Rate, Swing, Phase, PWM and Smooth are global controls, so you can’t set independent values for each graph.
LFO Tool and MIDI
In the bottom left-hand corner is a section to control how MIDI will influence LFO Tools’ behaviour.
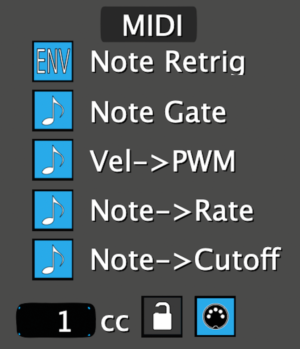
Click Note Retrig and the cycle will restart every time a new note is played, or click a second time to put it into Envelope Mode, so that the Envelope shape only happens once, much like the ADSR section of a synth.
Note Gate lets you stop the cycle when you let go of a MIDI Note, whilst you can use Velocity to vary the Pulse Width Modulation of the graph shape, to offset it with gentle or strong velocities. The position of the high or low notes you play can be routed to control both the Rate of the LFO behaviour and/or the Cutoff point of the Filter. These MIDI options make LFO Tool a usefully ‘playable’ plug-in, letting you change key parameters on the fly.
It gets better; you can even use the graph shapes as output MIDI Controllers. Select the destination MIDI CC number you want, or click the MIDI cable button to drag and drop a MIDI file containing the Controller data onto any MIDI Track. Inside a synth, route that MIDI Controller number to any parameter you like and away you go!
Much more than meets the eye
So as you can see, the LFO Tool plugin does much, much more than its name suggests. Yes, it can be used to create side-chained, pumping, Volume-adjusting shapes. And yes, it can be used to create regular LFO modulations too. But it can also be used to create cascading, break-point Envelope-style gating, with different shapes controlling key parameters, many of which can be controlled, on the fly, over MIDI.
It’s very creative and well worth a look.
Learn more about LFOs
If you’re just starting out in music production and are interested to find out more about the possibilities of LFOs why not check out D.Ramirez’s Studio Short lesson on LFOs