How to Use Parallel Compression for Weightier Drums
What is parallel compression?
Parallel compression is a mixing technique for giving weight and power to a track or group of tracks.
Put simply, the technique is to heavily compress a copy of the audio track(s) in question, and then blend this signal with the original – usually at a much lower volume level. The heavy-handed compression effect lends its personality and power, but the presence of the original audio will keep things respectable and clear.
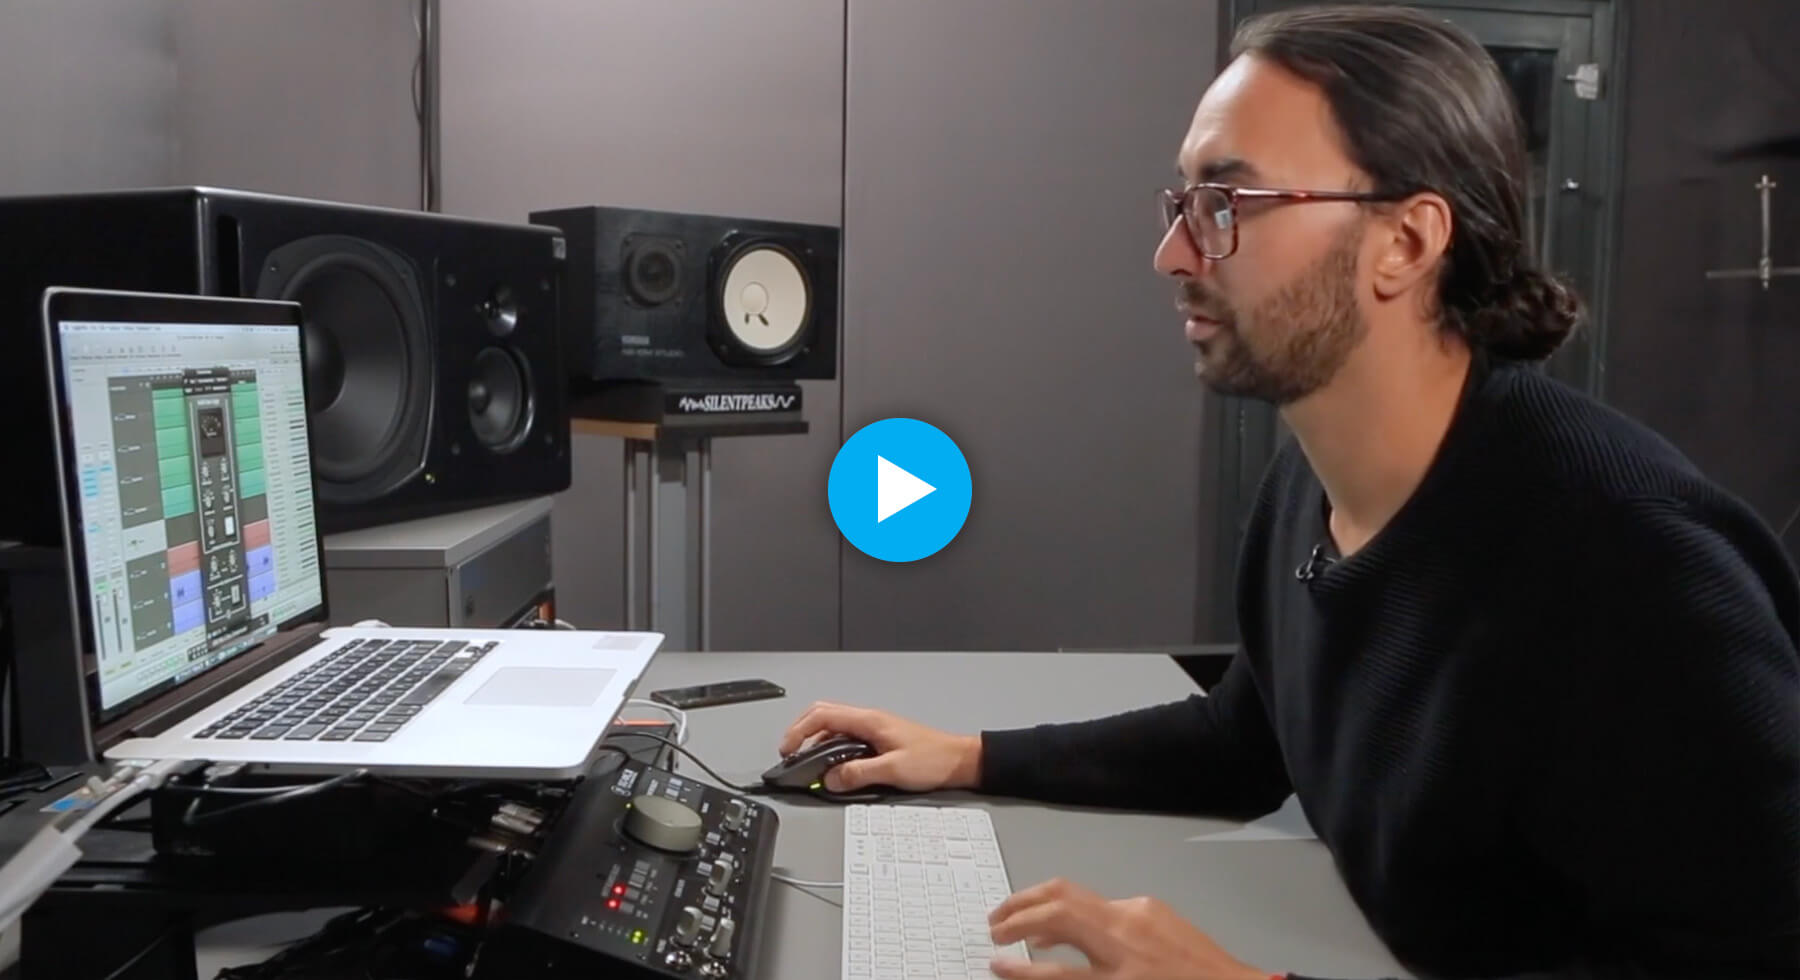
In this snippet taken from his FaderPro mixing course, Jon Kong of Leftwing:Kody gives a valuable insight into how he approaches parallel compression when adding weight to his drums.
How to set up parallel compression
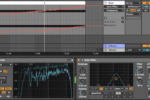
Depending on your DAW and hardware setup, there are several methods of setting up parallel compression. In this example, we’re going to apply parallel compression using a return channel in Ableton Live 11 to beef up some drums with its stock compressor, but you can use pretty much any compressor in your chosen DAW.
Start by creating a new return track, then sending the tracks you want to parallel compress to it at 0dB. While you can send an entire group to the return channel, it’s good practice to send each channel individually. This allows you to fine tune the send amounts for each element later on.

Solo the return channel, you should have an identical signal to the one you started with. You should also set the return channel as a pre-fader send so that if you tweak your drum levels later on, your compression won’t be affected.
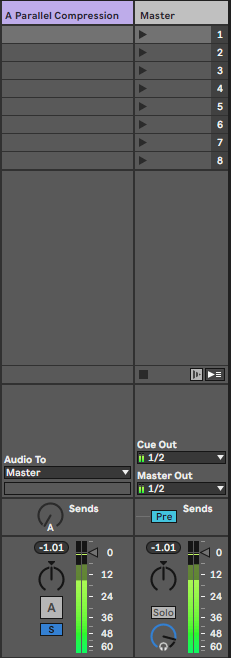
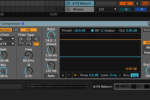
Now add your compressor of choice to the return channel, and you’re ready to start tweaking settings.
Parallel compression settings for weighty drums
When choosing the settings for your parallel compression, it’s important to consider the end goal of the process. In this case, we’re trying to bring out the transient information of our drums, giving them more punch and presence in the mix, so we can be pretty heavy-handed with the compression. Remember, we still have the untouched dry signal providing the dynamics and clarity of the original drums.
As always, there is no one-size-fits-all setup that will magically transform every track’s drums (that would be too easy), so it’s important to experiment with different settings to see what works best for your project.
A suggested parallel compression starting point
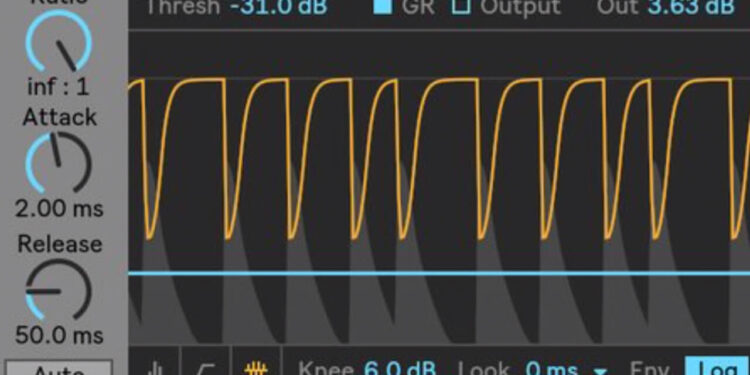
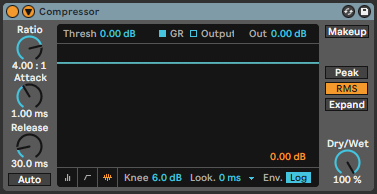
In any case, start by ensuring the compressor itself is set to 100% wet because we’re using the effect in a parallel configuration.
A fast attack time of 10-40ms will allow transients to retain their dynamics, and a fast to medium release time of 20-100ms enables the compressor to recover between drum hits so that the next transient isn’t affected.
With the return channel soloed, adjust the compressor’s threshold until you’re getting a good amount of gain reduction. Something like 6dB-12dB of reduction is a pretty extreme level of compression, ideal for using on drums in parallel.
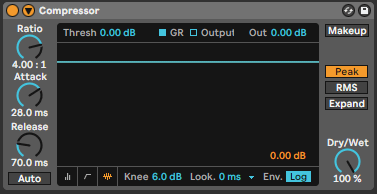
From here, you can tweak your attack and release settings to control how much transient and body is making it through the compressor. Depending on the style of music you’re mixing, you could try the rhythmic pumping compression technique by timing the release time with your kick drum. In this instance, a release time of around 45ms is perfect for this 128bpm track with its 4/4 kick pattern.
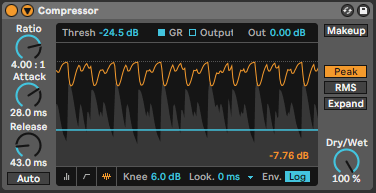
Some compressors also have more advanced settings, such as lookahead and knee adjustment. As with the rest of the settings, it’s important to try a few different configurations to see what sounds best for your specific mix. With parallel compression, the guiding principle is ‘heavy compression to taste’, so there’s no need to avoid extremes.
A harder knee will give you a more extreme level of compression, so if you haven’t managed to achieve the desired effect until now, reducing the knee amount may get your processing over the finish line. By the same token, if your compression is a little stronger than you’d anticipated, increasing the knee value will result in a softer knee and a more subtle effect.

Now you’ve dialled in your compressor, you can mix the return channel in with your dry signal to the desired effect. You can even automate the return channel’s level throughout your arrangement, so that, say, your drop and chorus hit harder than your verse.
Things to avoid when using parallel compression
While parallel compression is undoubtedly a powerful tool for combatting a whole host of production tasks, it can be implemented incorrectly, resulting in undesirable artefacts and an unbalanced overall mix. Here are a few things to avoid when applying parallel compression.
Being too subtle
If you’ve developed a knack for applying tasteful and transparent compression, it can be counterintuitive to apply an approach that decimates your drums (or any other element for that matter). It’s important to remember that while your wet signal might sound squashed within an inch of its life, it’s only there to add punch to your dynamic dry signal. So don’t be afraid to really push your compressor!
Not EQing the compressed signal
As with most other elements in your track, EQ may be required to adjust the tonal balance of your compressed signal, even if you’ve already applied EQ to the dry signal. The process of controlling a signal’s dynamics can accentuate or attenuate different frequencies, particularly with extreme compression that can emphasize unwanted resonances.
Parallel compressing everything
A crucial component of engaging and polished sounding mixes is contrast and space. If all of your elements are being sent to the same compressor in equal measures, not only will they all sound equally as impactful, but they’ll all sound like they’re being recorded and processed in the same way. Instead, try just sending the most important elements to your parallel compression channel, such as the kick and snare.
Summary
This quick guide to parallel compression will help you to adopt a new technique for bringing drums, vocals and synths to life, without sacrificing their original tone and dynamics.
For tons more advanced mixing techniques, check out Jon Kong’s full mixing course.