Gain staging: What is it and how to use it to properly start a mix

Learn how to use gain staging to set yourself up for a professional sounding mix within minutes
For many students of music production, the concept of gain staging seems like something best left to the arcane world of mix engineers hidden away in expensive studios. In a sense, they’re right; gain staging is a mixing process that comes from the days of analogue recording, which, due to the cost of the equipment, was mostly carried out by professionals.
However, gain staging has carried over into the digital realm as a reliable way of pre-calibrating your mixes, and it doesn’t have to be all that complicated, either.
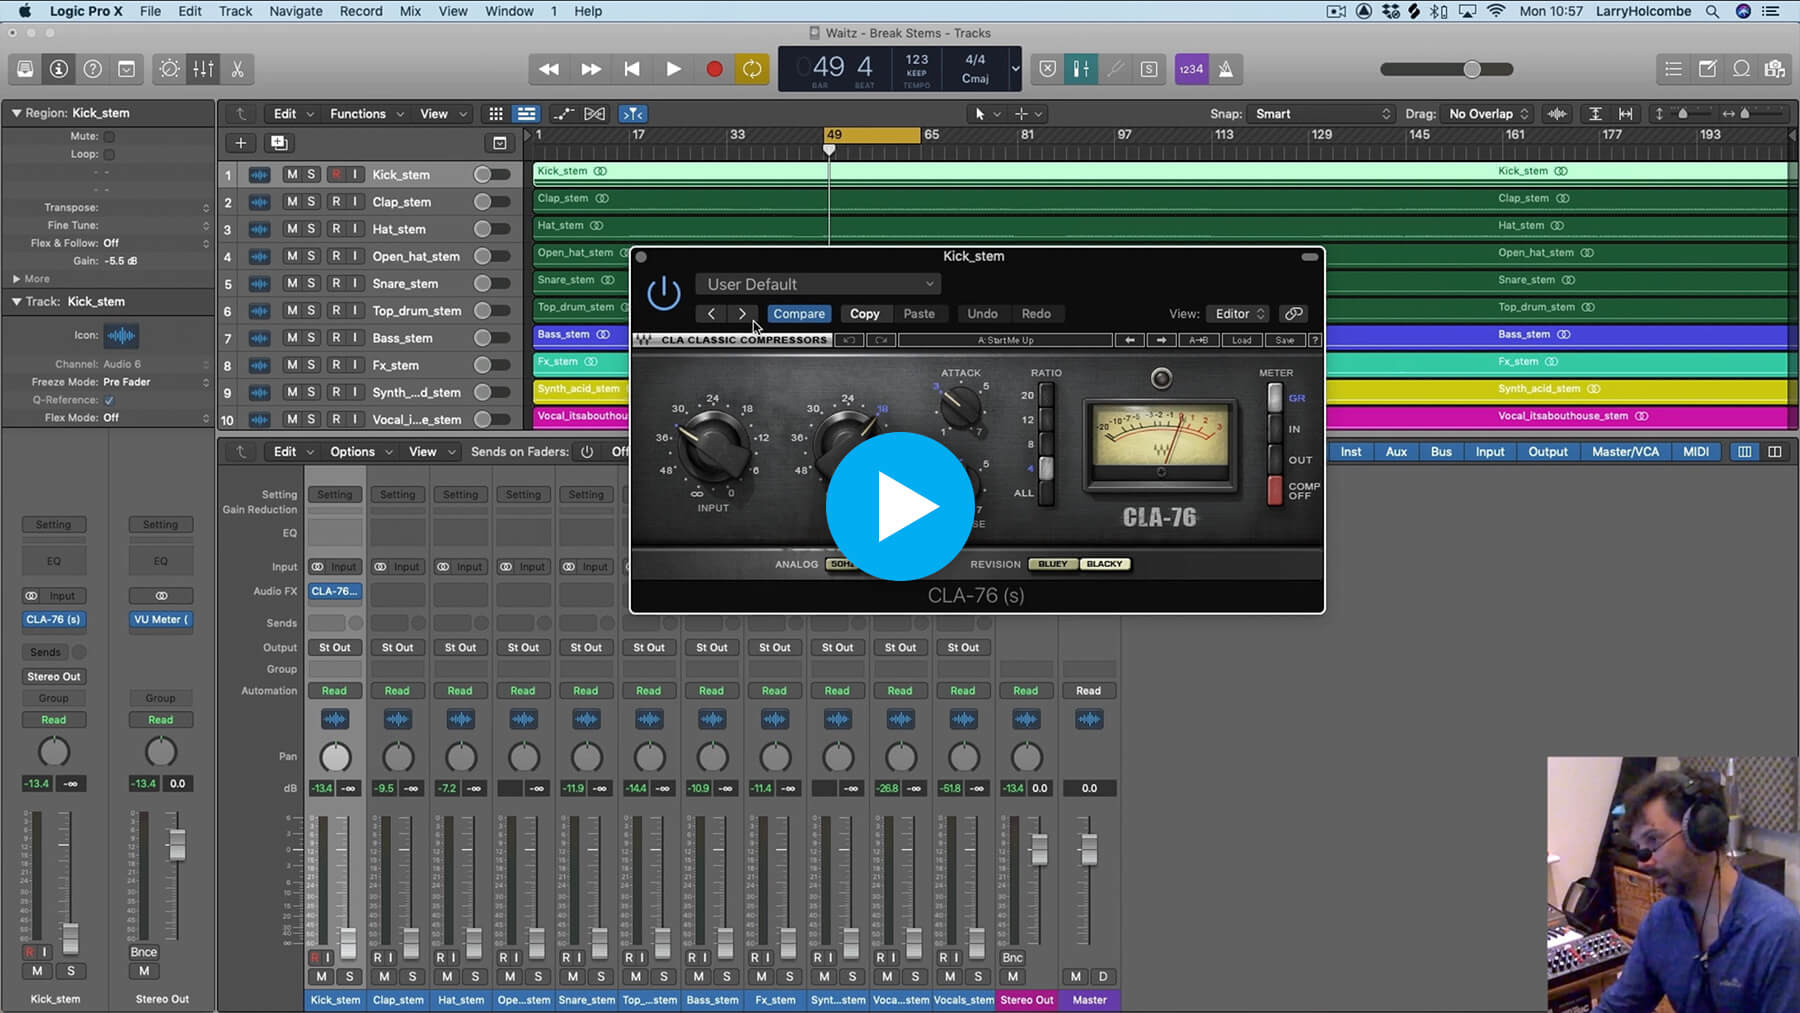
Before you start reading, check out this clip from Get to Know’s (Larry Holcombe) Mixing and Mastering Masterclass course, in which he sorts out some gain staging before mixing a tech house track.
Read on to learn:
- What is gain staging?
- The history of gain staging
- How to use gain staging in your mix
- Gain staging watch-outs
What is gain staging?
To put it simply, gain staging is the process of making sure the audio levels of your channels are set to the optimal amount before any other processors are added.
The history of gain staging
As we mentioned previously, it’s a practice that comes from the analogue era, when it was important to take into account the physical limits of hardware. If the signal went in too loud, you’d end up with unwanted distortion, too quiet and you’d risk ending up with too high of a noise floor. Each piece of analogue studio equipment also had its optimal operating level – the signal strength at which it would behave as expected.
So, gain staging is a technique used to get around these issues.
Gain staging along the audio signal path
A gain stage is a point of amplification in the signal chain, or in other words, a point where you can control volume. For example, let’s say you process an audio track with an EQ and a compressor, then send it to reverb and delay return channels. Each of these stops along the way is a gain stage, with an input and output level that needs to be monitored. You might make a cut with EQ and end up bringing the entire level of the signal down before it reaches the compressor, for example.
Keeping an optimal level balance along this journey – adjusting the output signal’s level through gain staging – will ensure you end up with a clean, professional sound.
How to use gain staging
So, we’ve established a general sense of what gain staging is and why it’s important, without getting too bogged down in the details. Now let’s take a look at how you can use gain staging to set up your mixes and save you from running into trouble down the line.
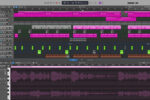
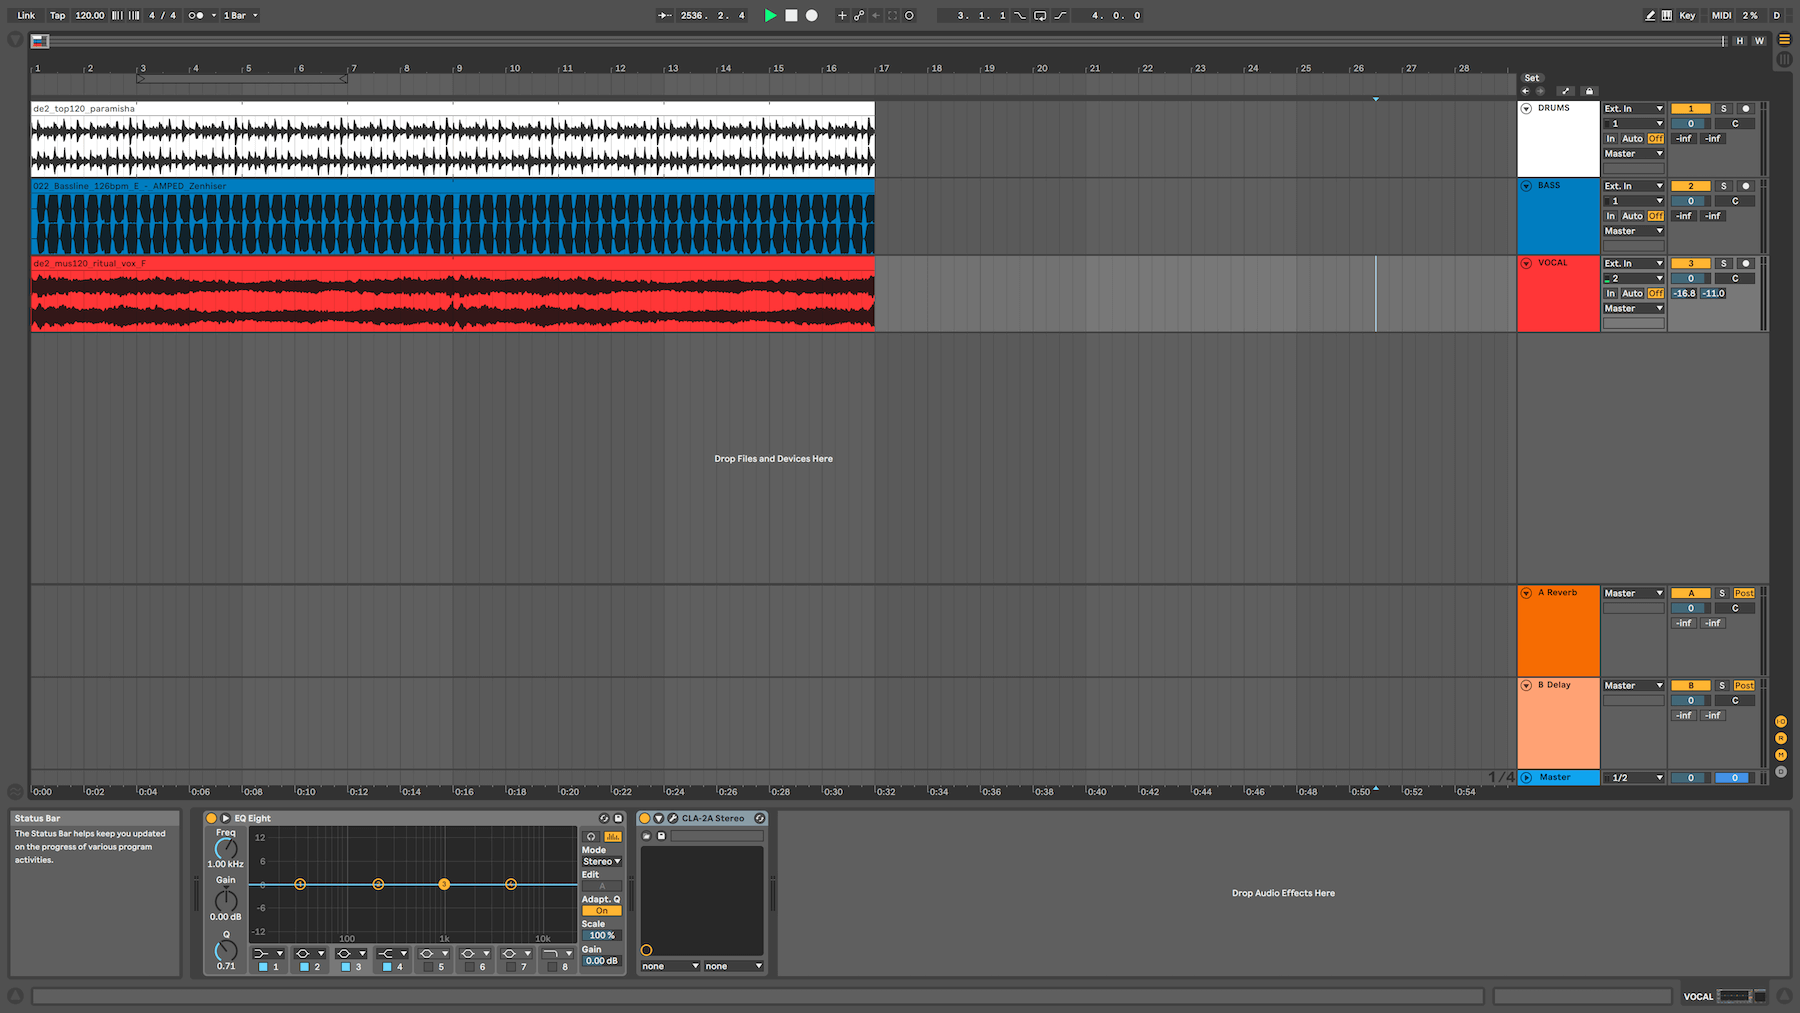
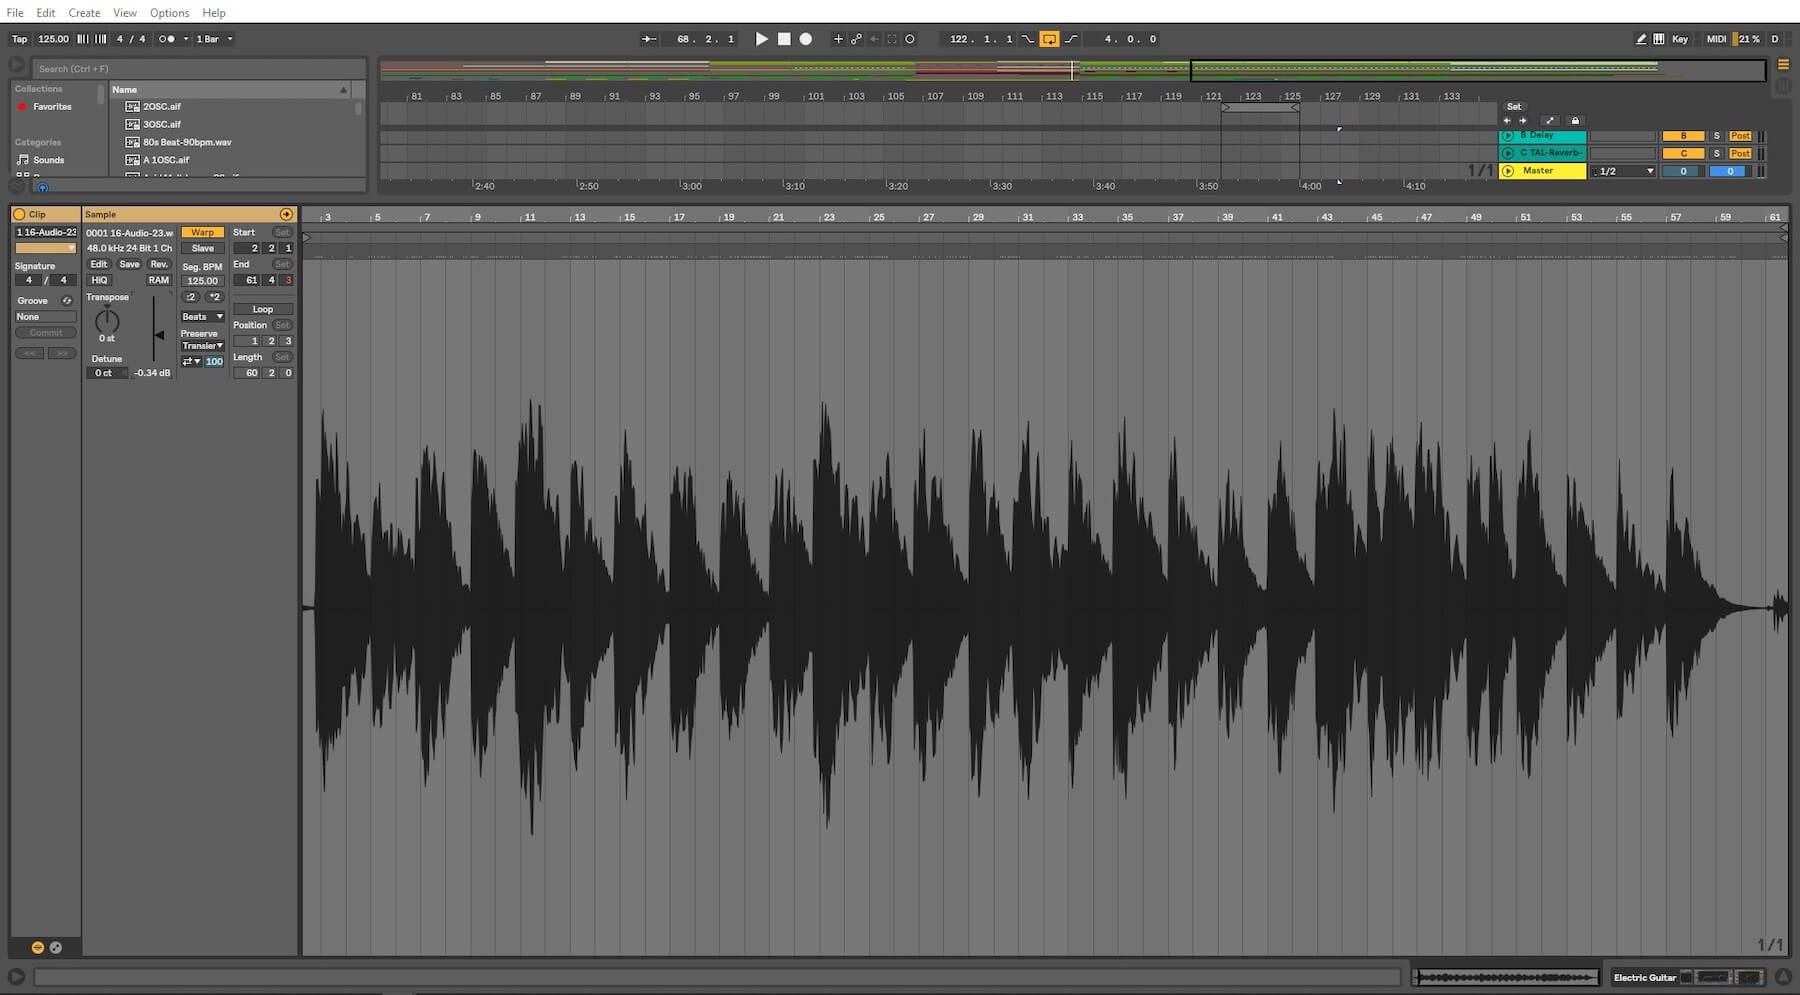
Adjust clip gain
To adjust the volume of the audio in each channel, use the clip gain feature in your DAW. Drag the gain up (or down) until it’s at a reasonable level. You’re setting out a rough balance for the mix at this stage, so it’s natural that some elements like FX will be quieter than drums, for example.
Continue in this way until you’ve gain staged every channel in the session, but don’t spend too long doing it. Getting the right amount of headroom before you start mixing sets you up well for what’s to come, but it should only take a few minutes. Not every track has to be set at an average of -18dBFS, and as long as there’s nothing peaking higher than -6dB you’ve done a good job!
Don’t forget your output gains
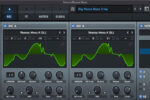
As you add plugins to a track, you’ll need to pay attention to the output gains to make sure that the signal is maintaining a balanced level as it’s passed along. The processing that you apply with a plugin, whether it’s an EQ, a compressor, or anything else, has an effect on the audio signal, and there’s no point in adjusting clip gain at the start only to lose track of it later.
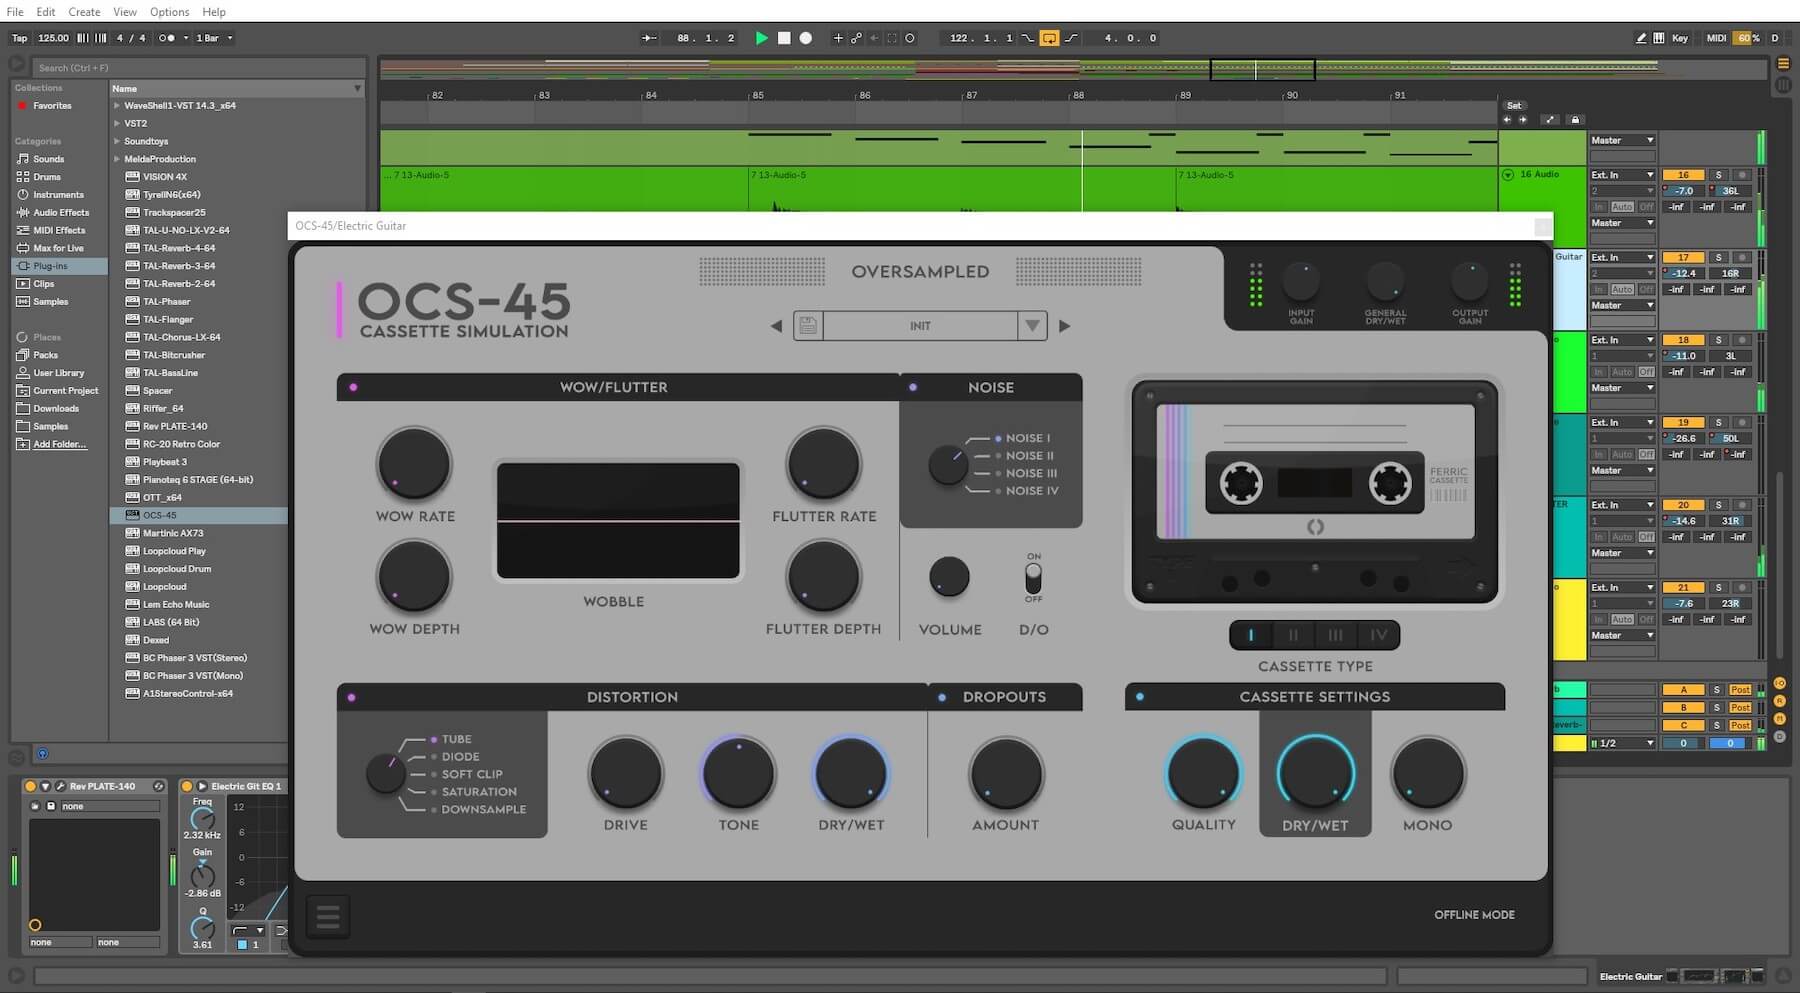
The best way to gain stage as you’re adding plugins is to match the output gain with the input gain. Most plugins will have an output and input panel where you can read levels, and it’s simply a case of making sure one is the same as the other.
In general, this is good practice, as the decisions you make on the levels in your mix won’t be undermined as you progress. Plus, if you swap out a plugin later in your mix, everything else in the chain will still work as you intended.
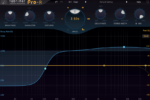
Watch out for analog-modelled plugins
We mentioned already that some plugins perform best when receiving an audio signal at a certain level.
If you’ve cast your eye around the plugin market, you’ll no doubt have noticed that there are a swathe of plugins out there that emulate analog hardware. These days the results you can achieve with digital mimicry are sometimes indistinguishable from the real thing.
Unfortunately, some analog-modelled plugins are too realistic for their own good, and are designed to incur distortion if you push them too hard. For this reason, if you plan on using emulations of hardware compressors, equalisers or any other processors in your mix, there’s even more reason to use gain staging before you get started.
RMS vs peak levels
When you’re inspecting your levels in your DAW, it’s important to note that you should mainly be focusing on RMS, as opposed to peak levels. What’s the difference? Well, peak is an instantaneous measurement of level that shows you the highest peaks within the signal, while RMS is a continuous measurement that effectively shows the average loudness of the audio.
Peak levels are important readings to ensure you’re not clipping, but the average level is a more important indicator in relation to how the music will sound to your ears. Peak levels are shown by little lines or dots on the volume meters that hang for a brief moment even after the audio has stopped. The RMS levels are displayed by the actual volume bars themselves.
To help you out as you endeavour to find the optimal level for each of your channels, you could also use a VU meter plugin on the master bus. A VU meter is a device that shows average volume, and they behave like our ears, giving a good representation of loudness and energy.
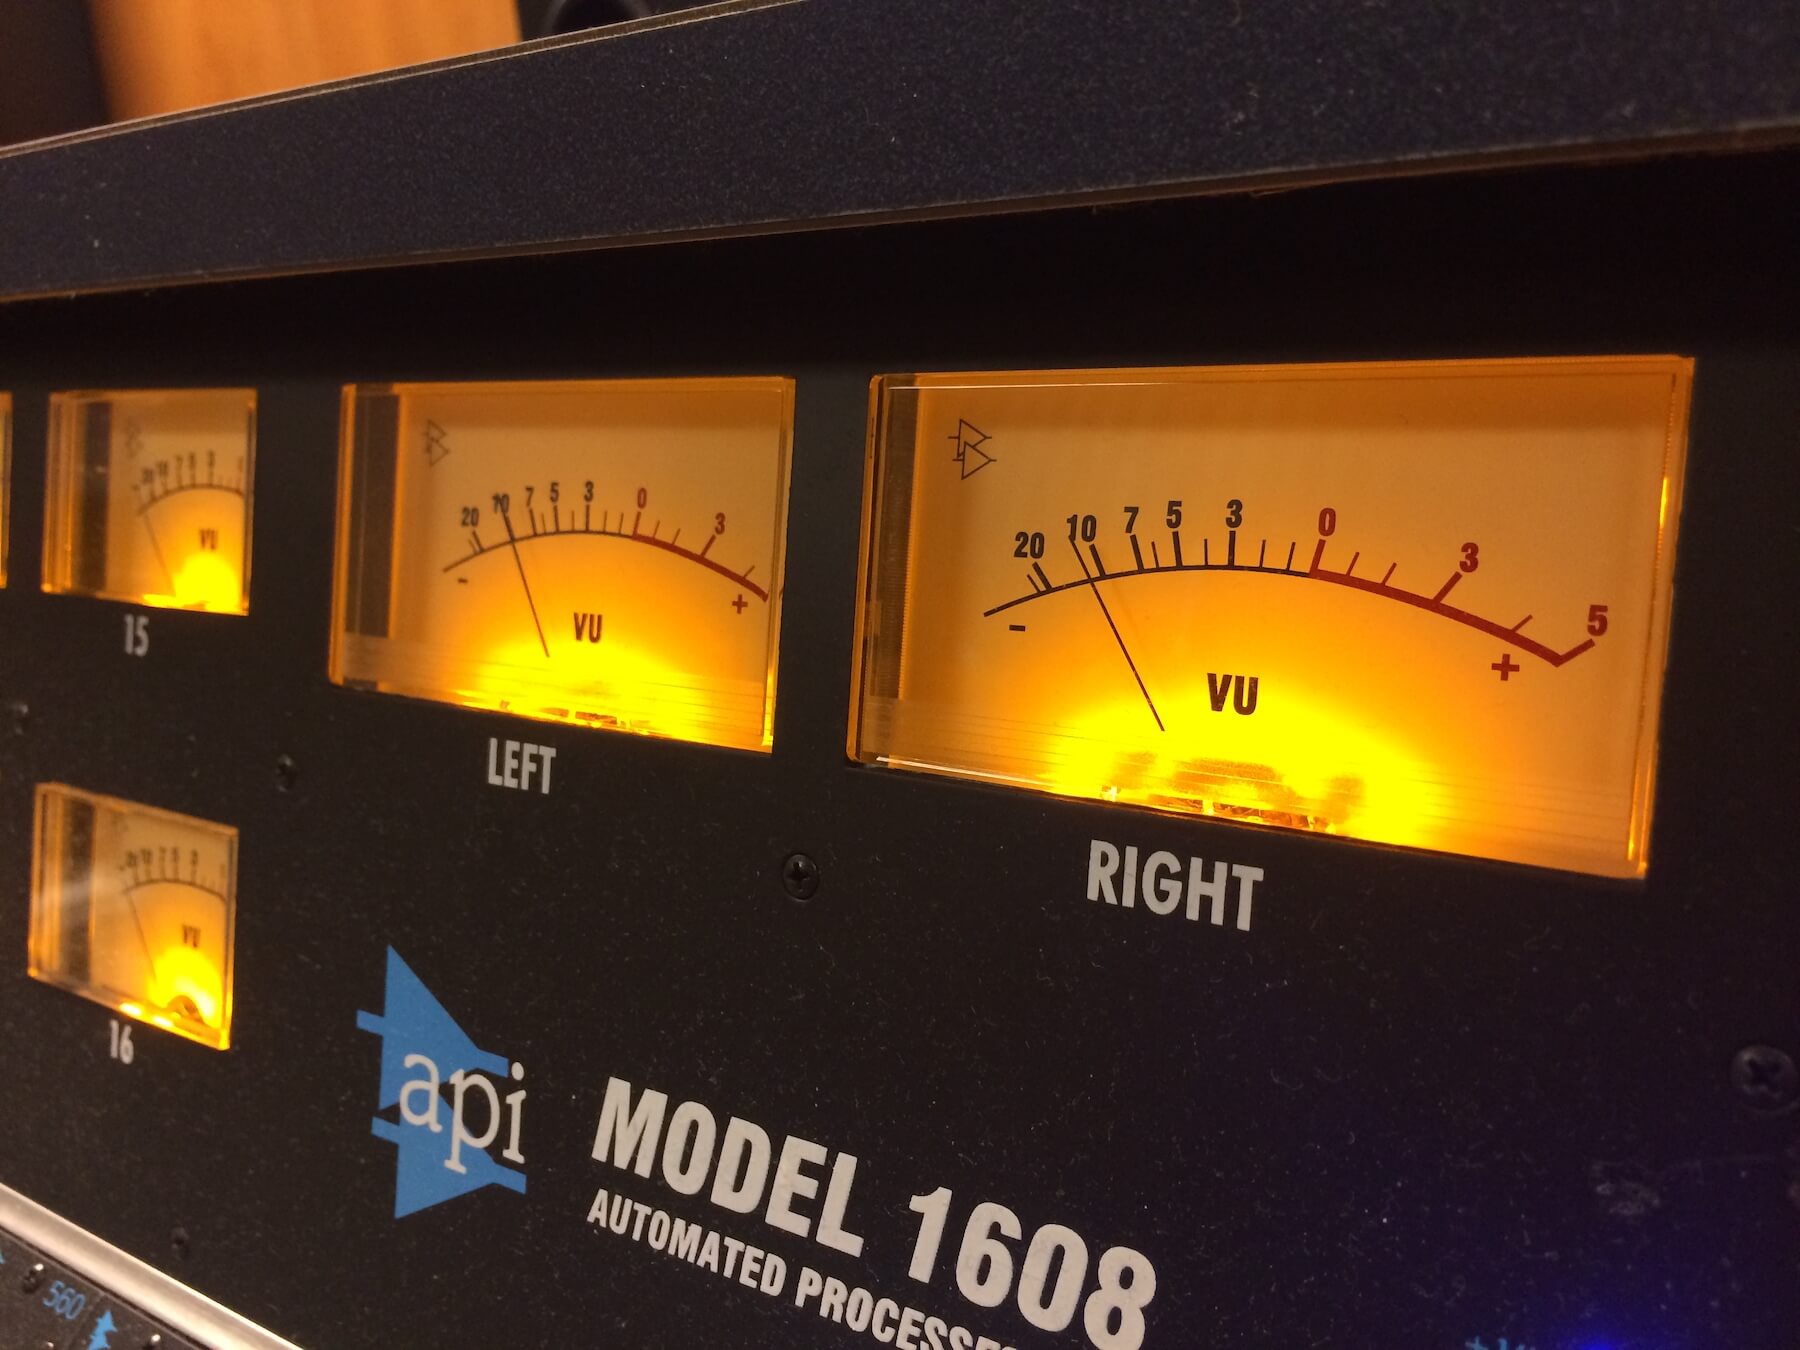
Make sure that your VU meter is set to -18dBFS, which is the sweet spot for many plugins. This means that 0dB on the VU meter is equivalent to -18dBFS, and the goal with gain staging is to get the dial hovering somewhere around the 0dBVU mark. Remember, it doesn’t have to be exact – what you’re doing here is making sure there is enough headroom as you add plugins later.
Hopefully gain staging is now much clearer for you! But there’s more…
Learn the art of mixing
If you want to move on from gain staging and learn more about how to mix, check out Get to Know’s (Larry Holcombe) Mixing and Mastering Masterclass for a real deep-dive into the topic.
In partnership with CR2, Larry takes you on a deep dive into the basics of mixing and mastering (gain staging is just the start!). The course shows not only his own tried and true workflow, but also offers numerous theories and techniques that you can learn and later incorporate into your projects. Plus, you can get hold of the exact stems that Larry uses in the session, so you can follow along with every move to practice getting the same results!

And if you’re looking for some 1-on-1 personalized mentoring, check out Mentor Mixdown where you get to watch a pro mixing engineer mix your own track!
This is an interactive course that puts mixing education in the context of your own music, plus you get to chat live with the mixing engineer to answer any questions you might have about how they went about mixing your track.