Sharpen your Skills with Logic Pro’s Scissor Tool
Get snippy with Logic Pro’s scissor tool and upgrade your workflow
Apple’s Logic Pro is one of the most widely used DAWs for a variety of music recording and production tasks. From recording full orchestras to mixing the next number one pop album, the Silicon Valley software is a firm fixture in today’s music production landscape.
When using such an extensively-featured application, an efficient workflow is important, which starts with rudimentary functions like keyboard shortcuts and cursor tools. Keyboard shortcuts are useful for saving time and effort, but Tools provide a more fundamental way of interacting with the software. In this article, we’ll take a look at the capabilities of Logic Pro’s Scissor tool, as well as giving you an overview of what the other Tools are used for.
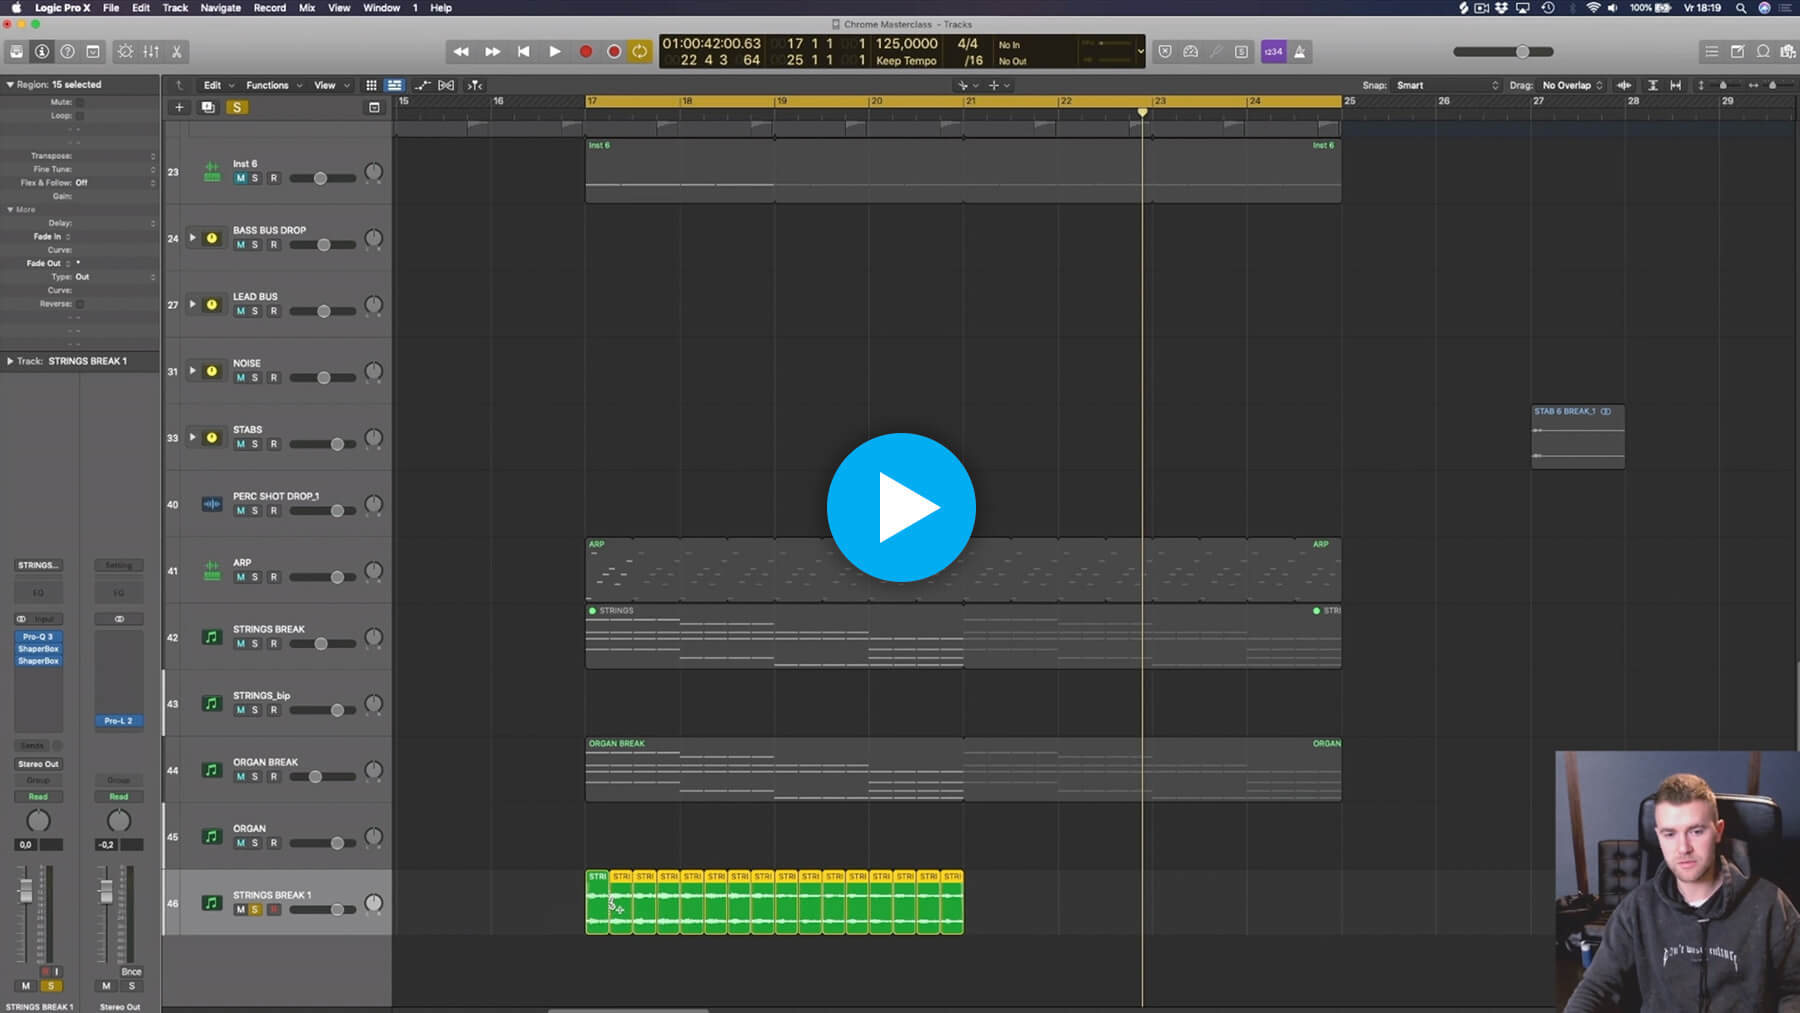
Before you continue, check out this clip from producer and DJ Dober’s Track from Scratch Course, in which he uses Logic Pro’s scissors to show you how to rapidly split an audio region into 16 snippets so that he can reverse them all without affecting their position.
An overview of Tools in Logic Pro
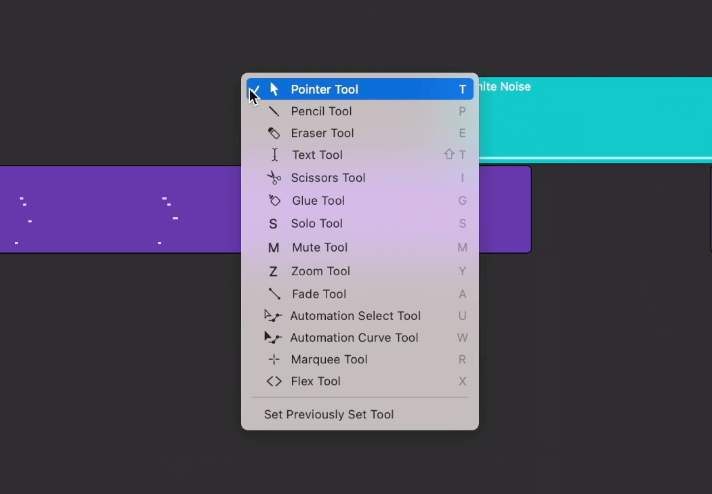
In order to plumb the depths of Logic’s creative capabilities, you’re going to need to know how to find and operate each of the tools at your disposal. To view Logic’s list of cursor tools, simply press T on your keyboard. From here, you’ll see the keyboard shortcuts for each of the tools, or select an option by clicking on it.
Tool menus are also available in the Tracks area, in various editors (including the Piano Roll, Audio Track, Audio File, Score, and Step Editors), and in the Environment, which shows a virtual view of your MIDI studio. You’ll be able to spot Tool menus by looking for the Pointer icon (or whichever Tool you have equipped) with an arrow beside it that opens up a drop down menu.
Pointer, Pencil and Eraser
The Pointer tool lets you click and drag elements within your project, and is likely to be the tool you’ll use the most. Pressing T twice will revert to the pointer tool, the top tool in the list. Pencil lets you create regions in your arrangement, or add notes when in the Piano Roll Editor. To erase regions or notes, you can use the Eraser tool. Select then click on a region or note to remove it.
Scissor and Glue
Logic Pro’s Scissor tool can be used to split regions, for example to split an eight-bar loop into a four-bar loop, simply arm the Scissor tool using the I key and click half way through the region. This works for both MIDI and audio regions. If you want to stitch regions together though, the Glue tool lets you do just that.
Solo, Mute, Zoom and Fade
With the Solo tool, you can nominate a track or region to play by itself, while everything else is muted. The Mute tool allows you to quickly and easily silence a particular region within your arrangement. You can zoom in on specific sections of your project using the Zoom tool. The Fade tool is exclusively available on audio regions, and is used for gradually increasing or decreasing the volume at the start or end of a specific region.
Automation Select and Curve
Automation Select lets you choose automation points which you can then go on to edit. This can also be achieved using the Pointer tool. To create automation curves, you can select the Automation Curve tool and click and drag on an automation line to add a curve in its place.
Marquee and Flex
The Marquee tool allows you to select and edit a region of your arrangement, even if it includes multiple tracks. You can quickly edit audio timing with Logic’s Flex editing functionality using the Flex tool.
Splitting clips with the Scissor Tool
There are a whole host of reasons why you may need to split regions in your Logic Pro project. For example, you might want to edit the contents of a specific region without affecting the surrounding regions, for example adjusting MIDI velocity or reversing audio. Alternatively, you might want to copy a particular section of a region to somewhere else in your arrangement.
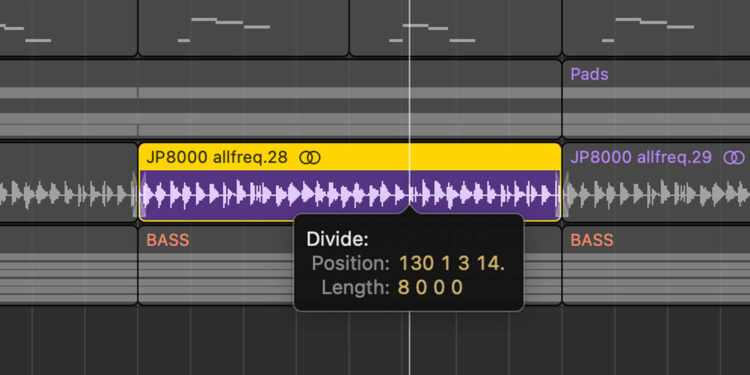
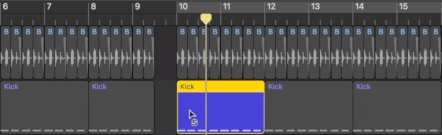
To cut a region of audio or MIDI, you’ll first need to equip the Scissor tool by pressing I on your keyboard, or selecting it from the dropdown Tools menu. You can then click anywhere in a region to create a divide in the section. The newly separated regions now have their own independent region toolbars, so you can quickly and easily bulk edit a number of parameters belonging to them.
How to cut an audio clip into multiple sections
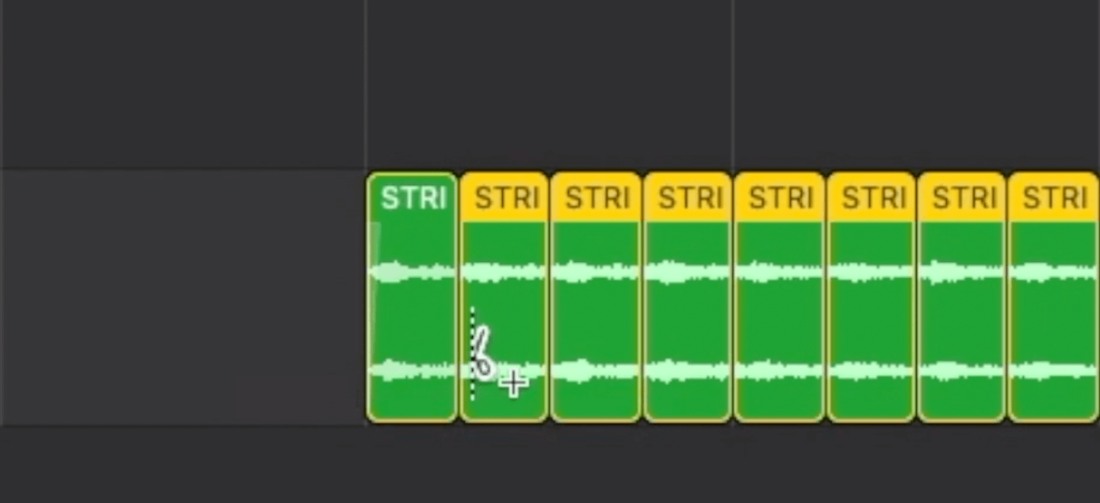
Making individual cuts is all well and good, but what if you want to split a region into multiple sections at once? This could be useful when you know you want to discreetly edit each individual bar of an eight bar loop, for example.
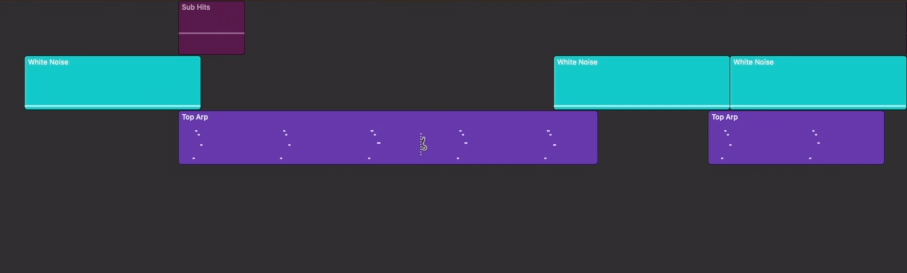
To do this, equip the Scissor tool, then hold Alt and hover your mouse above where you want the end of the first division to be. Once a plus sign appears next to the scissor icon, simply click to cut. For example, if you want to cut a bar into eighth notes, click one eighth into the region. The result will be eight equal sections, which you can go on to process independently from one another whichever way you like.
Other ways of cutting audio clips in Logic Pro
Logic Pro’s Scissor tool will most likely become your go-to method for splitting regions in Logic, but there are other ways of doing it, too. Try them out and find out which one works best for you.
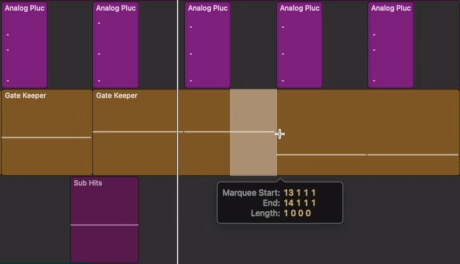
Making cuts with the Marquee tool
One of the Marquee tool’s features is its ability to split sections of audio or MIDI. First, equip it by pressing R on your keyboard, then you can double click anywhere in an audio or MIDI region to split it. Alternatively, you can single click to select a position within a region, then press Delete to create a split.
Split Regions at Playhead
If you are just making a single split however, it may be quicker to use Logic Pro’s Split Regions at Playhead function. To do this, position the playhead (the marker that shows where playback will start from) where you would like to split your audio or MIDI. Then select Edit, Split, and click Regions at Playhead.
What’s next?
If you want to dive deeper into Logic Pro and all of its features you should join Apple Certified Instructor Jono Buchanan on his Making Music with Logic Pro courses. There’s one for complete beginners and one for more intermediate-level producers. By learning from a Logic Pro master, you’ll sharpen your production skills in no time!