Ableton vs Logic – Which DAW has the Best Stock Effects?

Ableton vs Logic – it’s an ongoing debate. Should you tool up with Apple’s slick range of music tools, or Ableton’s sleek bevvy of signal processing devices? Here’s our rundown of the comparisons
Ableton Live and Apple Logic Pro are two of the top professional DAW packages on the market. Both are more than capable of almost every conceivable musical task, and trusted by most top producers to deliver the goods in the studio. They’re also stocked with a whole host of instruments and effects to help you reach your goals in a creative way.
It’s a big choice to buy a DAW, so in this article, we’ll take you through the main comparisons between Live and Logic’s included effects for mixing and processing. We’ve run enough courses on Logic and courses on Ableton to know our stuff. So let’s dive in.
Windows & workflow
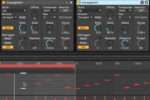
The first point of comparison is how each DAW handles its graphics. All of Ableton’s stock plugins will appear as a visual GUI built into the track panel after being placed onto an audio track; Logic’s plugins will appear in a separate pop-up window.
This may seem like a minor difference, but it makes a big change in workflow.
Reverbs
Logic comes with four stock reverbs, whilst Ableton has two. Don’t let this fool you though, Ableton’s stock reverbs are jam-packed with presets!
Ableton reverbs
Ableton’s Hybrid Reverb, as the name implies, uses a hybrid of convolution impulse responses and algorithmic processing (6 selectable algorithms) to generate its effect. Hybrid Reverb maintains Ableton’s default graphic style, yet has advanced processing going on under the hood. There are lots of settings to play with for fine-tuning your reverberation, and a vast array of presets to find your starting point.
The original Ableton stock reverb uses solely artificial (or ‘algorithmic’) reverb, and relies on you choosing, and fine-tuning one of the many presets. Although Hybrid Reverb is probably going to be the primary choice, the original reverb still offers plenty of options for you to experiment with, and even has a basic built-in chorus effect.

Logic Pro reverbs
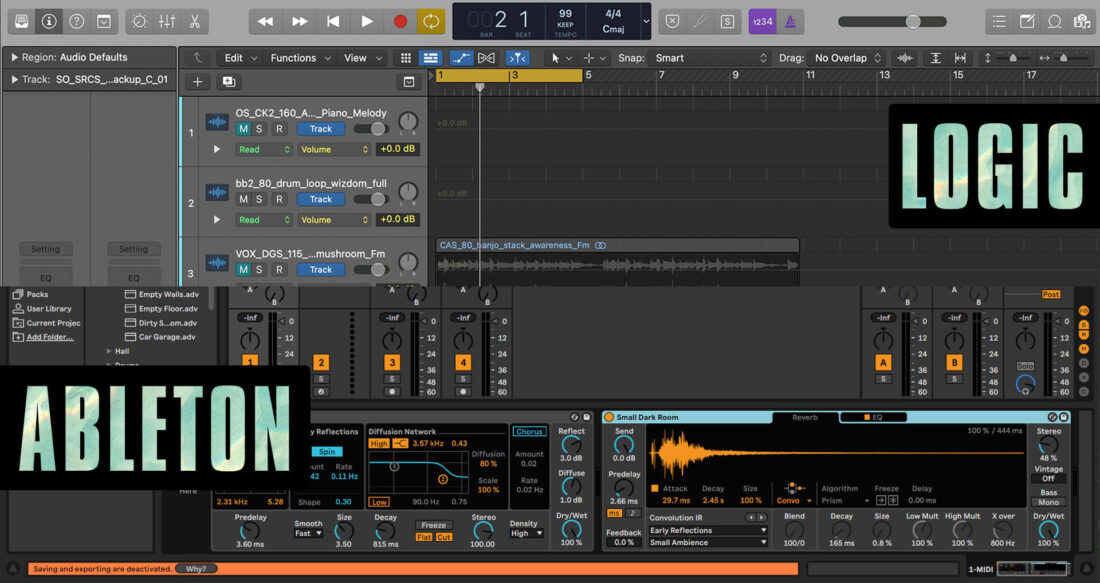
Logic also features a convolution reverb, Space Designer, which contains a wide range of sampled IRs, as well as a separate mode for synthesizing a custom IR. Logic’s second reverb choice is ChromaVerb, which has 14 algorithm choices, each simulating a different space.
The final two reverbs within Logic’s stock library are EnVerb & SilverVerb. Each of these digital reverbs have unique functions. SilverVerb includes a LFO modulation tab to further process your reverb signal, and EnVerb allows you to visually alter the reverb’s properties using an ADSR envelope with added Dry Signal Delay, Predelay, and Hold options.
Overall, Logic’s stock reverbs give you more bang for your buck, however, Ableton’s Hybrid Reverb is one that you may be disappointed to miss out on.
The EQs must be the same, right?
Logic Pro EQs
Once again, Logic is stocked with the larger library, and when it comes to EQs, also has extra functionality. Logic has its default 8-band channel EQ, which also has a linear phase variation. It also has a vintage EQ that comes with three visual interfaces.
The real thing that distinguishes Logic from Ableton in terms of EQs is its built-in Match EQ plugin. This plugin allows you to import a reference audio file and match its frequency curve to your chosen specified track.
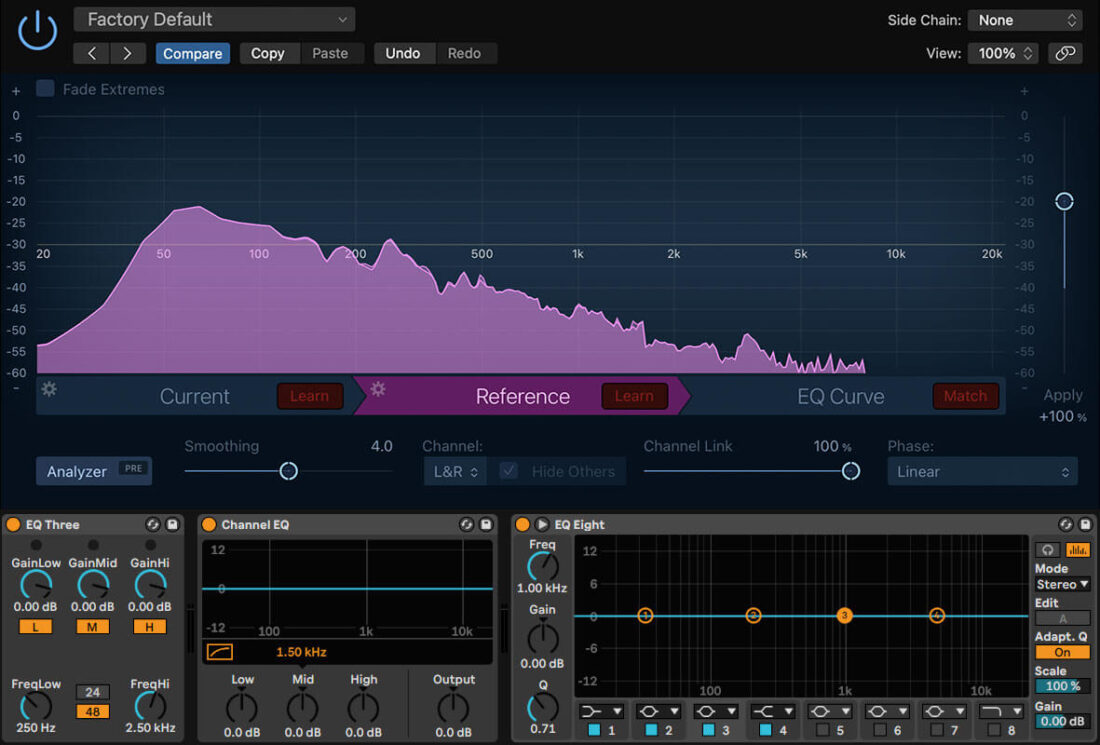
Ableton EQs
Ableton has a few EQ choices; two four-band EQs, and one eight-band EQ, as well as an auto-filter with a variety of presets that you can slap onto your tracks.
Although Ableton has a large range of EQ filter presets, Logic’s larger selection and additional Match EQ make it more preferable.
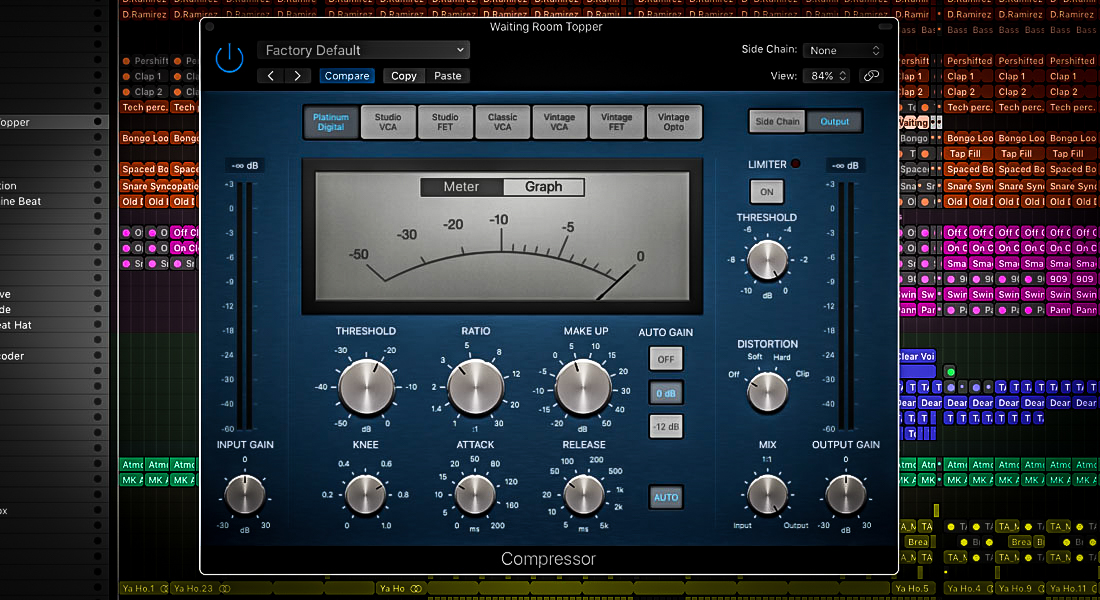
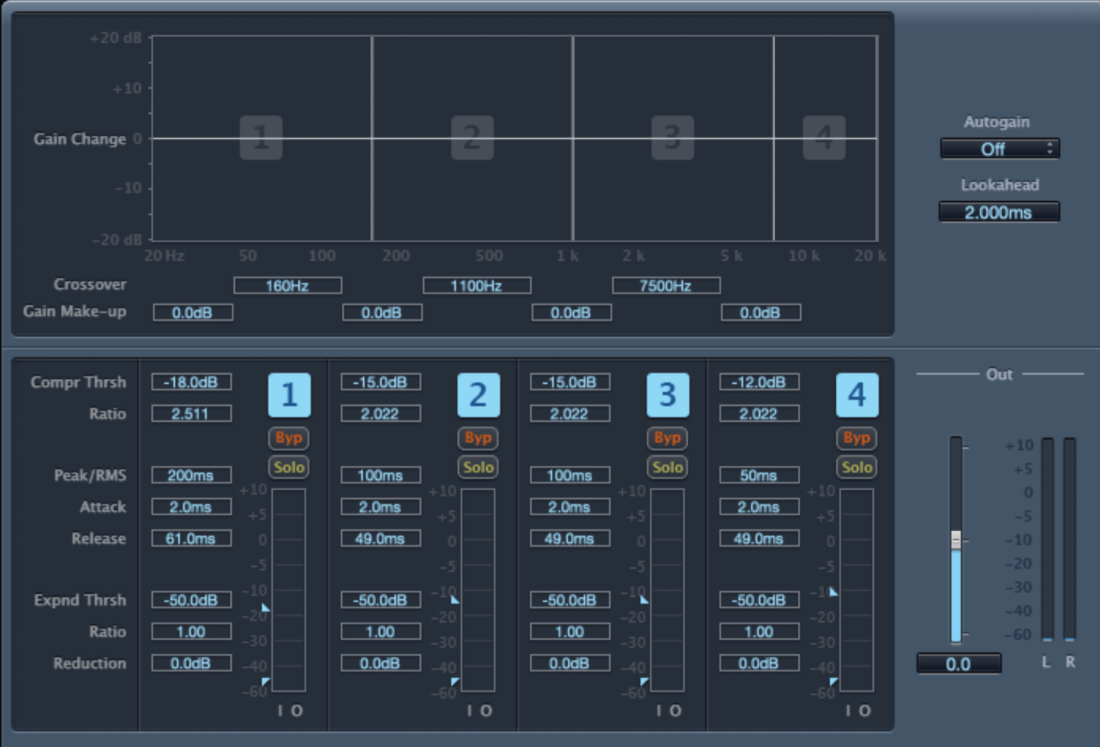
Dynamics: compressors & limiters
Logic only comes with one stock compressor (with built-in limiting functionality), two separate limiters, and a four-band multiband compressor. Ableton has two base compressors, a three-band multicompressor, and one limiter.
Logic’s compressor features a well-designed GUI with seven selectable variations (each adding their own tonal character to the input signal). With built-in sidechain, and limiting capabilities, you could get away with using this plugin for nearly all of your compressing needs.
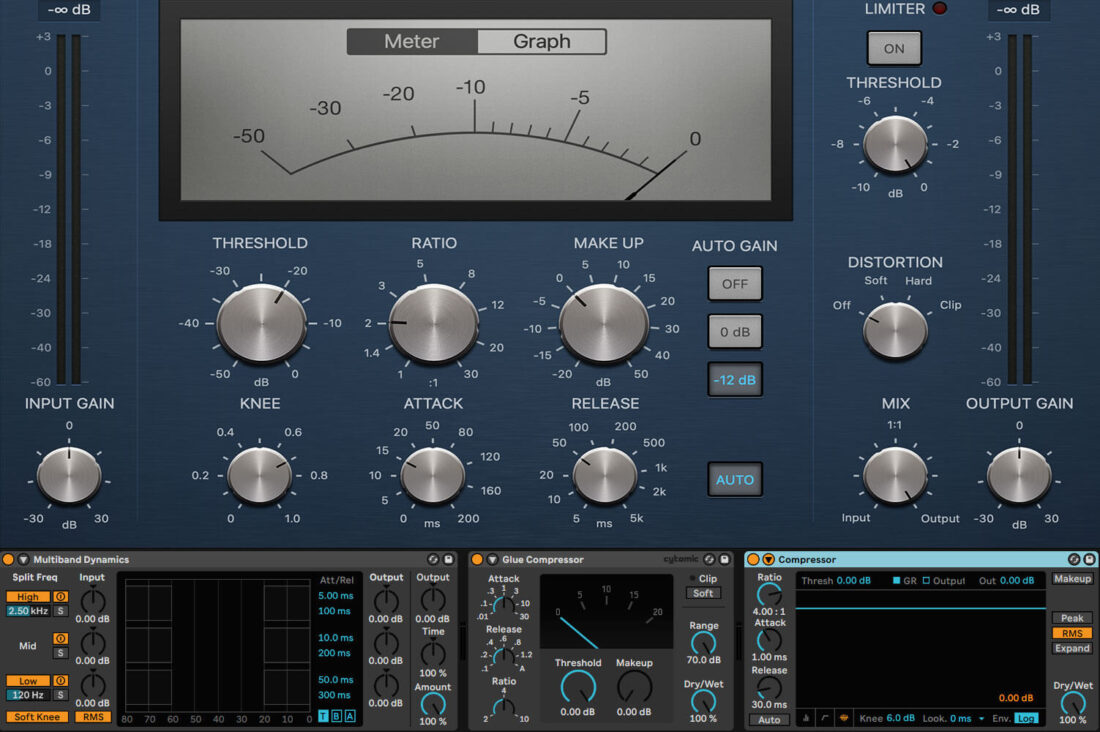
The two stock Logic limiters, as well as Ableton’s one, are relatively basic when compared to some third-party alternatives, however, still get their intended jobs done. The Multipressor, along with some of Logic’s other stock plugins, has a pretty outdated GUI, but once again, does what it’s designed for well.
Ableton’s stock dynamics plugins are sure to aid you in times of need, however they may not provide you with the same enthusiasm as some of the more visually appealing counterparts. If you want to use sidechain compression, you’ll have to use the Glue Compressor, and with only a three-band multiband compressor, you are more limited with its function, when compared to Logic.
Both DAWs’ dynamic effects choices will get you across the finish line, but Logic’s extensive compressor, and four-band Multipressor may be enough to sway your opinion.
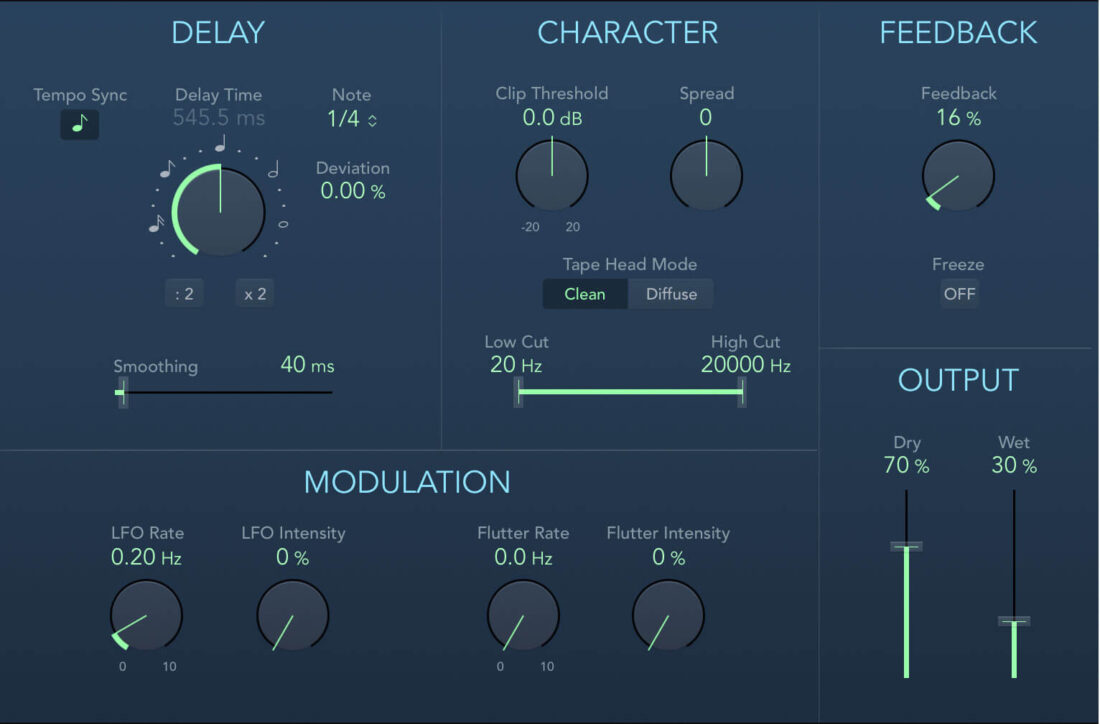
Delay and echo effects
Both DAWs come with a whopping total of five stock delay effects plugins. All of which provide a unique take in terms of their processing and function.
Logic Pro delays
Logic’s Delay Designer is a multitap delay that allows customization for up to 26 taps (echoes). The plugin is too advanced for us to break down in this article, but to cut it short… It can do a lot, and has extensive sound design potential beyond being a regular delay effect.
The other four delay plugins within Logic are relatively simple, however, each offer a unique type of delay. For instance, the tape delay provides an LFO modulation panel and a Character panel that sends your delay signal through a saturation processor. Logic’s Stereo Delay allows you to control the delay settings for both left and right channels independently.
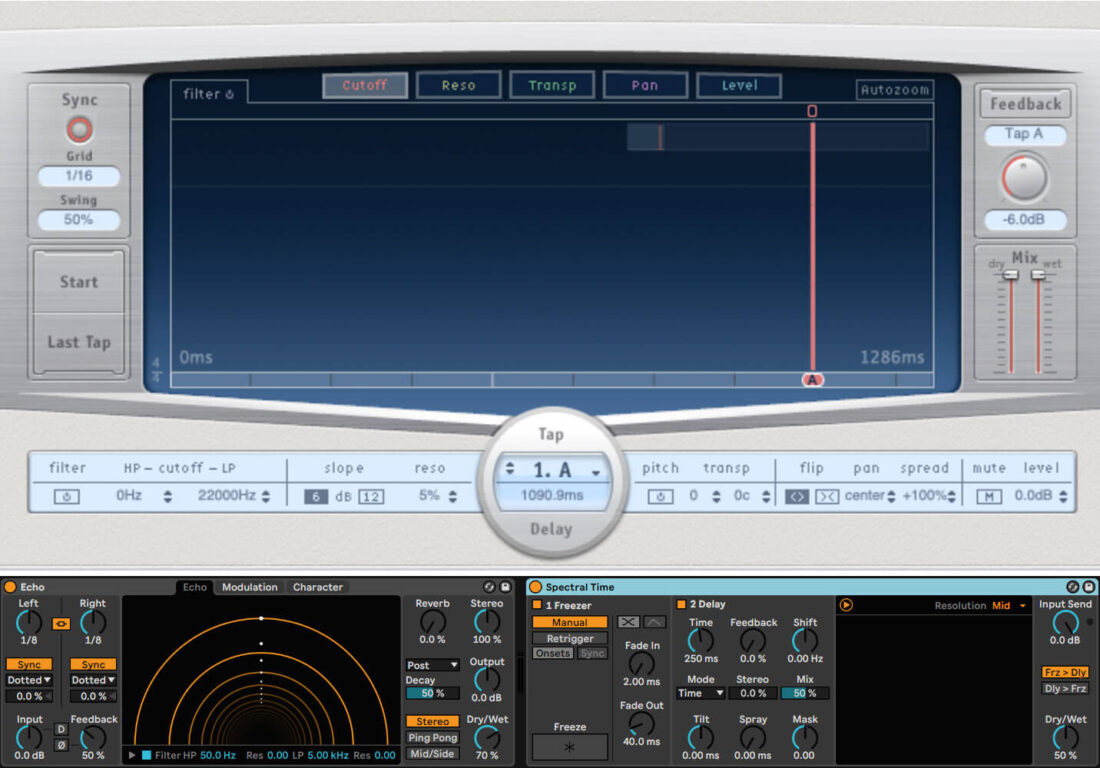
Ableton delays
Ableton’s delays are also quite impressive. Spectral Time is a good competitor for Logic’s Delay Designer. This clever plugin uses a mathematical algorithm to break sounds down into individual grains and then processes them through its freeze and delay sections (Both can be toggled on or off independently).
Filter Delay is another of Ableton’s delay choices. This plugin has three different delay lines which are all passed through an EQ filter. This filter makes it so that the delayed signal is only reproducing the filtered part of the original signal.
Ableton also has Grain Delay, Echo, and Delay. Grain delay does a similar thing to Spectral Time, breaking the signal into smaller particles. It can then be customised to process these grains differently in the output signal. Echo and Delay work similarly to Logic’s Stereo delay, both with slightly different settings that can be adjusted, such as Echo including an envelope control, and Delay having the ability to sync your delay to the project’s tempo.
Both DAWs offer great value with their stock delay plugins so it’s hard to say one is better than the other. Perhaps it’s worth taking a more detailed look into what each plugin can do on the official Ableton and Logic web manuals.
Final Thoughts
Overall, the differences are minimal. Each DAW can achieve the same end result, it’s just a case of learning the ins-and-outs of your chosen software.
If you are choosing a DAW based on stock plugins alone, Logic may be slightly preferable, however, it’s worth considering the overall functionality, and your individual needs before making a decision.
What’s next?
Check out how globally-successful artists produce their music using both DAWs with our full range of Ableton courses and Logic Pro courses.
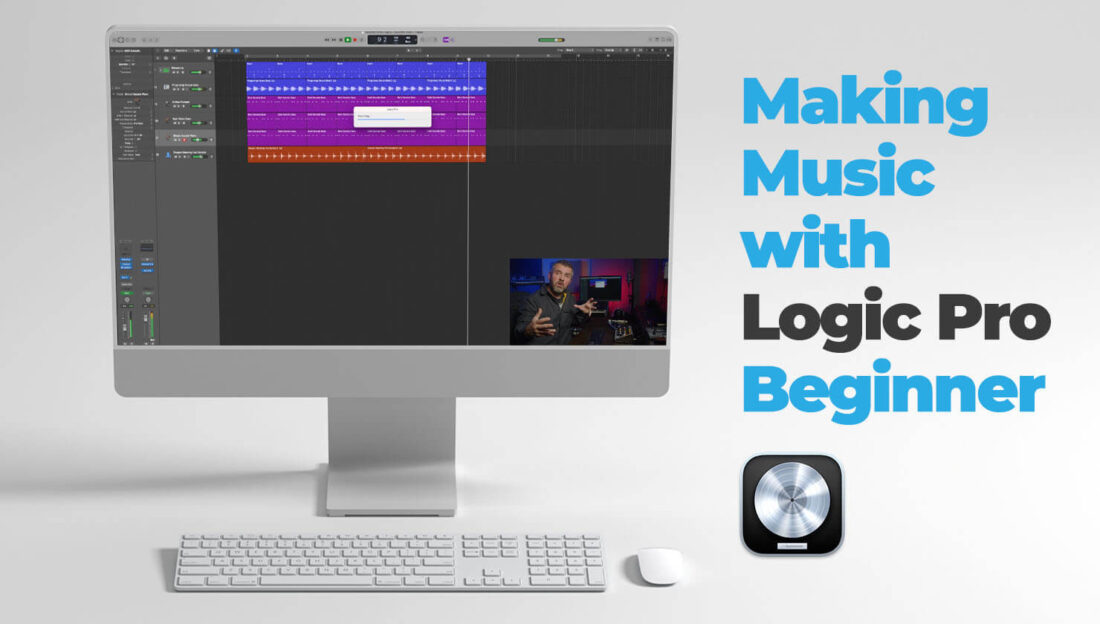
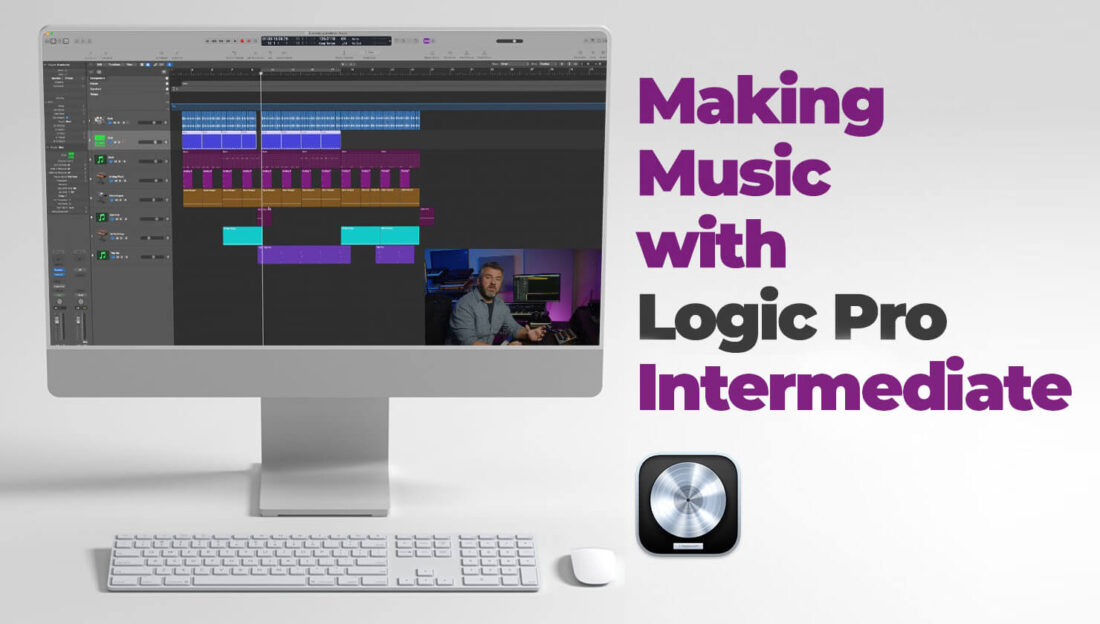
If you’re just starting out learning Logic Pro or maybe you’re looking to take your skills to the next level you should check out our Making Music with Logic Pro: Beginner and Intermediate courses.