Mixing Kick Drums: Getting Your Kick to Fit Into Your Track
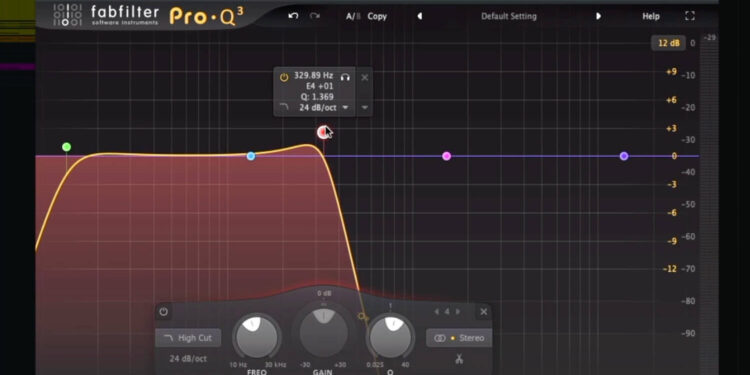
Mixing kick drums with bass and the rest of your track can be tricky. But read on to learn how to get your mix you low-end to fit with the rest of your track.
Software or hardware, techno or drum and bass, beginner or expert, no matter your setup, genre or musical abilities, there’s one common struggle that unites us all. Getting your kick to sit right within your mix is an all too common sticking point for many producers.
It just so happens that the kick, and its relationship with the rest of the track, is one of the stickiest but most important pieces of the electronic music puzzle. In this article, we’re going to explore some of the tips and tricks you can employ to take control of the backbone of your tracks’ low end.
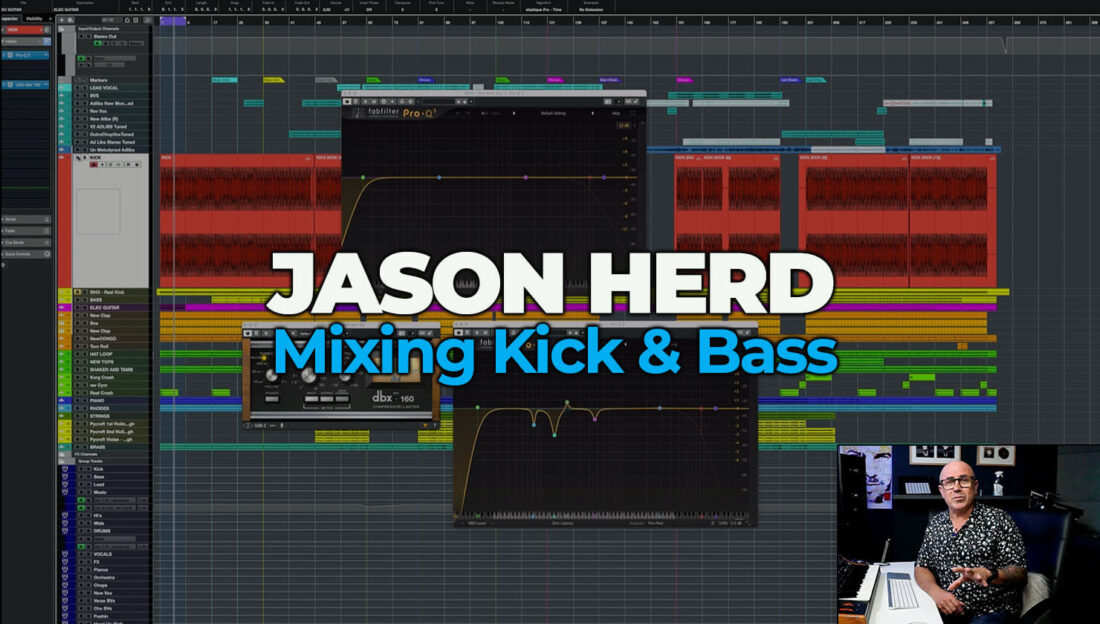
Suggested Course: Want to go all the way to the limit with your kick and bass mixing? We’ve got an entire three-hour course on Mixing Kick and Bass, courtesy of pro producer Jason Herd so make sure you check out the intro chapter to see what you’ll learn.
Kick Decay Times
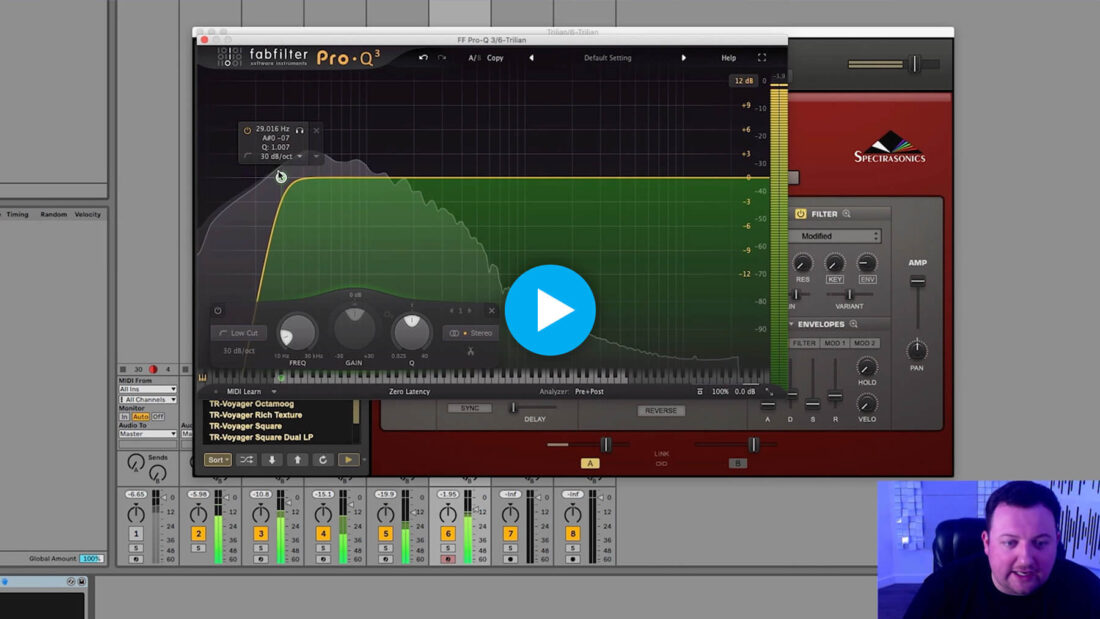
Before you dive into Jason’s course, watch how techno producer Rudosa frees up space in his mix around the kick drum.
He explains that there should be a negative correlation between the speed of your track and the length of your kick. In other words, the faster your track is, the shorter your kick should be.
Think of hip-hop as an example – this would traditionally be 85 bpm-95 bpm and therefore has room for lengthy 808-style kicks. If you tried to use the same kick in a jungle track that’s nearly double the tempo, the kick would consume a huge amount of the arrangement.
Suggested Reading: How to Tune a Kick Drum to Fit your Track
Sample Selection
This brings us nicely to the next key consideration, which is sample selection.
Not only does the length of the kick matter when it comes to getting it to fit within your track, but the tone, key, and frequency content all contribute to its suitability for the rest of your track.
If your bassline contains a lot of frequency content below 100Hz, you might opt for a more midrange kick. Conversely, a subbier kick is better suited to basslines with lots of midrange information. The idea is that your kick and your bass occupy different frequency ranges to avoid phasing and headroom issues.
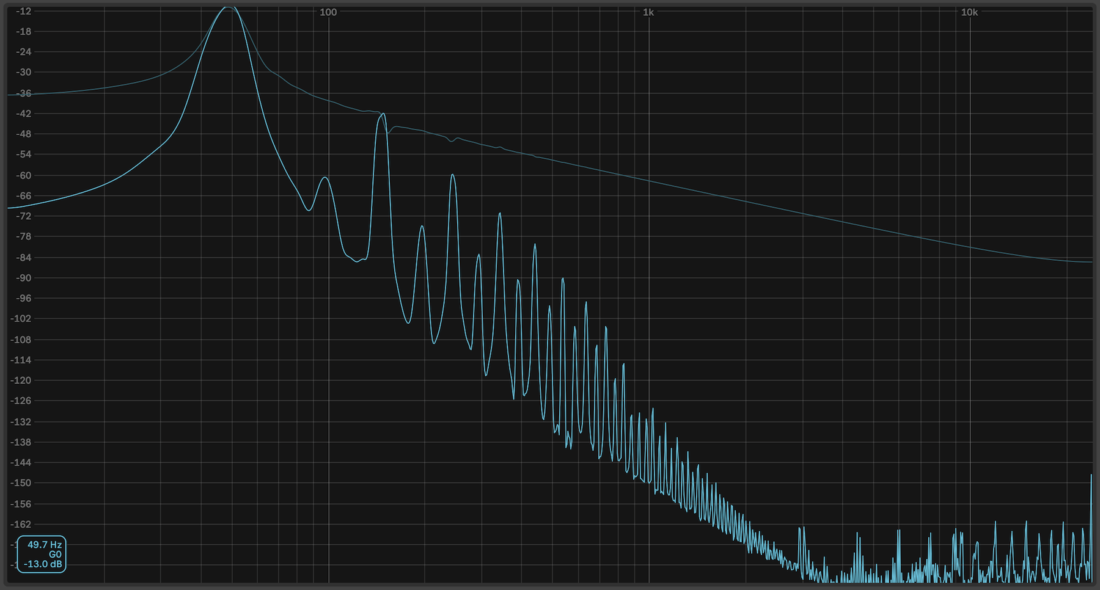
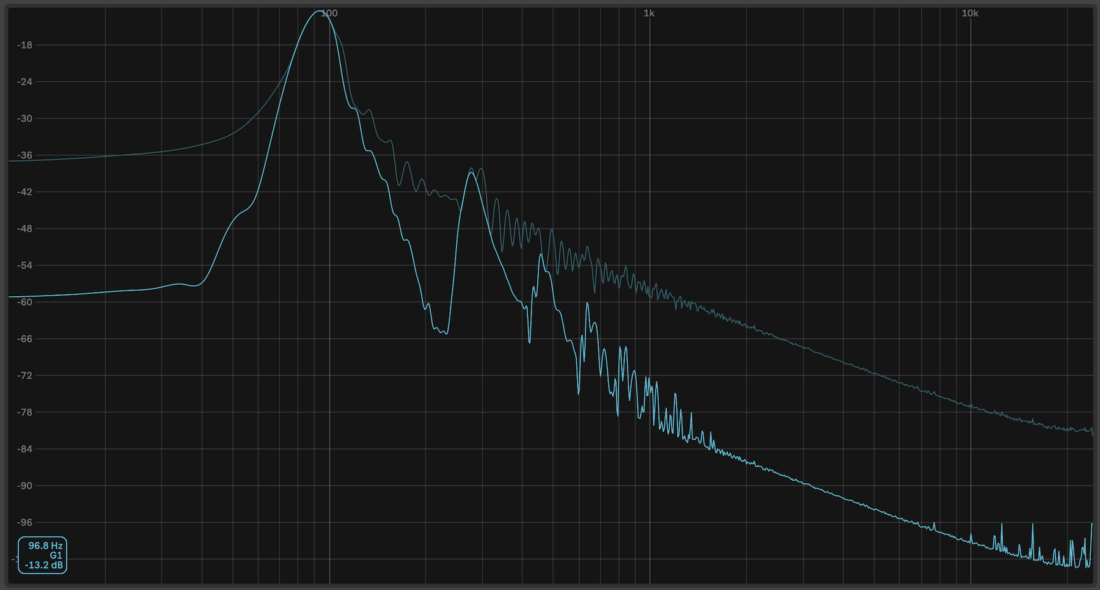
It’s for these reasons that many producers opt to synthesize their own kicks, giving full control of each portion of their kick. Alternatively, writing your kick pattern in MIDI gives you the option to switch your kick out at the click of a button, even during the later stages of the compositional process.
Sidechain Compression/Volume Ducking
You may be familiar with the relatively well known concept of using your kick to duck other elements within your mix, most notably the bassline as this is the element that usually lives within the same frequency range. This is commonly achieved using a compressor, but there are many ways to bake a cake.
Some people opt for a volume shaper to reduce the level of other elements when the kick is triggered, as this grants slightly more control over the ducking.

Others use frequency-dependent dynamics processors such as a dynamic EQ or multiband compressor, so that only the frequencies that are present within the kick are ducked from other elements, as this can result in a more transparent effect.
One consideration to make with this style of dynamics processing is that it doesn’t result in the same volume pumping that has become a stylistic choice in some styles of dance music.
EQ Scaling
As with many music production conundrums, your trusty old EQ is always on hand to help things along.
For this technique, you’ll need an EQ that has an inverse scale function such as Ableton Live’s built in EQ Eight. First, place an instance of your EQ on the kick channel, and make a small, tight boost at the fundamental frequency.
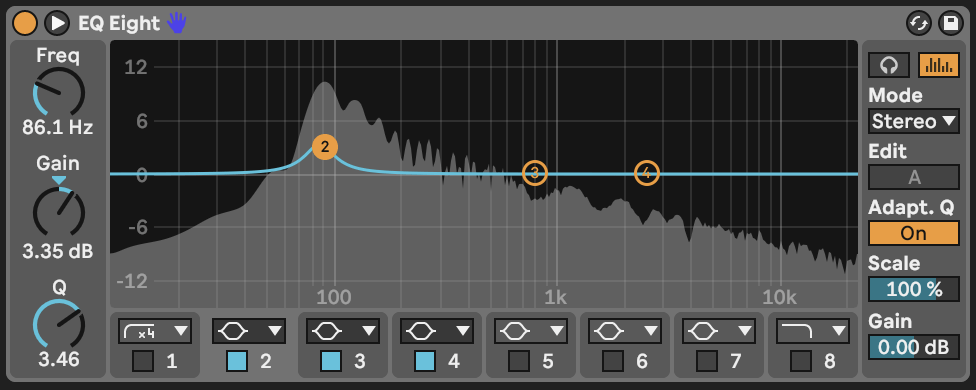
Then copy your EQ onto the bass channel, and invert the scale to a negative value.
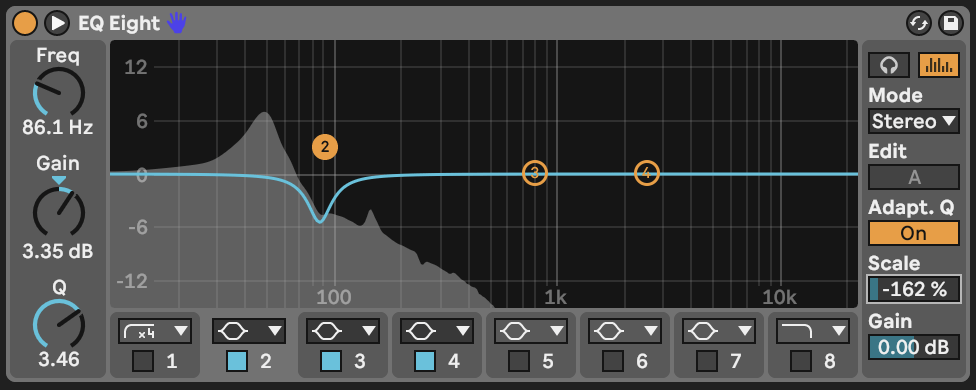
This means that the kick will take precedence over the bass in the frequency range in which it is most prominent, and is a great way to quickly carve more room for any element in your mix when you have frequencies clashing between channels.
Saturation
Let’s say you’re at the mixing stage of your production process. Everything’s sounding nice, polished and punchy. But your kick just isn’t quite cutting through, particularly on smaller speaker systems or headphones. It’s too late to swap the kick out completely as this will upset the whole balance of the mix, but you’ve already applied the other techniques in this article.
In this case, some subtle saturation might be the solution. There are an infinite number of saturation plugins that each offer a different sonic flavor, but most DAWs come with a saturation plugin that will be more than adequate for this technique.
Place your chosen saturation plugin on your kick channel, and apply a few dB of saturation. You should notice a fatter, fuller sound with some more harmonic content. Some saturation plugins have a choice of saturation algorithms, so cycle through them and see what works for your kick.
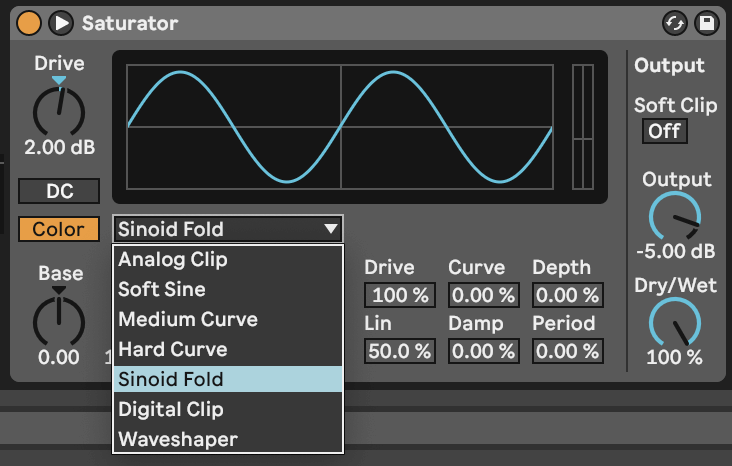
For a more subtle effect that doesn’t alter the dry signal, you can apply parallel saturation. To do this, place your saturation plugin on a return channel and send your kick to it. This allows you to get quite extreme with your saturation, and you can even apply further processing to the saturated kick such as compression or EQ.
Reverb
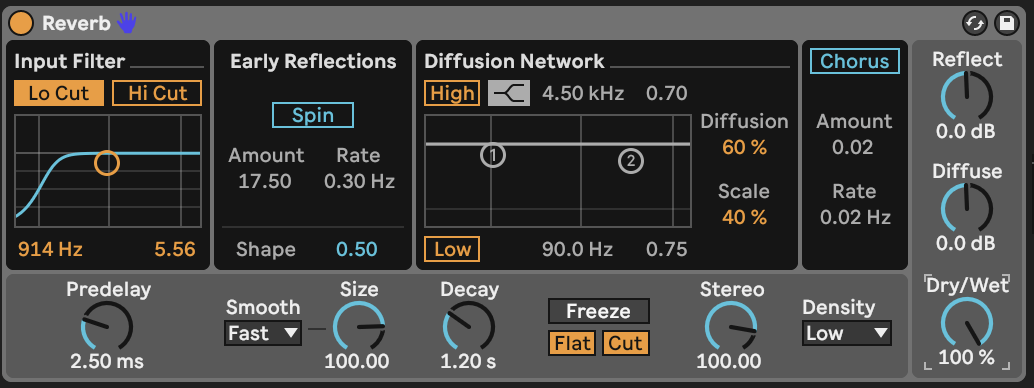
Yep, we’re rounding off this article with a contentious subject. Reverb on a kick is considered by some to be a cardinal sin of dance music production. Carefully applying a small amount of reverb to your kick via a return channel, though, can be a great way to tie your kick into other elements in your mix, thus placing everything in the same space. Many modern reverb plugins have a low cut feature, allowing you to remove the bottom frequencies of the input signal, preventing the reverb from becoming a muddy mess.
What’s next?
Want to go all the way to the limit with your kick and bass mixing? We’ve got an entire three-hour course on Mixing Kick and Bass, courtesy of pro producer Jason Herd.
