Ableton vs Logic – Which DAW has the Best Workflow?

Our Ableton vs Logic shootout continues with arguably the most valuable consideration of all: workflow
A vast amount of contemporary music requires the use of a digital audio workstation, or DAW, at some point in the production process. So it’s important to make sure you’re working with the right tools for the way you work. And this begs the question, which DAW has the best workflow? Today, we’ll be looking at Logic vs Ableton in particular.
For the purpose of this blog, we’re going to look specifically at Logic Pro and Ableton Live’s current offering at the time of writing, X and 11 respectively. In it, we’ll take a look at keyboard shortcuts, routing, file and plugin management, MIDI, automation and much more. We can’t tell you which software is best for your needs, but we can help you make that decision for yourself by laying out where each of them excels.
Composition modes
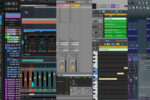
At the core of Ableton’s architecture is its Session View. Unlike the traditional left-to-right timeline that you’d come to expect, the ability to sequence loops and samples in real time was utterly groundbreaking at its conception. So much so that Logic released their own take on this method of composition and arrangement in a relatively recent update.
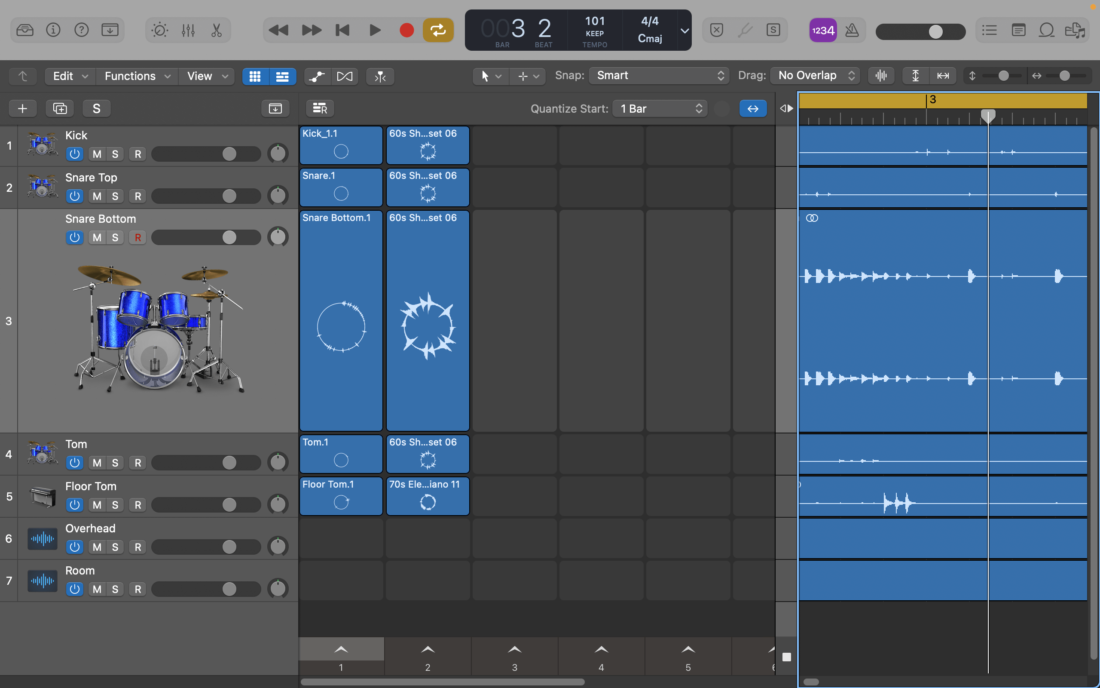
While both DAWs now offer the usual arrangement view as well as the loop-based jamming playground, it’s fair to say that Ableton’s tried and tested approach is more refined than Logic’s. If you’re weighing Ableton vs Logic, and loops are a big part of your production process, then this may be an important consideration for you.
MIDI and Automation
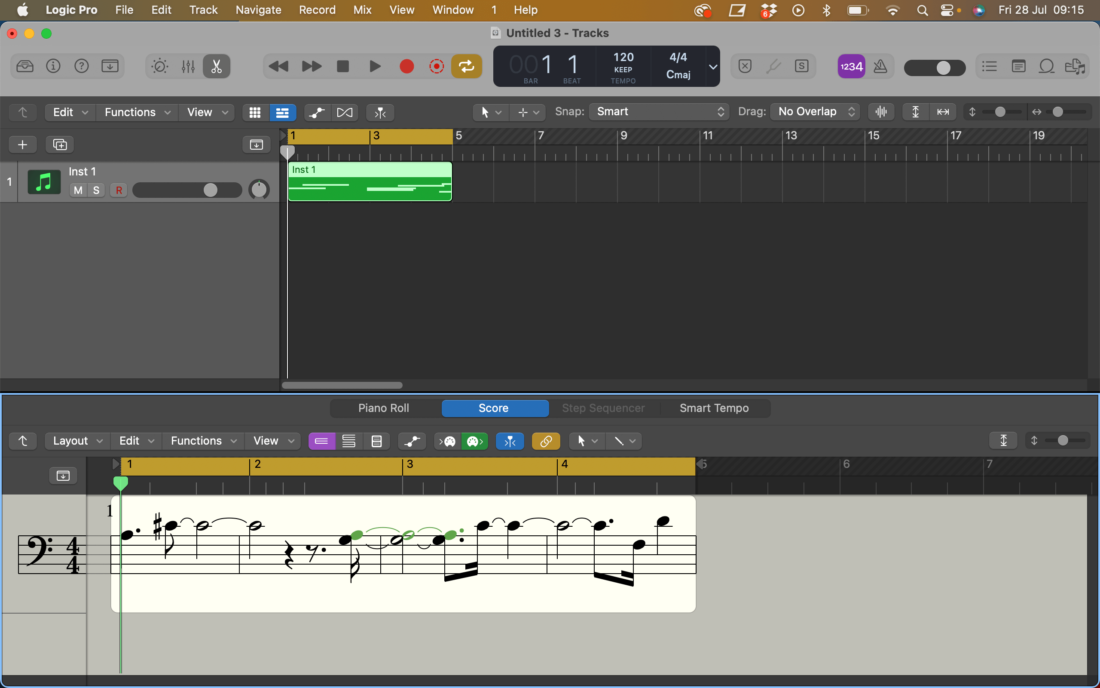
Given we’re working in the digital domain, the ability to digitally control instruments and effects in an intuitive manner is of the utmost importance. Logic’s strengths lie with its comprehensive MIDI editing functionality that expands beyond that of Ableton’s. Ableton’s MIDI workflow might be easier to get your head around if you’re a relative newcomer to music production, while you might get more mileage out of Logic Pro in the long term. Additionally, Logic Pro’s notation editor will be a welcome addition to those who frequently work with written music or instrumentalists.
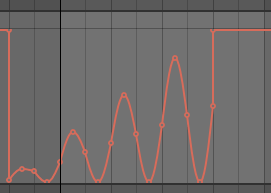
Once again, Ableton’s automation is generally a little easier to pick up for those just starting out, but Logic’s more advanced automation features might grant you a little more control further down the line. That said, Ableton’s automation system features some very useful workflow hacks, including the ability to draw in a selection of pre-determined automation shapes as well as the Simplify Envelope function. Once again, the best DAW for MIDI and automation will boil down to what you intend to use your DAW for and how you like to work.
Routing
On the face of it, Ableton’s routing options and workflow look a little less daunting than that of its Apple counterpart. Generally, Ableton works according to a simple left to right and top to bottom signal flow that should be intuitive to even the most junior of producers. Logic on the other hand adopts a slightly different approach that can be a little tricky to get to grips with.
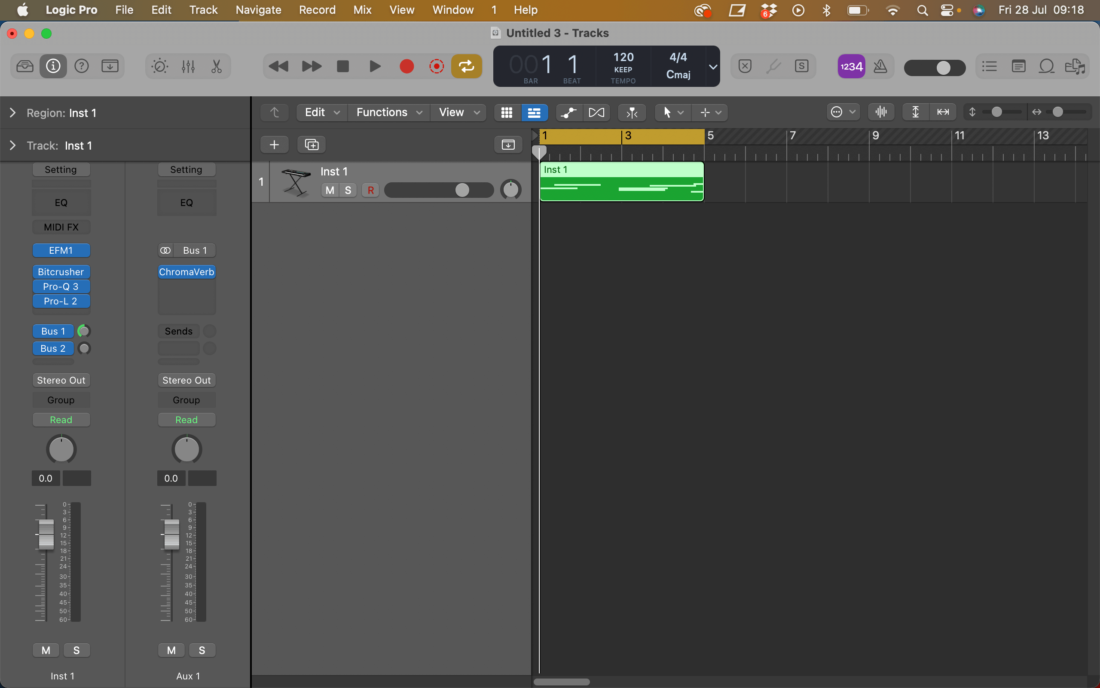
On the other hand, Logic Pro’s bussing options mean there is more routing flexibility making it popular with producers who also intend to do any heavy duty mixing work within the same DAW. While not quite the same as having dedicated busses, Ableton’s Audio Effects Rack essentially allows you to run any effect in parallel within a channel.

DAW Keyboard Shortcuts
Both DAWs feature some pre-assigned keyboard shortcuts designed to streamline your workflow and production process. It’s simply a case of making an effort to learn the shortcuts of the DAW you end up opting for. That said, some shortcuts are easier to remember than others. (We’re looking at you, Logic. CMD + R for duplicate? What’s wrong with CMD + D?)
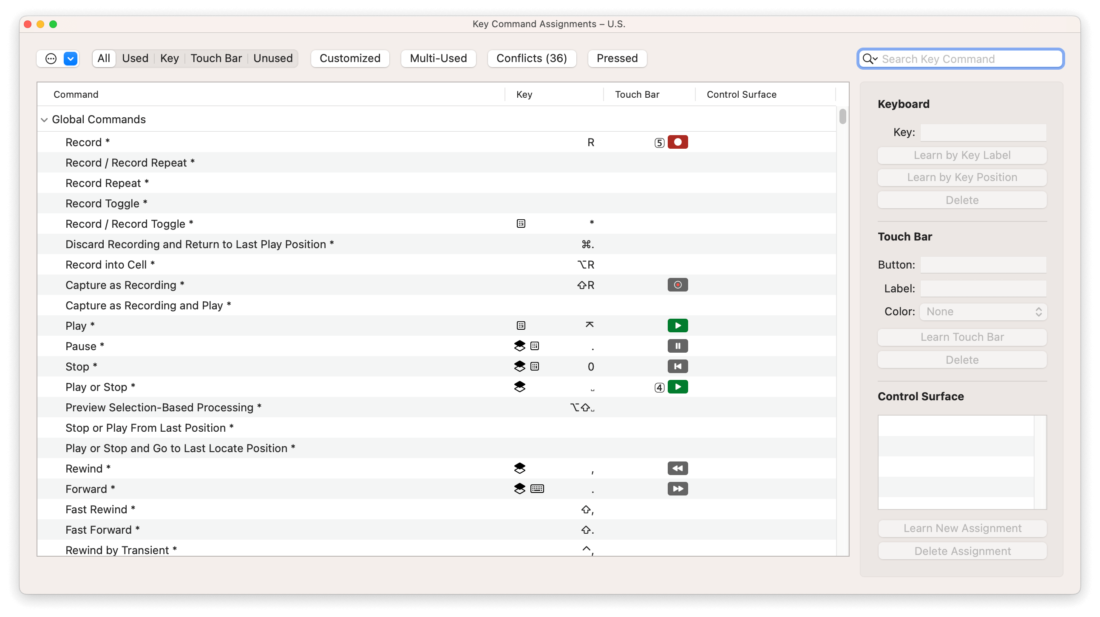
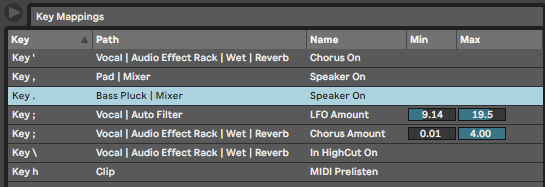
You can also assign custom keyboard shortcuts in either DAW, for if there’s a particular feature or control you use frequently. In Logic, you need to go into the Key Commands Edit window to do so. In Ableton, simply press CMD/Ctrl + K to quickly assign just about any button to any key on your QWERTY keyboard. This is actually the same process as assigning controls to your MIDI keyboard, but with CMD/Ctrl + M instead.
Menu Organisation & Plugin Management
One last thing to consider is the plugin menu organization of both DAWs. Logic does an excellent job at allowing the user to manually organize their plugins (Including third-party ones) within the DAW. You can create custom lists, and deactivate any plugins you don’t use from appearing in your tracks’ drop-down lists. Over in the Ableton camp, the Live 10 update brought with it a similar feature, allowing you to categorize and color code plugins by hitting number 1-7 on your keyboard. We’ll call this one a draw.
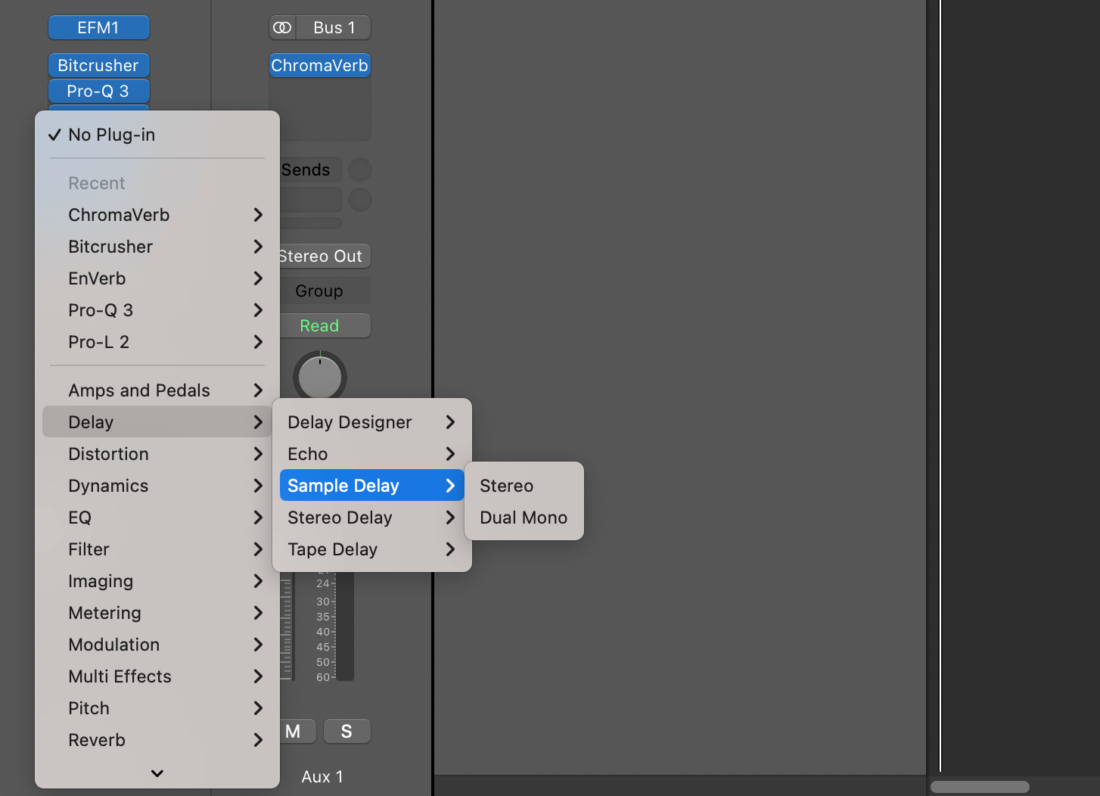
One strength of Ableton’s browser is that it displays native plugin presets in a collapsible drop-down list, allowing for swift selection from the side-menu. This is something that Logic cannot do, and will also provide some added speed if you want to compare presets.
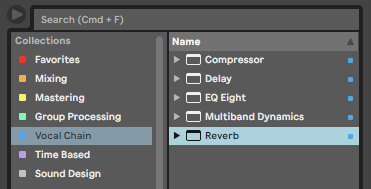
Not only that, but saving an Audio Effect or Instrument Rack which contains third party plugins will also save their current state. This means you can easily load up instances of any plugin with any preset or configuration, all from within Ableton’s plugin browser.
Want to learn more about Ableton vs Logic plugins and stock effects? Check out this article.
Summary
Hopefully this article has drawn some key comparisons between the workflow of two big hitters of the music production world, Logic Pro X and Ableton Live 11. As you can see, there’s no real overall winner for everyone, and you’d be best off choosing a DAW according to what you’re going to do with the software. If in doubt, both options offer free trial periods which allow you to evaluate and compare each of the products in the capacity in which you’re likely to use them.
