How to Use Swing Rhythms in Music Production
Go off-grid and add real life and feel to your drums with this rhythmic technique
One of the major benefits of using a DAW for music production is that it offers a level of precision that you simply can’t achieve anywhere else. Notes and beats can be chopped up, turned inside out, layered together and placed exactly where you want them – regardless of your playing ability. However, this machine-driven accuracy can sometimes be a negative, particularly when it comes to drums. Songs that march along to beats that never deviate even slightly from the grid can sound robotic and lifeless. This is because they are devoid of the human feel (rather, human error) that comes from live drum tracks. Thankfully, you can inject some instant groove to your drums, and other instruments, by using swing rhythms. The swing function should be built-in to most DAWs.
What is a swing rhythm, anyway?
That’s a good question! The concept of swing in music can be traced back to the 1930s, when jazz musicians like Duke Ellington, Fletcher Henderson and Count Basie led the genre into a new era. Their music was characterised by a “loose” relationship with the attacks and accenting in relation to fixed beats, resulting in lively, infectious grooves.
In music production, swing refers to the amount that beats or notes stray from the metronomic grid. In practice, swing rhythms in drum machines, sequencers and DAWs include very slightly delayed alternate notes that sound late in comparison to anything that is played “straight”, or on the grid.
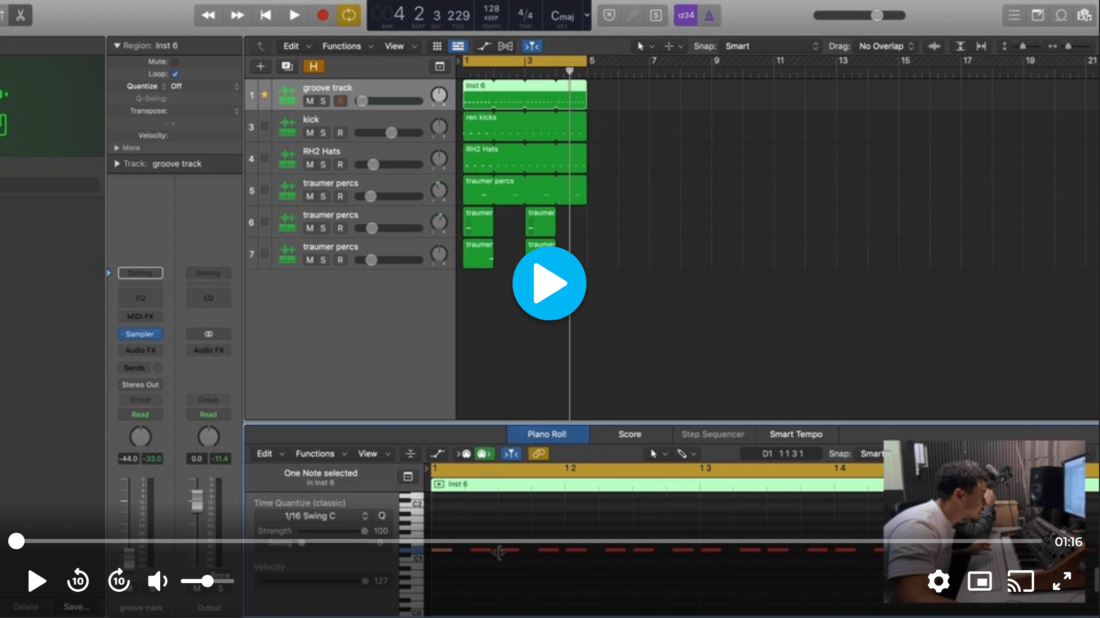
The kick and the hi-hat are the fundamentals of the groove, and it’s usually a good idea to keep them straight. However, there are always exceptions to this (remember that there are no rules in music production)! The other, off-beat elements of your drum part are ripe on the vine for swinging. Josh Lewis from Late Replies explains this concept in this clip from their Track from Scratch course, exclusively available on FaderPro.
Getting started with swing in your DAW
There are a number of ways of introducing swing to your productions. Whether you’re finger drumming, drawing in notes, or using swing templates, you have plenty of options. We’ll look at each approach in Ableton Live, although the techniques are applicable to pretty much all DAWs.
Finger drumming and Draw Mode
Whether you’re programming in a sequence using a MIDI keyboard or your mouse, the approach to creating a swing rhythm will be roughly the same. Start by adding in a straight groove. We’ll go for a simple 4/4 kick and snare pattern with the kick on every beat and the snare on the backbeat.
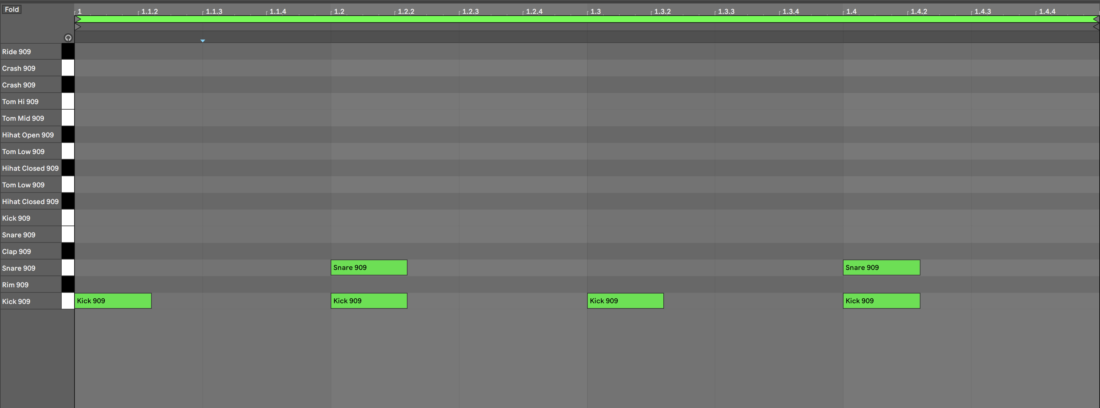
The swung elements of this groove are going to be the hi-hats. So, we’ll layer in a 1/16 note syncopated rhythm on top of the kick and snare. Now we come to the first rule of swing in music production: turn off Quantize! Quantize is the feature in your DAW that snaps any recorded notes to the grid. In other words, it makes an imperfect performance rhythmically precise.
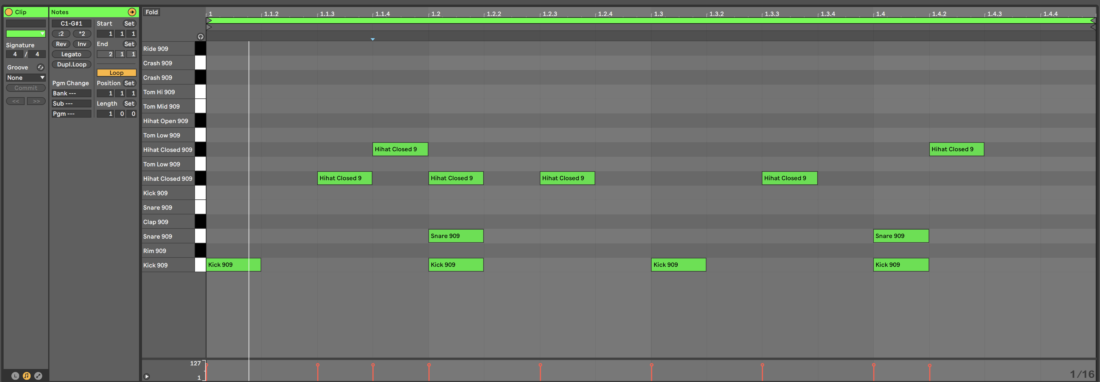
A live drummer in a band will typically play in a “pocket”, where not every single downbeat is perfectly aligned to a metronome. This isn’t achievable when you’ve quantized the hell out of everything. If you’re using Draw Mode, click slightly to the right of the grid to delay the hi-hats.
For finger drumming you’ll need to rely on your own sense of timing. Don’t worry, though! With Quantize turned off, a clumsy hit can be dragged forward in time to give your groove that laid-back swing swagger. You could even try quantizing at 25-50%, which will tighten things up but not sound overly rigid.
If you want to dive further into kick and snare patterns, check out this article.
Groove Pool
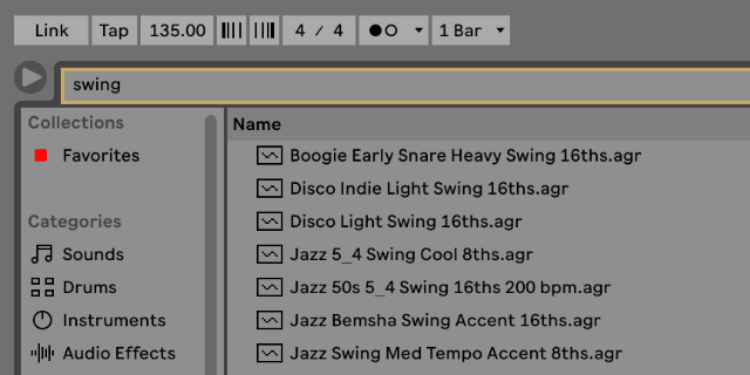
Ableton Live comes with a feature that lets you apply a groove template to software instruments and MIDI patterns. Using this feature can automatically bring an organic feel to electronic sounds. Simply click into Packs and navigate into the Swing and Groove folder. From here, you can select a swing value from the Swing subfolder, and drag it onto your clip. You’ll notice that the swing groove is accessible via a dropdown menu in the clip settings. Here, you can also open up the Groove Pool to fine-tune settings.
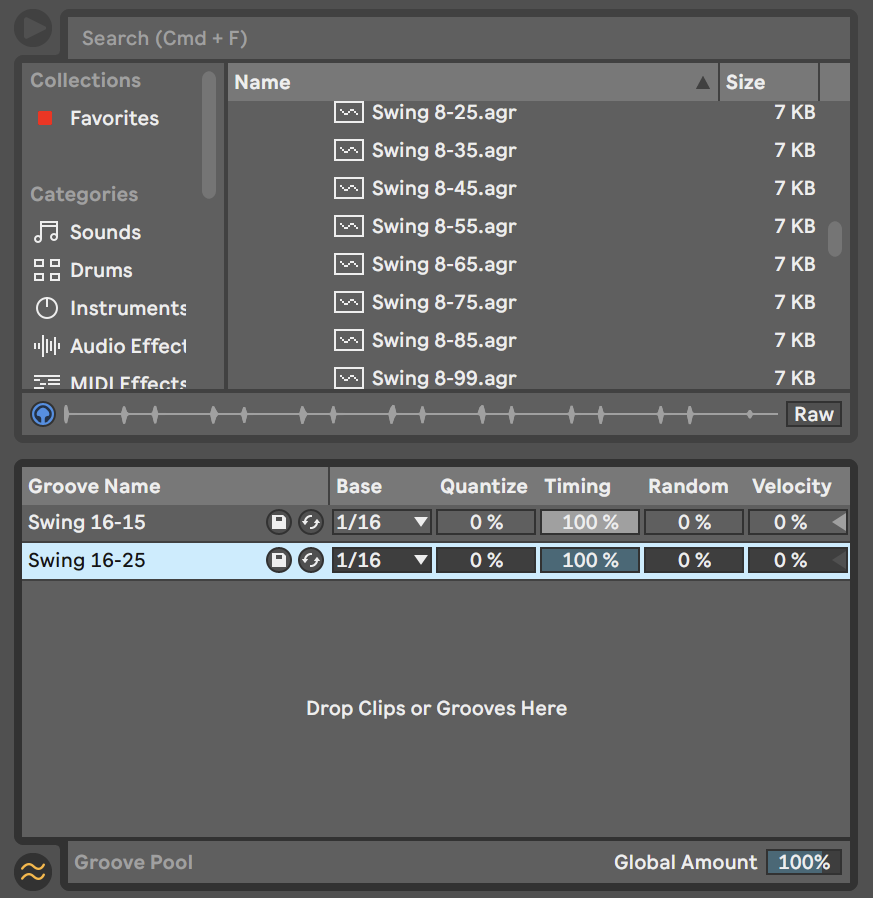
Once you’ve loaded up your swing template on the clip, click Commit to apply it to your clip permanently. You’ll now see the beats in your drum pattern shift according to the swing settings that you’ve applied. The timing differences between this groove and the original straight beat should be fairly obvious.
Sampling with swing rhythms
When it comes to swing beats, there’s no one who did it better than hip hop legend J Dilla. The term ‘Dilla Swing’ is used to describe hip hop beats with a lazy, almost drunken feel to them. J Dilla was also able to use this technique to chop up samples in other time signatures, and use them in his productions with a 4/4 time signature.
Dilla added swing rhythms by leaving space at the end of a sample. He would then lengthen it just enough so that when it looped it would be delayed and have a swing feel. The same applies to breakbeat and jungle when ghost notes are included in the sample. One can extend the sample and push the following note/hit back to create swing.
When programming a swing groove in your DAW, pay close attention to the space between the notes or drum hits. Resampling and then chopping the sample into ‘micro’ edits and then re-arranging them will add swing and give it that Dilla swing. The length of a sample can be stretched by tuning the sample lower than its original tuning. You can also do this by sampling at a higher sample rate and then replaying it at a lower sample rate.
