How to Make Beats that are Tonally-Balanced
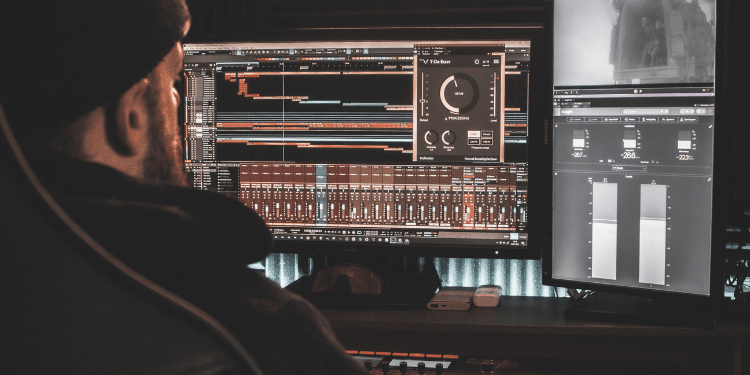
Get each drum to fall on the frequency spectrum where it works best and hits hardest
When making beats, it’s important to consider the varied tonal character of the elements of the kit you’re using. Hi-hats contain a lot of high-frequency information, for example. Kick drums, on the other hand, fill out the bottom end. In the same way that good melodies are made up of the right combination of musical notes, well-balanced beats will need some tonal calibration to get them hitting where it matters.
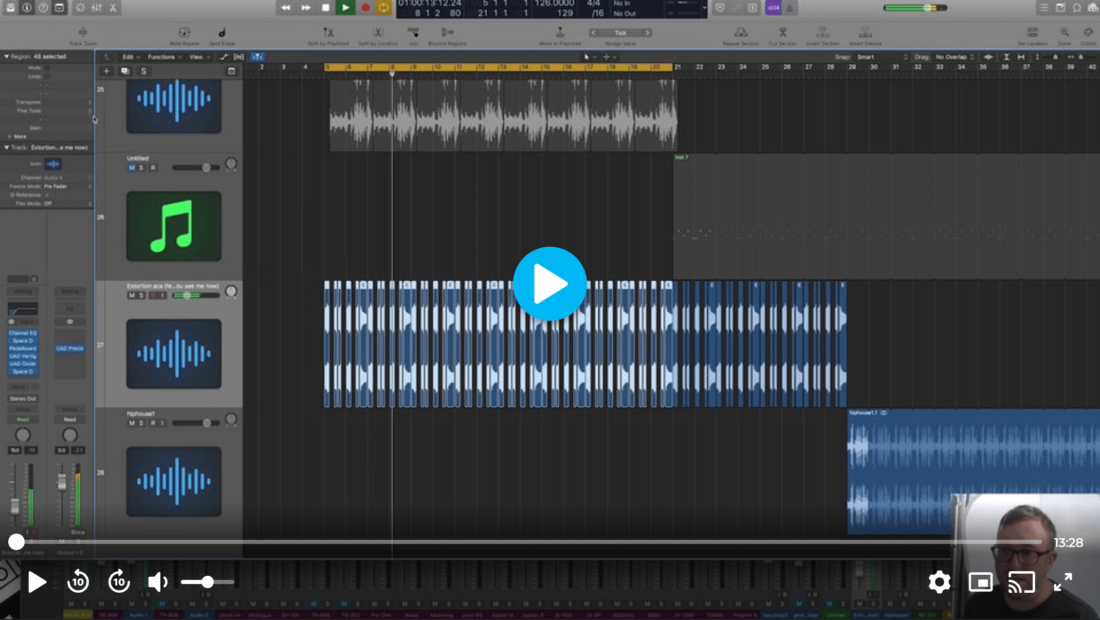
The key to making beats that are tonally balanced beats is to consider the pitch of the drum parts in your track. You’ll need to make adjustments that house them in the right neighbourhoods of the frequency spectrum. You’ll need to pay attention to other elements in your track too, and be aware of the ways in which your drums can offset or compliment them. DJ and dance music producer Shadow Child shows us how it’s done in the below clip from his FaderPro “In the Studio With” course.
You can access this course for just $9.99 a month by subscribing to the FaderPro Producers Club. Here, you’ll get full access to our catalogue, plus additional benefits. In the meantime, read on to discover our essential production tips on how to make beats that are tonally-balanced.
Why drums have pitch
Although it might not seem obvious at first, all drums produce a pitch. In the case of acoustic drums, there usually isn’t a definite pitch because there isn’t a strong fundamental frequency. But, there’s a pitch nonetheless. Each drum skin is stretched across drum heads of different diameters. The variations in tension and head size contribute to higher or lower pitches.

The resonant frequency of a drum skin equates to the “note” that is expressed, which is more easily discernible in electronic drums. Electronic drums have a pitch parameter that drops from one note to another. This pitch parameter is controllable via a pitch envelope which simulates what happens when a real drum is hit. The contact of drum stick and drum head initiate the sound with a sharp, high pitch. Then, the drum rings out at its resonant frequency.
Why should I tune my drums when I make beats?
Obtaining harmony in the frequency spectrum is the key to a good mix, which is why seasoned producers tune their drums. Drums can be tuned to the key of a song, or elements within the track. This helps balance out the overall effect of everything playing together at once.
You can also make drum tuning decisions that add characteristics to your mix that it may have otherwise been lacking. For example, tuning drums to lower pitches, while staying in key, can add immediate heft and thickness to your low end. Pitching hi hats up can provide the high end sparkle that often invigorates boring loops.
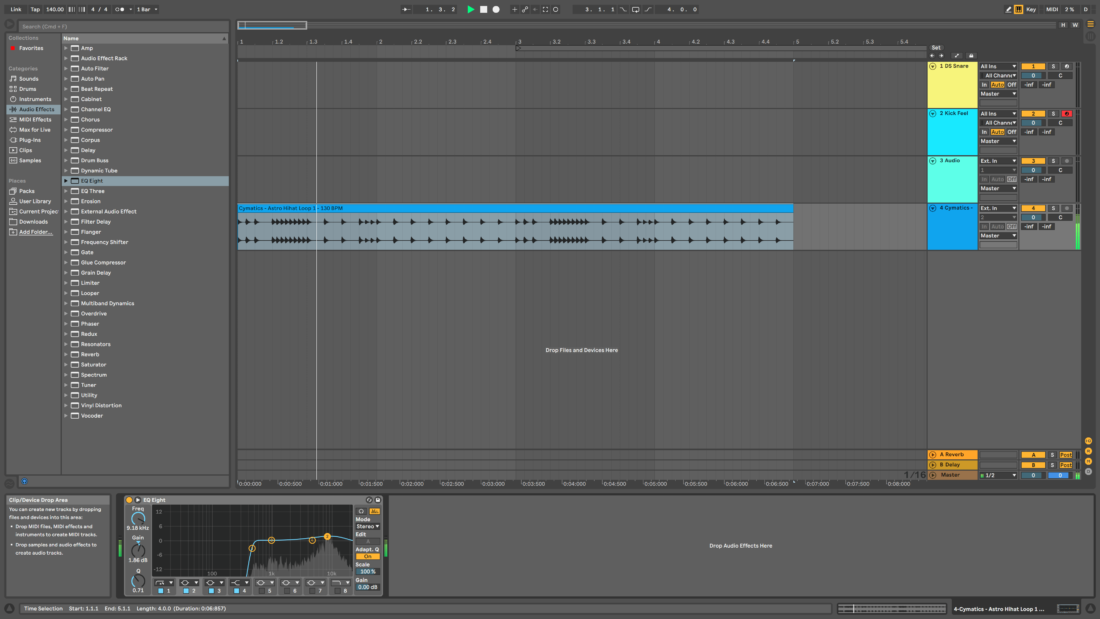
Although drums aren’t strictly melodic elements, they can be lined up with actual musical notes to provide harmonic goodness that your ears will thank you for. Toms can be tuned with each other, separated by rational musical intervals that work as extra melodic information in the mix. Snares, although less flexible, can be tuned to perfect fifths, fourths and even octaves to great effect.
How to tune drums in your DAW
There are a number of methods of drum tuning in Ableton Live and other DAWs. This is due to the fact that there are multiple ways of getting drum sounds in a production environment. Let’s take a look at a few options.
Tuning a drum synth
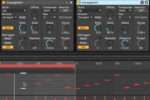
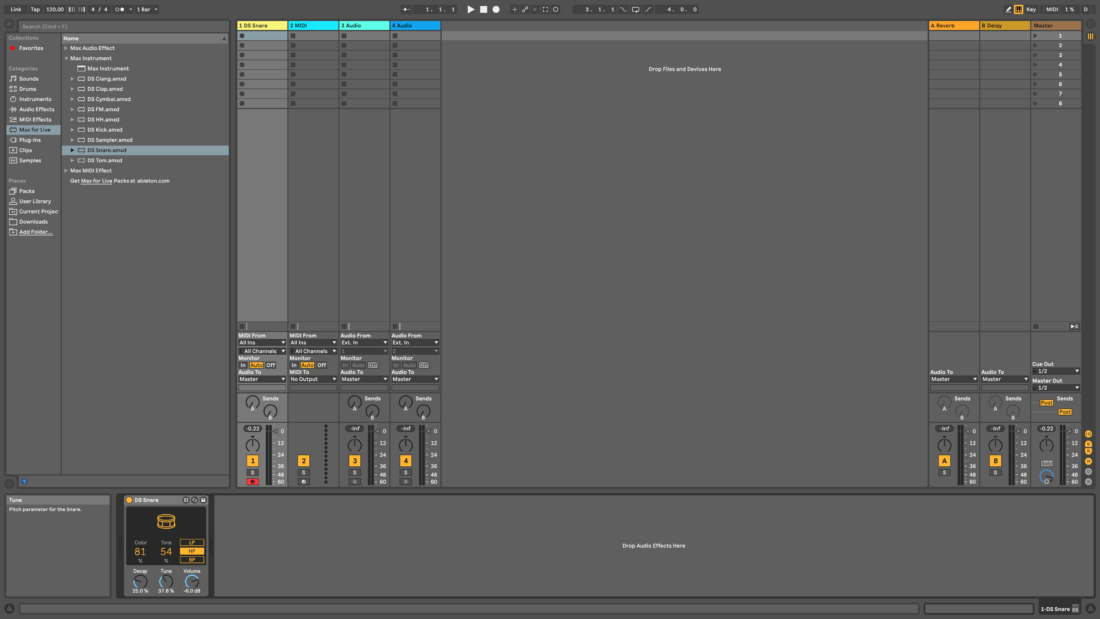
If you happen to be using a drum synth, you’ll find tuning to be a doddle. Using Ableton Live’s DS Snare, we can see that the Tune knob controls the pitch parameter for the snare. Simply crank it clockwise for a higher pitch, and vice versa. Adjustments to pitch can be accentuated using the drum synth’s Colour and Tone knobs.
Tuning a sampler
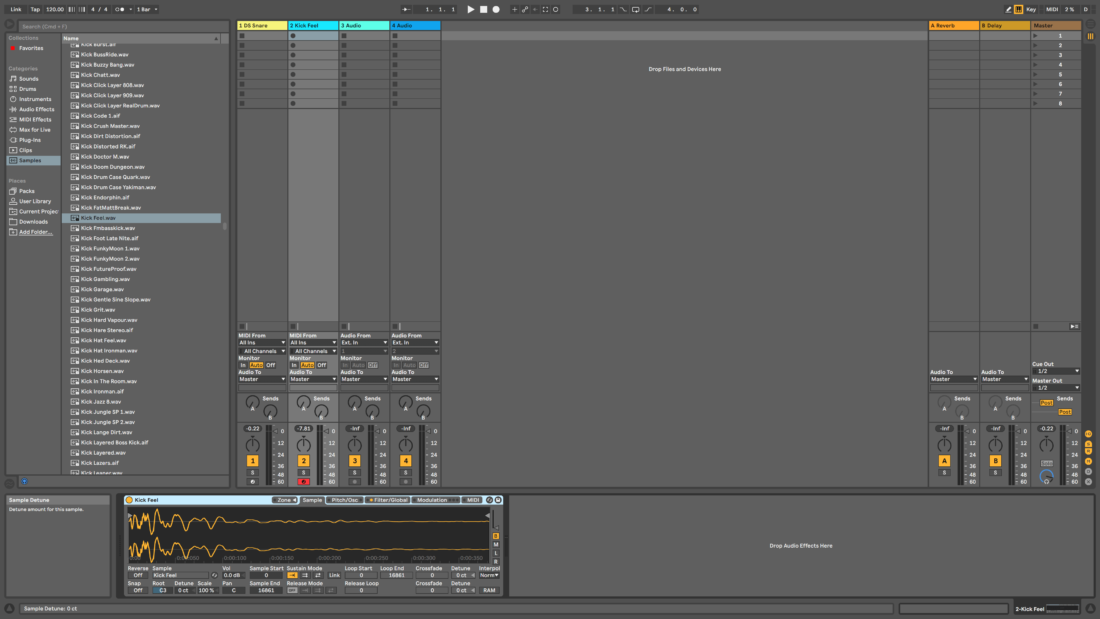
Similarly, when using a sampler it’s quick and easy to repitch a drum sample. Ableton Live’s Sampler has a number of tuning options, starting with the Root control. This parameter determines the root key of the sample. For finer adjustments, use the Detune control beside it. This one allows you to make adjustments in cents (a semitone consists of 100 cents).
Pitch-shifting audio
If you’re working with audio that’s been recorded already, like a drum loop, you can use pitch-shifting tools to tune it. Each DAW will have its own built-in methods of pitch-shifting, which you’ll be able to access in the clip settings of the audio in question. Ableton Live has six pitch-shifting algorithms which work well in different situations. Beats Mode handles rhythmic audio well, so all you need to do is select it from the dropdown menu and then transpose your audio as you like.
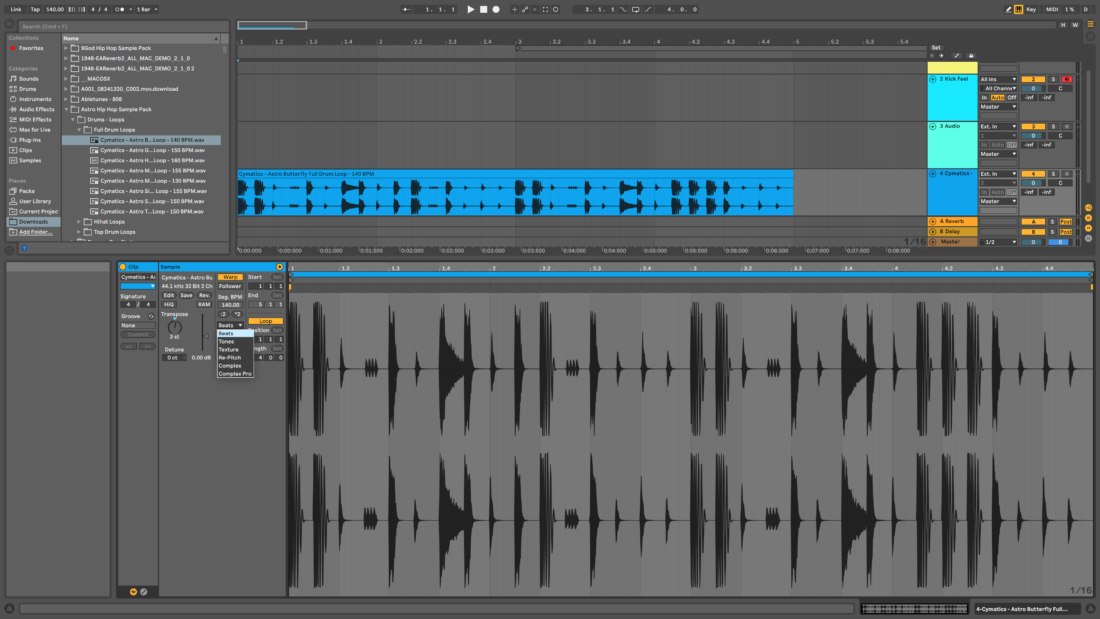
The in-house capabilities of your DAW should be more than a match for your tuning requirements. However, you can also lean on plugins from third-party developers to get the job done. Some options include SoundToys Little AlterBoy, Zynaptiq PitchMap and Devious Machines Pitch Monster.
Kicks can be tuned alongside bass
One last thing to be aware of is the relationship between your kick drum and bass. Kicks contain a lot of tonal content. This means they can often sound out of key with other elements in the track. Bass is particularly vulnerable to this, as it usually occupies similar areas of the frequency spectrum as the kick.
If you have a subby kick, it stands to reason that a sub bass will be competing for space with it in the mix. If you don’t tune your kick correctly, you may end up with phasing issues which will detract from the impact of your low end. In the same vein, kick and bass sounds that hit at the exact same time, with the same frequencies, will gobble up the headroom in your mix. Tuning your kick to a different note will sidestep this issue.
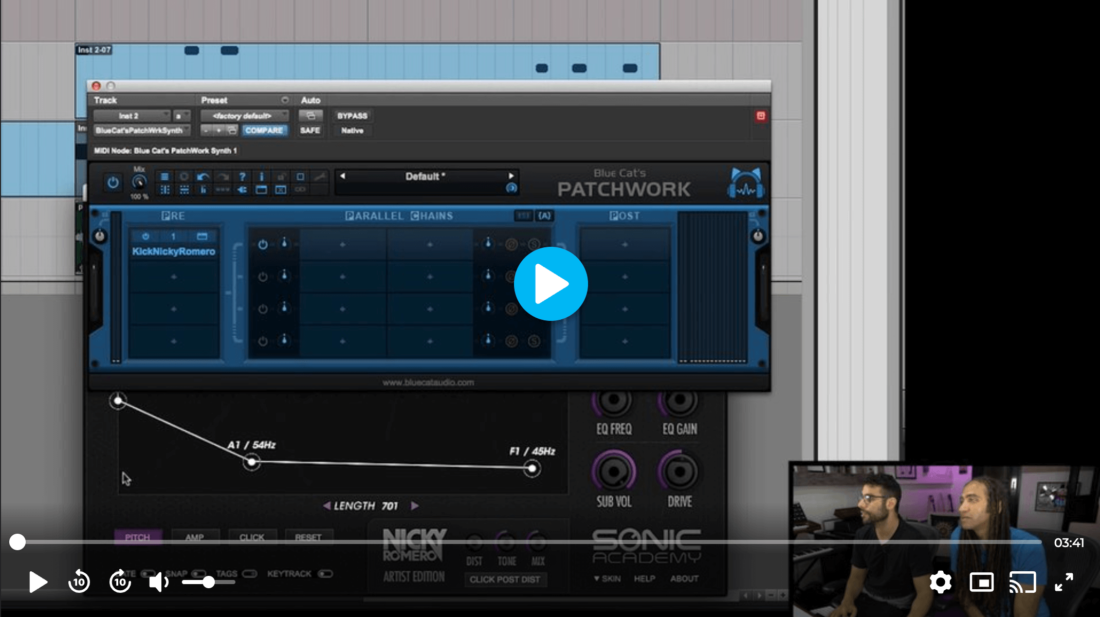
Check out how and why Canadian electronic music duo Sultan + Shepard tune their kick drums in this free chapter taken from their FaderPro In the Studio w/ course.
To learn some other ways to get your kick to sit well in a mix, check out this article.
