How to Tune a Kick Drum to Fit Your Track
Tuning a kick drum is a useful process that can save you from annoying mix issues
Many people are of the opinion that tuning kick drums is an unnecessary music production activity, reserved for obsessives and perfectionists. To others though, the simple act of bringing your kick into key with the rest of your track is an effective way of making your low end more cohesive and impactful, and could actually save you time when it comes to the mixing stage.
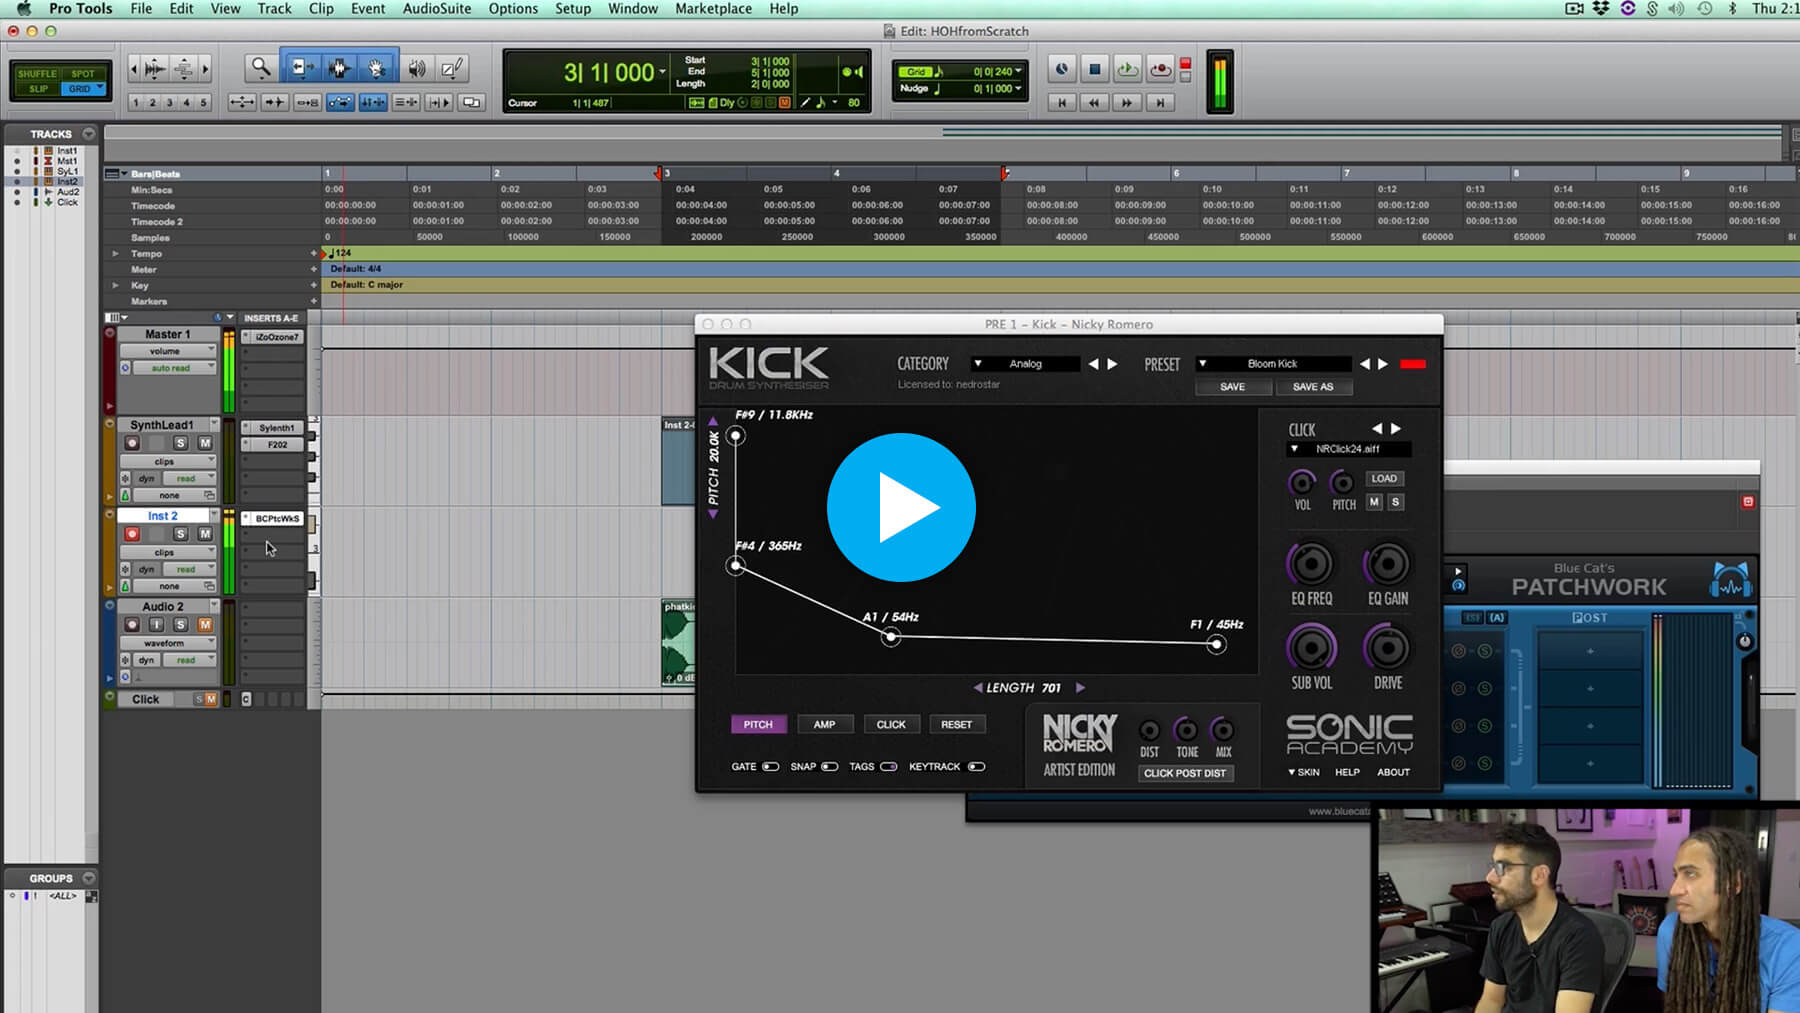
In this free chapter taken from their FaderPro In The Studio w/ course, Sultan + Shepard share how and why they tune their kick drums. While they use a specific plugin to do so in this instance, there are a whole host of ways to achieve the same effect, which we’ll discuss in this article.
Why tune your kicks?
It’s worth stating the obvious here, but there are no concrete rules when it comes to tuning kicks, and as with many other music production techniques; if it sounds good, it’s right. So why would you want to tune your kick drums?
Unlike some percussive sounds, kicks can contain a lot of tonal content. This means they can sound out of key with other elements of your track, unless they are tuned correctly. If your kick contains a lot of sub frequencies, it can clash with your sub bass, which can cause phasing issues which might subtract from the impact of your low end.

Similarly, if you have a kick and bass sound with the same frequencies that are hitting at the same time, you might find this is taking up a lot of your headroom. In this case, tuning your kick to be in the same key as your bass, but not the same note, might solve your woes.
How to tune a kick drum
There are a number of ways to alter the pitch of your kick sound to work with your track, and each of them have their own merit in different circumstances. In this section, we’ll break down a few of these methods and when they might be the most appropriate.
Use a drum synthesizer
If you’re just starting a new track, and you want to ensure everything is in key from the get go, then using a drum synthesizer that lets you select a specific note may be the easiest way to approach this task. In this case, we’re using DS Kick, a free Max for Live kick synthesizer available in Ableton Live. The song is in the key of F minor, and we want our kick to be in the same key.
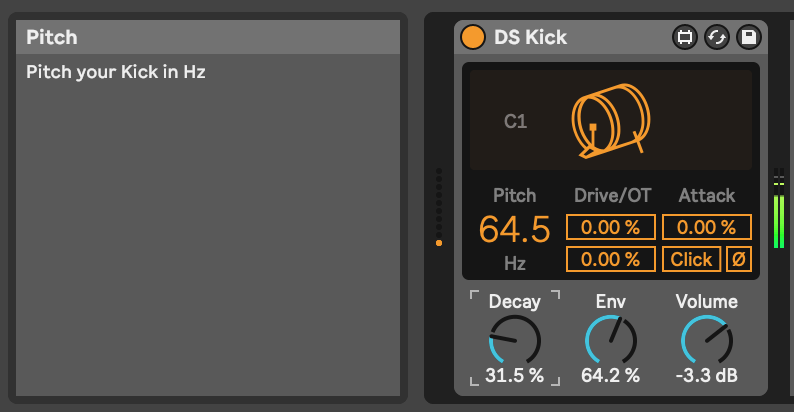
Tuning our kick to be an F note might cause some phase issues, so try a few notes up or down the scale and see what sounds best.
If you can’t figure out what sounds best, try temporarily increasing the kick’s decay, and pitch it up an octave. Our ears find it easier to discern pitch at higher frequencies, and once you’ve found the correct note, pitch it back down again.
Adjust clip transposition
If you’re working with audio samples, you won’t have the luxury of just choosing a specific note for your kick drum. Instead, you’ll need to manually transpose your kick sample to the desired pitch.
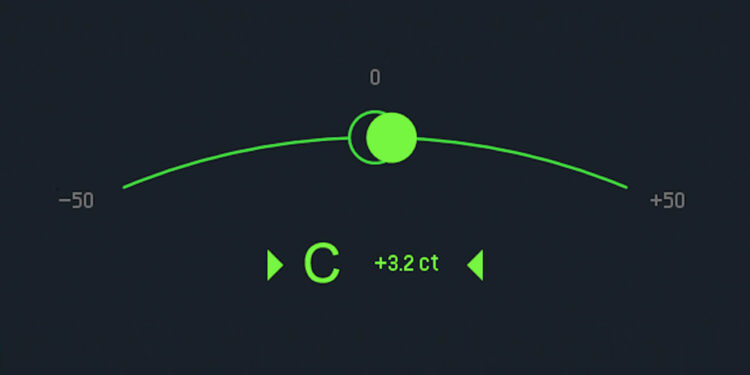
In an ideal world, your kick will have a pitch within the sample name so that you can easily increase or decrease its semitone by the correct amount. Failing that, you’ll need to use a tuning device to find out the sample’s pitch, then adjust the semitone and cents to fit within your track’s scale.

Drop your kick into a sampler and then repitch it
If you’re using kick samples but prefer to work in MIDI, then you’re likely to be loading your kicks into a sampler so that you can sequence them in your DAW. In this case, we essentially follow the same process as for transposing individual audio clips, but the transposition happens within the sampler rather than the audio itself.
Load your kick into a sampler of your choice, and if the sample has a key in its name then as before, you can adjust the pitch accordingly. If not, get your trusty tuner out again and figure out the kick’s original key, before changing the pitch within the sampler.

Use a pitch shifting plugin
Instead of pitching the sample at the source as the previous two techniques do, you can also use a pitch shifting plugin to transpose the sample after the fact. The benefit of this technique is that it can be applied to audio or MIDI, and it’s quick and easy to make further changes to every kick, at any point during the production process.
First, add your chosen pitch shifting plugin, followed by a tuner. Then, enable frequency shifting mode, and adjust the frequency until your kick reaches your desired pitch. The downside to this approach is that pitch and frequency shifting can introduce some unwanted artifacts, particularly with low end information. Be very critical when listening to your processing, and if the frequency shifting is causing problems then consider using another technique listed in this article.

Manipulate the sample by making aggressive EQ moves
The final kick-tuning tip in this article is arguably the most complicated, but is a great last resort if none of the other techniques are suitable for achieving the desired effect. First off, separate your kick onto separate channels. We want the percussive transient portion on one channel, and the tonal body portion on another. You can do this with EQ or by splitting and fading the clip between the transient and body sections.
The tonal section of the kick is the part we need to tune, so load up a tuner, then your favorite parametric EQ, then another tuner. Bonus points if your EQ has a keyboard roll. Using your EQ, you’ll need to quite aggressively cut the frequencies that reflect the note you don’t want your kick to be, and boost the frequencies that you do want it to be. In this case, we want our kick to be a G, but it’s closer to G#. Be warned that this kind of extreme EQ boost can increase the level of your kick, so it’s important to do this before the mixing stage.

What’s next?
If you want to dive deeper into kick drum processing, pro producer Mark Maitland explains how he transformed the kick in Zac Zacharia’s contest-winning track. Check it out in From Demo to Dancefloor.
