Clip Gain: What is it and why is it important?
Clip Gain: What is it and why is it important?
Understanding clip gain will help you with the clarity of your tracks by giving the plugins along the signal chain the optimum levels to work with. But what is clip gain?
First, let’s talk about volume
Volume can be as complicated as we choose to make it.
There are all kinds of ways in which we can determine the level of the sounds in our mixes, whether that’s the level at which we choose to set preamps for audio recordings, controlling volume adjustments within instrument plug-ins, or processing sounds with dynamics processors like Compressors and Limiters.
Volume changes between input and output
It helps to think about volume in two stages – input and output.
When you connect a microphone to a preamp or an audio interface, the Gain input dial controls the ‘sensitivity’ of the channel, calibrating the sound you’re recording to provide you with an appropriate volume within your DAW.
If you’re recording a loud singer or instrument, you’d turn input Gain down to compensate, whereas if you’re recording a quiet sound source, you’d boost it.
Adjusting Gain is better than just relying on the volume fader at the mix stage as it helps to create an optimal signal-to-noise ratio.
Signal and noise
Whenever we make a recording, we capture the part of the sound we want – the signal – and the parts of the sound we don’t, such as surrounding ambient noise.
If we have to boost output volume because we didn’t record the signal at a sufficient level, we boost the volume of the noise too, often introducing unwanted artifacts to the signal along the way.
The signal chain of inputs to outputs to inputs to outputs
At the end of the recording stage, we now have a recorded audio file in our workstations and we can process it however we like. This ‘raw’ audio file now has an output volume, which becomes the input volume for an EQ if we insert one into the signal chain.
The EQ’s output then becomes the input for a compressor if we use one of those next… and so on. Each new processor receives its signal as ‘input’, processes it, and produces an ‘output’.
But let’s rewind.
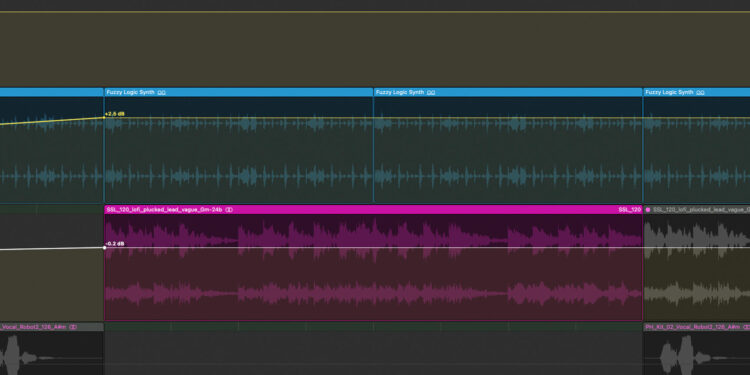
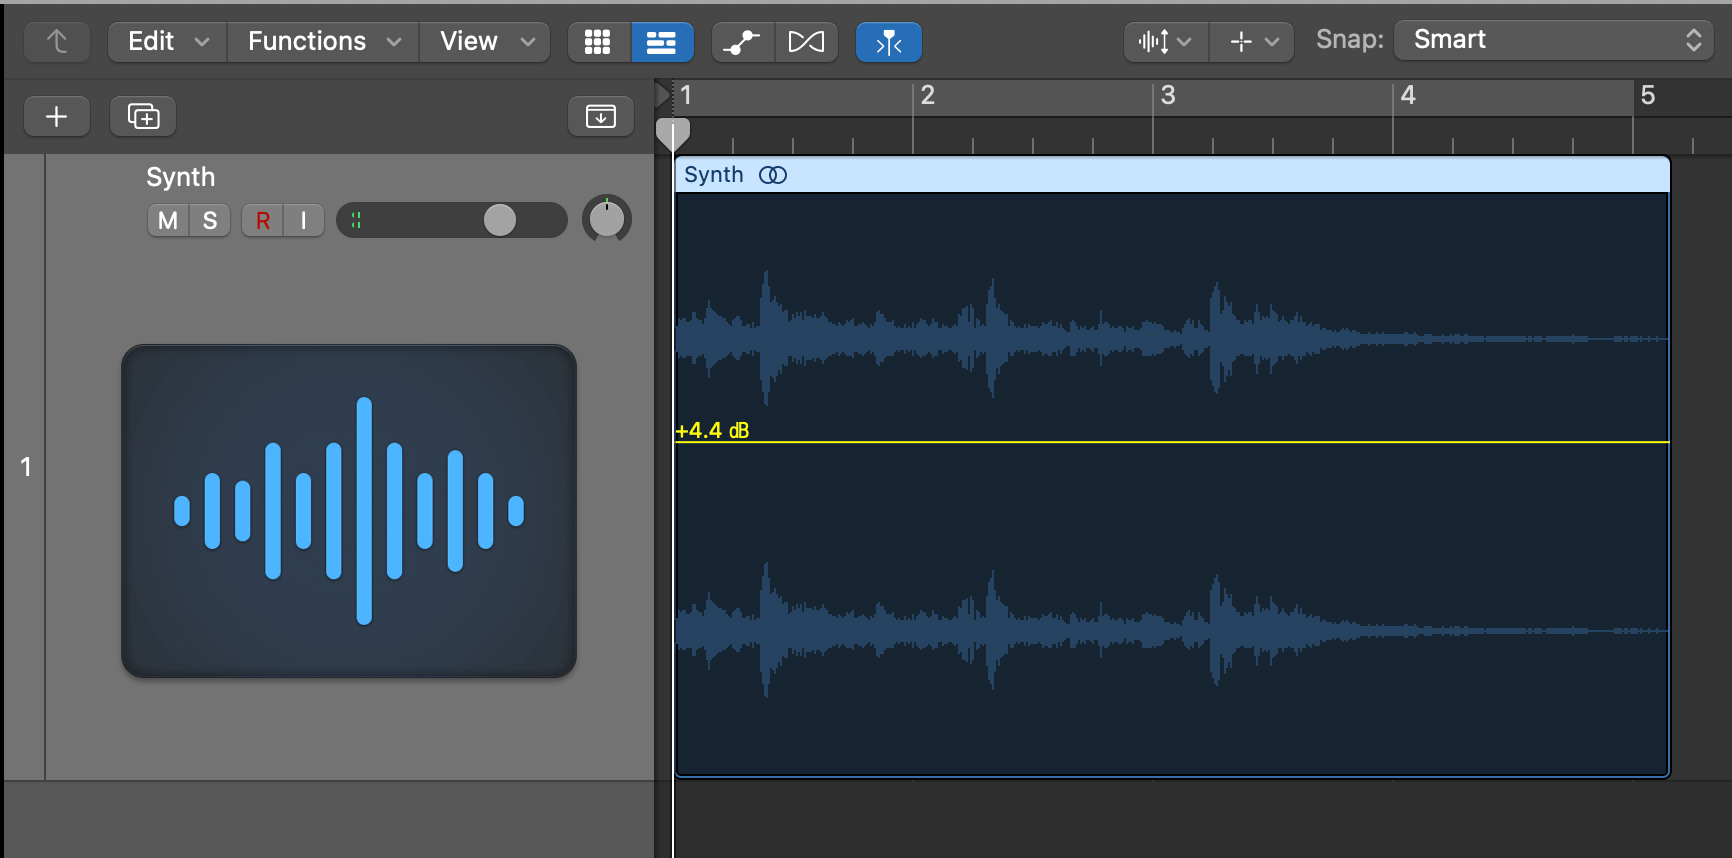
We’ve made a recording, or we’re working with an imported audio file within our project and we can see its waveform on a track of our DAW. Let’s suppose it’s not quite the volume we want it to be and we’re about to reach for the volume fader to turn it up. Is that the best way to adjust its volume or would a Clip Gain tool produce a better result?
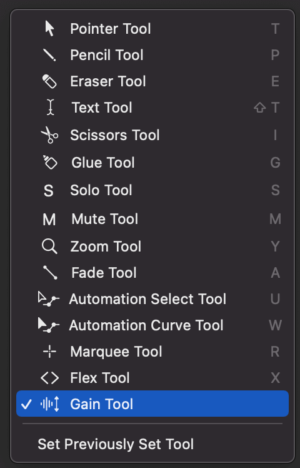
To answer that, we need to understand what Clip Gain is.
A ‘clip’ is a section of an audio file. It might be an entire recording, or it might be a tiny slice of one. And as we know, ‘gain’ is the input stage we control when making a recording. If we’ve already made a recording, how can we affect its ‘gain’ stage again?
Think about this tool as a chance to re-gain a clip at the volume you’d like it to be, by offsetting the recorded gain of the audio waveform to a preferable one.
Again, though, why not just turn the volume fader up?
Clip Gain has the potential to be a more useful tool than the volume fader due to the input/output stages of signal processing.
Let’s imagine that the signal we’ve recorded is a lead vocal and we want to compress it. The compressor will behave very differently depending on how much signal comes into it at the input stage. If your audio file is loud, it will begin to compress with a high threshold point, whereas a quieter audio file will need a compressor’s threshold to drop considerably before compression starts.
But imagine for a second that your lead vocal is highly dynamic, with really quiet sections and really loud ones too. Do you calibrate your compressor for the quiet parts, running the risk that the loud parts will feel ‘over-compressed’, or do you calibrate it for the louder sections, meaning that it doesn’t sound quite right for the quieter parts? (If you want to understand more about compression, do check out the Science Of Sound: Compression course)
By chopping your audio recording up into different clips, you can use Clip Gain to partially regulate the volume from one stage of a recording to the next. If one section of vocal performance is quieter, you can increase Gain to bring it closer to the volume of the louder sections. And by doing so, you’re making life easier for the processors you’re likely to apply to that audio file, particularly compression.
Tubes impact tone
There’s one more important point to make here. If you were recording a vocal through a tube-based channel strip, as you boosted input gain, the tone of the vocal would change as well as its volume. Some input channels, including tubes, don’t regulate volume in a linear way as gain increases and so, if you were recording an audio file, or re-gaining one through a tube-based preamp, there could well be a sonic difference as gain is boosted.
Clip gain in your DAW
But within the digital realm of a DAW, there will be no appreciable sonic difference. So, if you have an audio file recorded in your computer, with no effects processing it and you want it to be 2dB louder, using Clip Gain or pushing up the volume fader will achieve an identical sonic outcome.
But there is an important difference at the heart of which approach you take.
By boosting Gain, you’re affecting how the volume behaviour of that clip will start its journey through any effects you add and the way that those plug-ins will respond to the clip’s volume structure.
By using a volume fader, you’re ‘only’ adjusting volume at the end of a clip’s sonic journey.
What’s next?
If you want to understand more about Volume and how it behaves through signal flow, you should check out the Science Of Sound: Volume Management course.