Using Ghost Sidechain Compression Instead of your Kick Drum
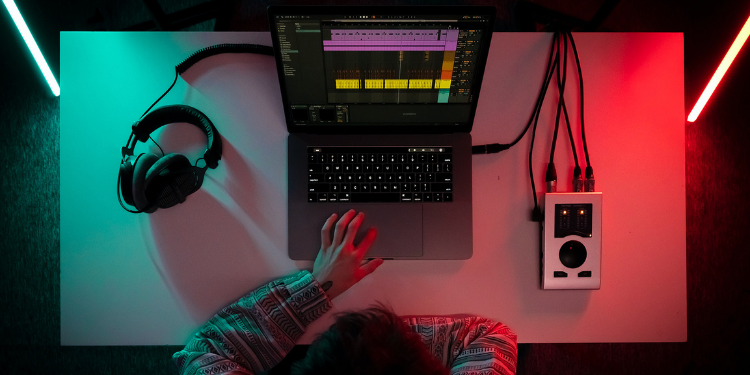
Take control of your sidechain compression with the use of ghost triggers on your compressor’s input
If you’ve spent any time reading or watching electronic music production tutorials, it’s likely you’ll be familiar with the concept of sidechain compression. For the uninitiated, the process involves using your kick drum to temporarily decrease, or “duck” the level of another signal. This is common practice when it comes to mixing kick and bass, as the two elements compete for space in the bottom end of the frequency spectrum.
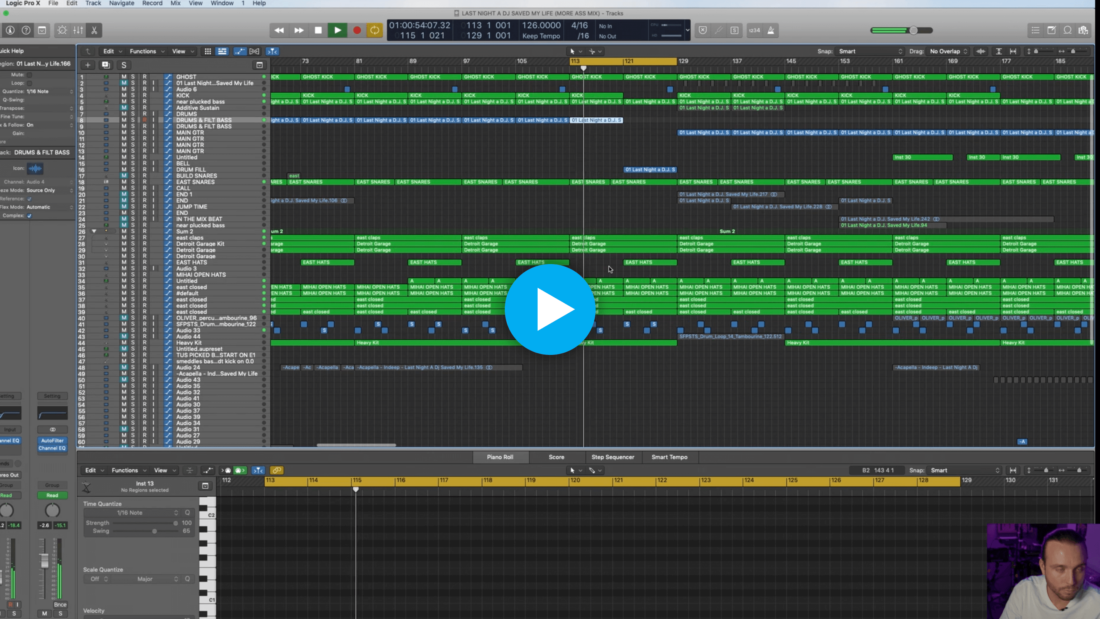
Sounds pretty simple, right? And it is, but there are some mixing and workflow limitations of straight-up sidechain compressing your actual kick to another element. In some cases, the solution is to use a ghost kick. In this chapter taken from his free Track Deconstruction course, George Smeddles explains how he applies ghost kicks to instill groove and feel in his productions.
How to Use Ghost Triggers for Sidechaining
As George mentions, there are a whole host of methods for applying this technique. He’s identified a method that works for him in Logic Pro, but what about Ableton? The process is the same, but the tools and routing will differ slightly.
At the crux of the technique, you duplicate your kick channel, with the duplicated channel becoming the ghost signal. You then set your compressor’s sidechain input as the ghost trigger, and mute its output. That way, you’re free to make changes to your kick independent of the signal that is triggering your sidechain compression, and vice versa.

Advantages to Using Ghost Sidechain Compression
If you’re wondering what the benefits of this approach are, then read on.
Arrangement Flexibility
Sidechain compression is one of those processes that crosses over between a creative trick and a mixing technique. With traditional sidechaining, those two things can be at odds with one another. Using a ghost kick lets you separate the two processes. For example, let’s say you want to maintain ducking throughout a section of your track that has no audible kick drum. Using a ghost kick allows you to do that.

Adjusting Depth
Using a ghost kick to trigger sidechain compression allows you to quickly and easily adjust the depth of ducking by adjusting the level of the ghost kick channel. Increasing the level of the ghost kick will trigger the compressor to respond more, resulting in a deeper level of ducking. Contrastingly, if you want to dial back the amount of sidechain compression, you can simply reduce the level of your ghost kick. Depending on your existing workflow and the tools you use, this might be a more intuitive way of refining your sidechaining settings without getting bogged down in ratios and thresholds.

Timing Changes
With classic sidechaining, your kick is directly linked to the timing of the ducking, as well as the depth. Once again, the use of a ghost kick enables you to disconnect your audible kick with the ducking. In doing so, you can add some groove to your track, as George Smeddles discusses in the course clip above.
There are many ways to achieve this. You can manually adjust the position of your ghost kicks on a grid, use a delay with 100% wet or if your DAW supports it, or offset the timing of the track containing your ghost kick.

Use Another Sample
In some instances, the ducking caused by your kick just doesn’t have the right shape and contour for the rest of your mix. Overly boomy and lengthy kicks can cause an unnaturally long ducking in your bassline that can really subtract from the energy of your low end. This is also problematic when using a kick to duck non-bass elements, such as a pad or vocal. You might just want to briefly decrease the level of an element in your mix in order to make room for the kick each time it sounds, without creating some huge audible French house-style pumping.
There are a number of ways to achieve this, which will depend partly on how you’ve added the kicks in your project, and partly on your DAW of choice. If you’ve written your kick pattern in MIDI, it’s as simple as duplicating the kick pattern then replacing your kick sample with something like a short, snappy hi hat or rimshot. Alternatively, you can duplicate the kick pattern then reduce the decay, sustain and release portion of the sample until you achieve the desired ducking shape. If you’ve written your kick pattern in audio and you use Ableton, you can use the DAW’s sample file replacement feature.

Want to dive a bit deeper into sampling? Check out this article.
Use a Synthesizer
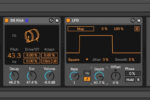
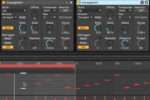
To take the previous approach a step further, we can simply use a synthesizer to set our sidechain signal to be whatever shape we want. In this case, Ableton Live’s Operator is all we’ll need. We’ve simply taken the default sine wave preset and reduced the release time to 1ms. We now have a sound with a sustain level of 100% that starts and stops pretty much instantaneously.

Now, we just need to draw in MIDI notes according to the pattern, level and duration that we want to duck our sidechained signal with.
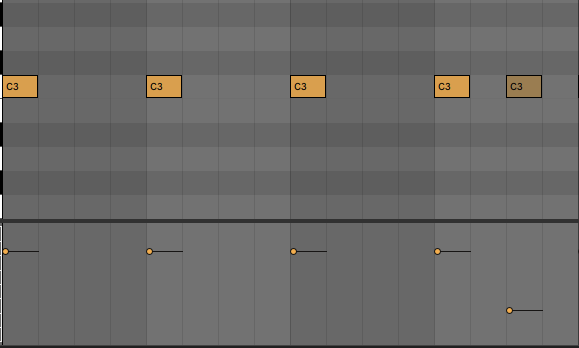
Once we’ve drawn in the pattern, we can go back to our synthesizer and tweak the attack, decay, sustain and release portions of the sidechain signal until we’re happy with the shape and feel of the resulting compression. We can even automate any of these parameters in order to support the arrangement of the track, for example automating a release time to get longer during a build up, then reducing it again at a drop or chorus.

These techniques or pointers should serve as a jumping off point for you to start experimenting with using sidechain signals other than your kick drum. As mentioned, sidechain compression began as a clever mixing technique for creating room in the low end of a mix, but it quickly became a stylistic choice for many producers that is still commonplace in contemporary music today.
